Menu
Joe, June and Mae
  • Shop
    • New patterns
    • All Patterns
    • Animals
      • Animal portraits
      • Farm animals
      • Birds
      • Cats and Dogs
      • Ocean creatures
      • Wild animals
      • Woodland Creatures
    • Applique Patterns
    • Baby
    • Ballet
    • Beach/ Boats/ Nautical
    • Buddha/ Mindfulness
    • Chinese New Year
    • Christmas
    • Easter and Spring
    • Fairytale
    • Fall/ Autumn
    • Flowers, Trees and Plants
    • Food/ Drinks
    • Halloween
    • Oktoberfest
    • Quilted items
    • Stars
    • Viva la Frida/ Dia de los Muertos
    • Valentine's Day
    • Mixed pattern
      • #BLM support
      • Let the good times roll
  • Home
    • Retail Partners
  • About
  • Blog
  • Publications
  • Etsy
  • News

 Foundation Paper Piecing Ultimate Guide

Bild
Foundation paper piecing is a fun and interactive way to creative beautiful quilt pieces. I have been practicing this technique for many years and here to present it for you to learn. To see more of my work and purchase patterns, visit our shop!

Here is a video showing the exact process of paper piecing as described in this article. 

​

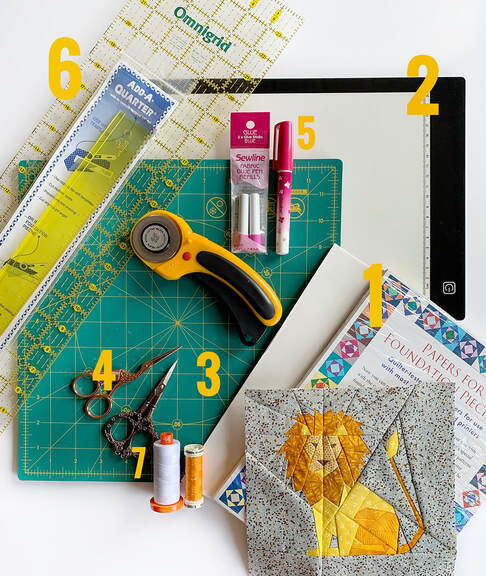
Tools for Foundation Paper Piecing

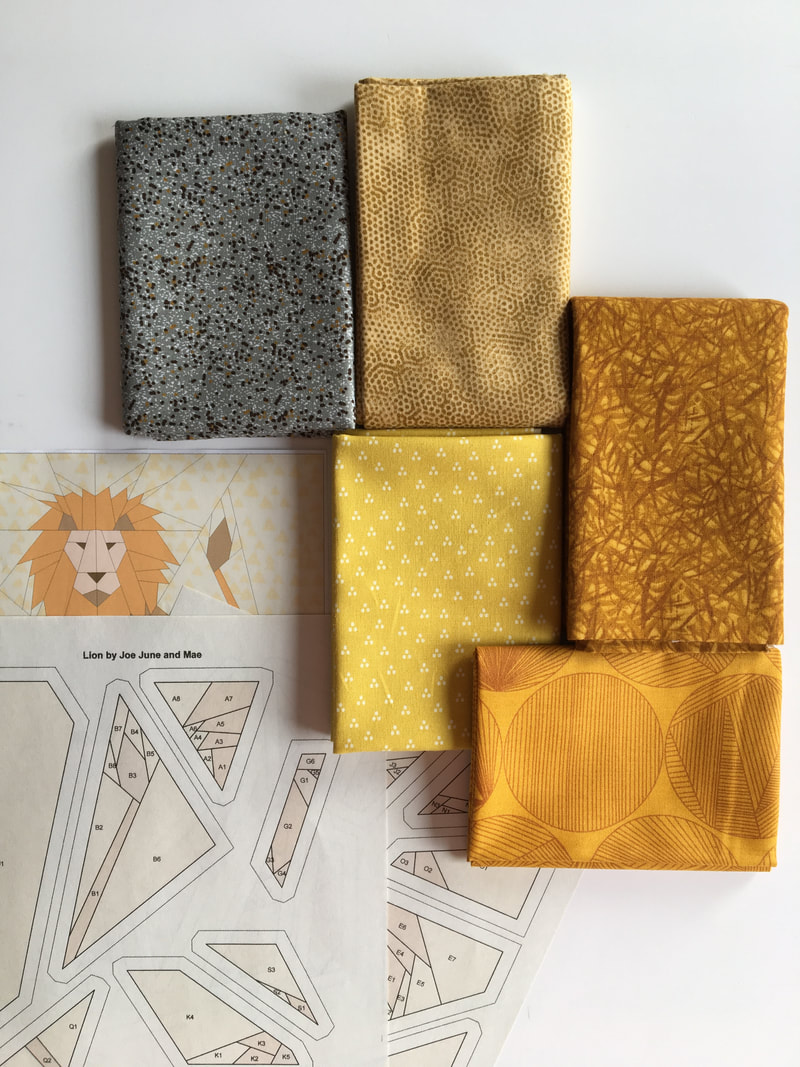
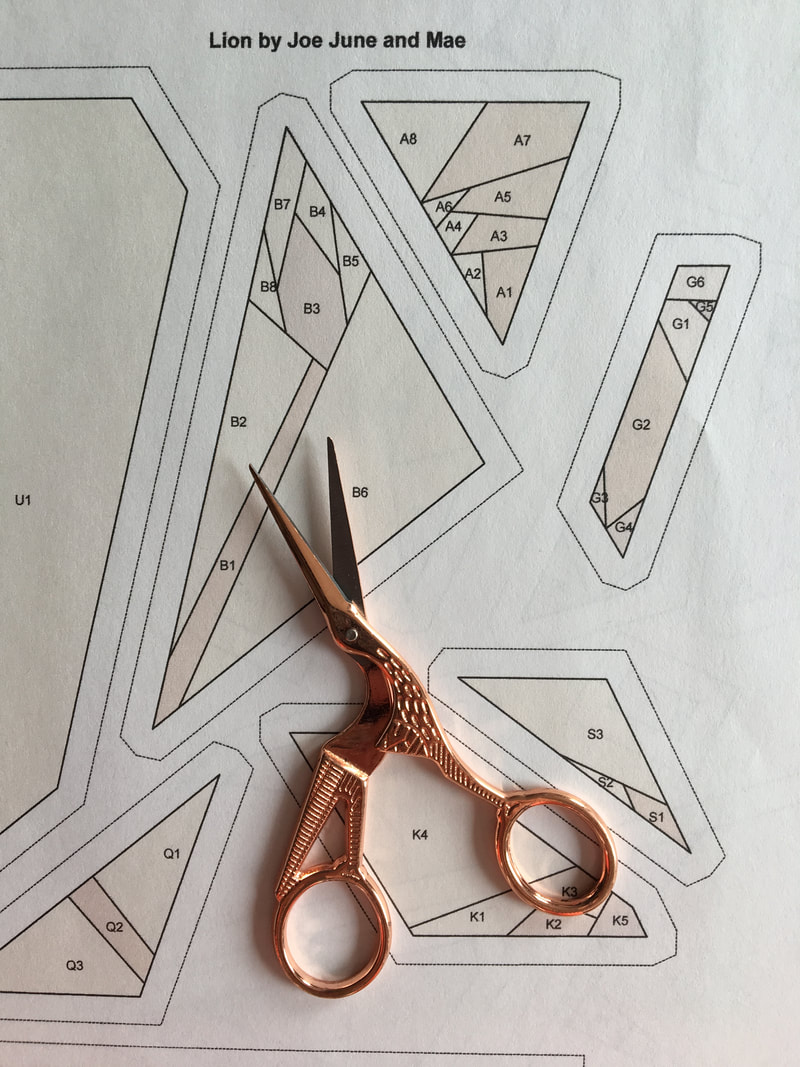
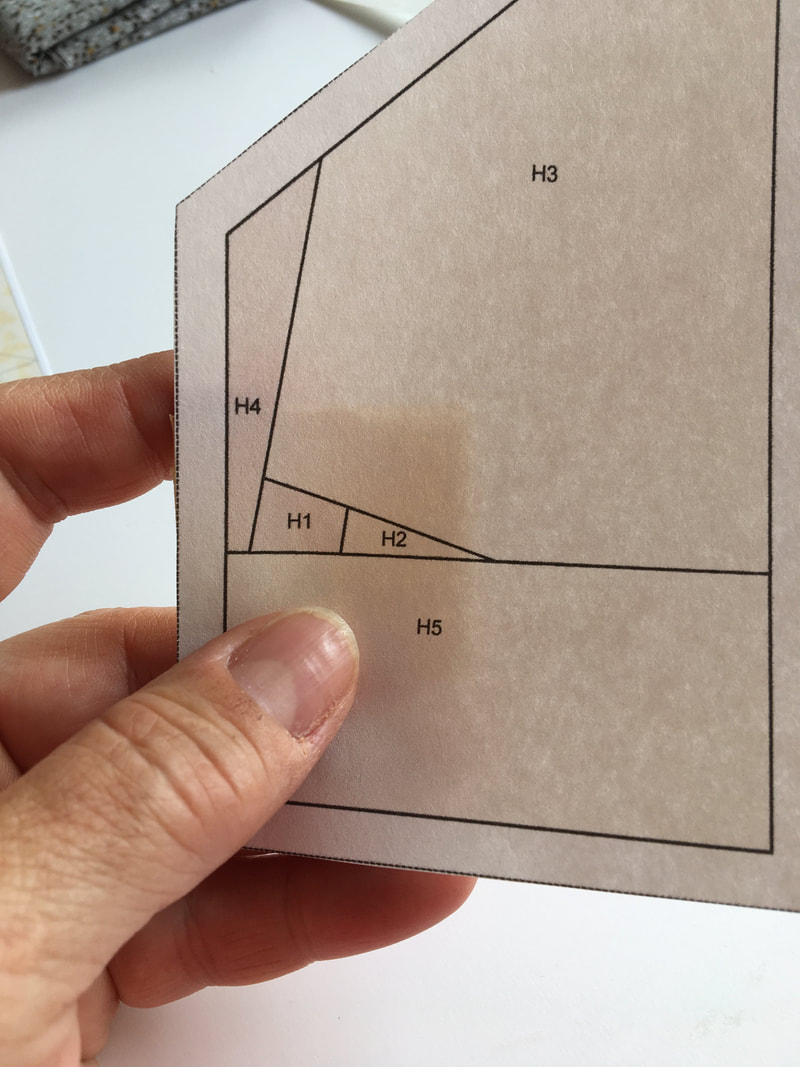
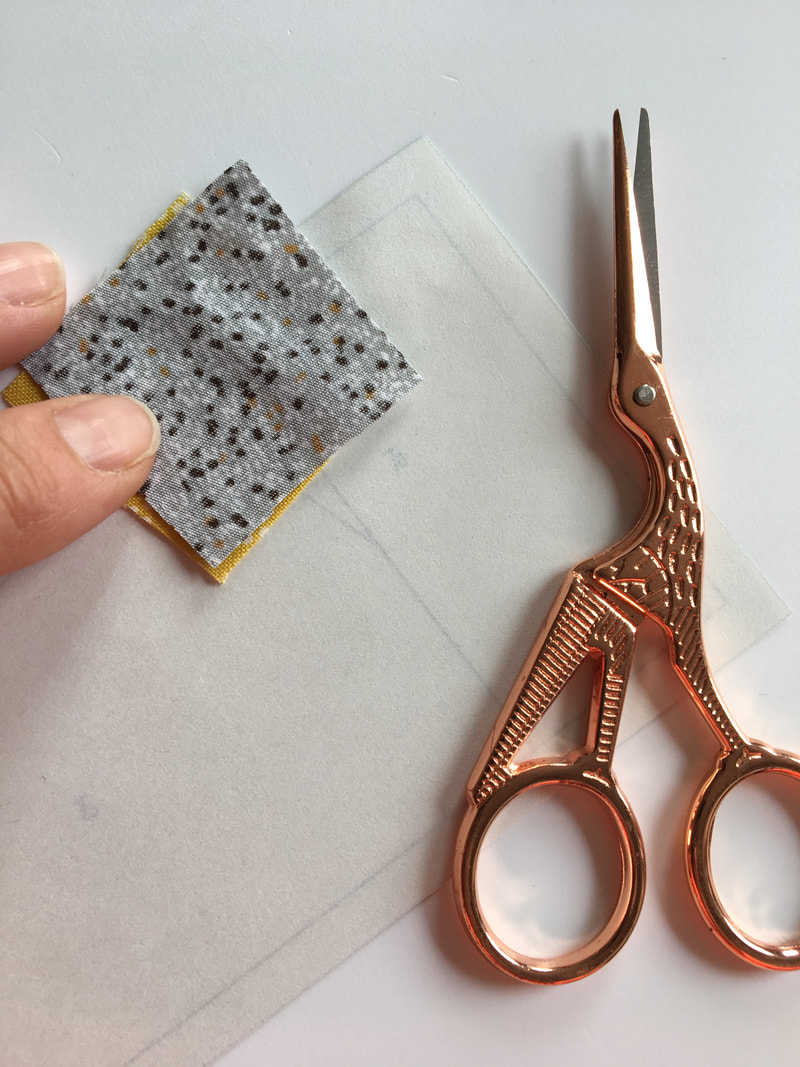
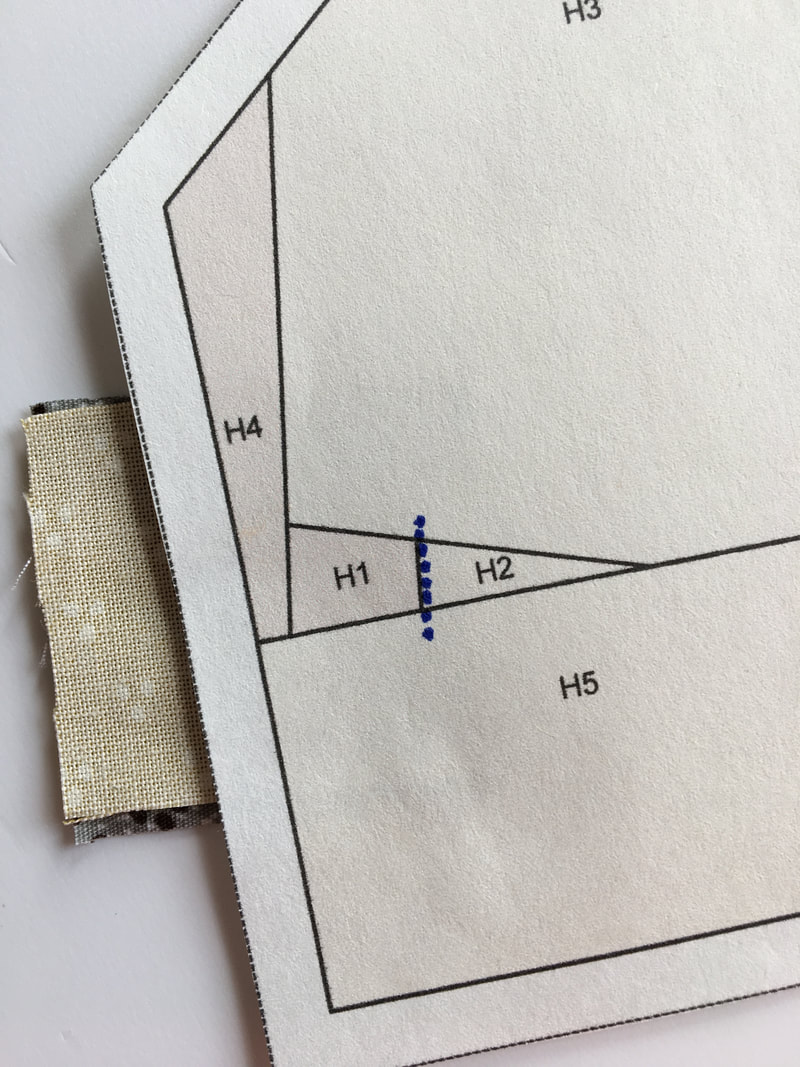
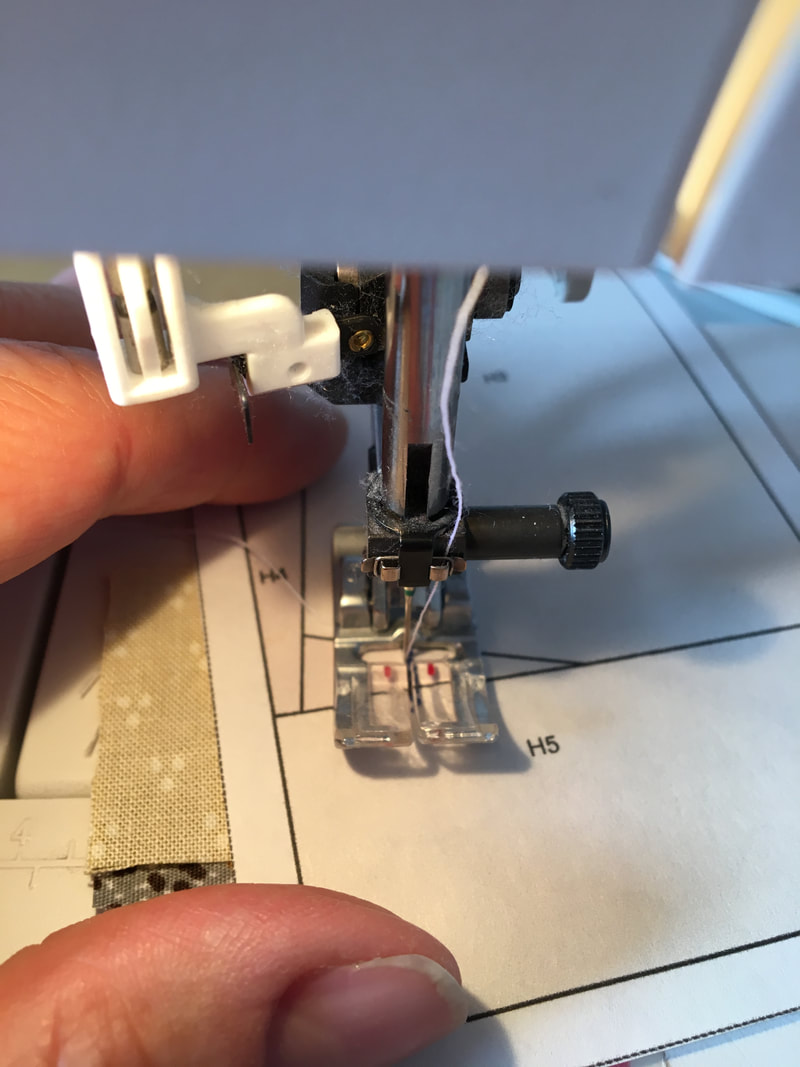
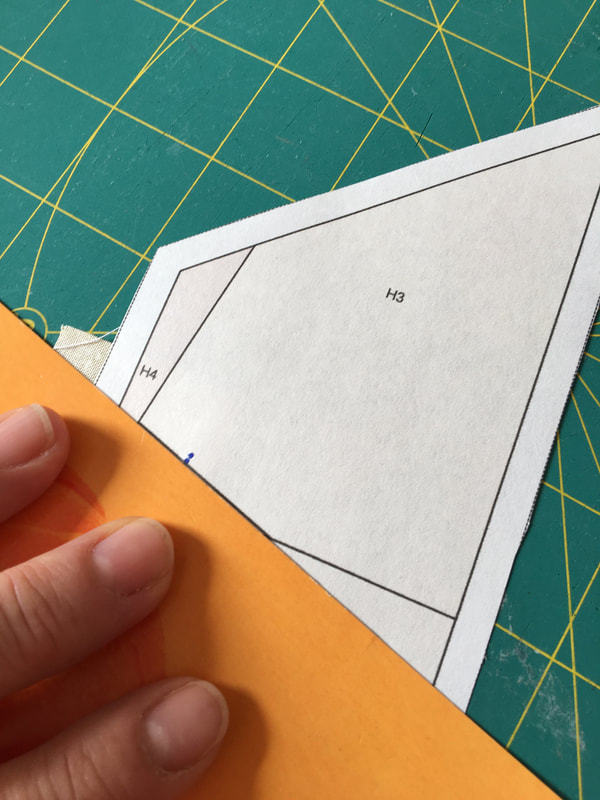
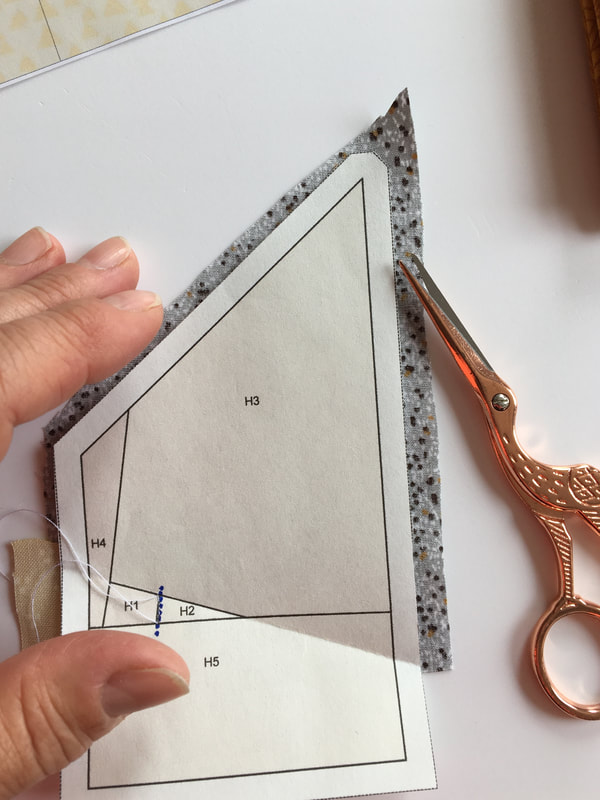
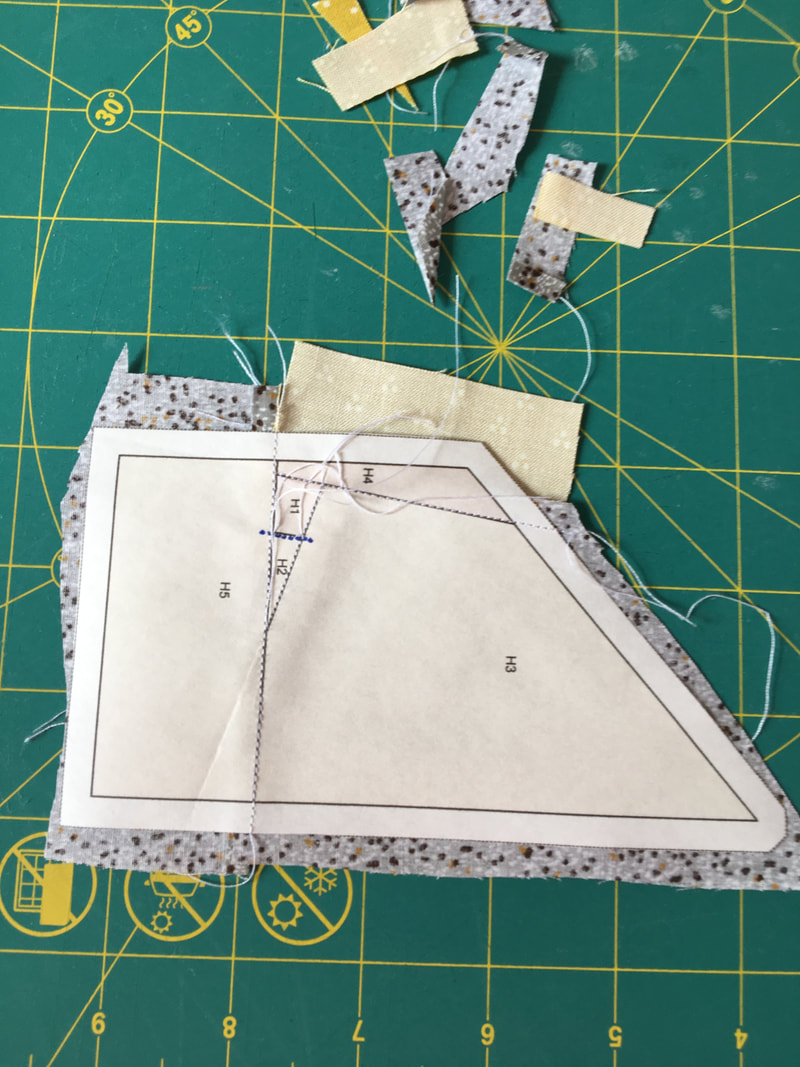
1 . Paper… most of the time I use printable freezer paper, but foundation paper or regular printer paper works just as well. The pattern is available for download at the bottom of this article. 
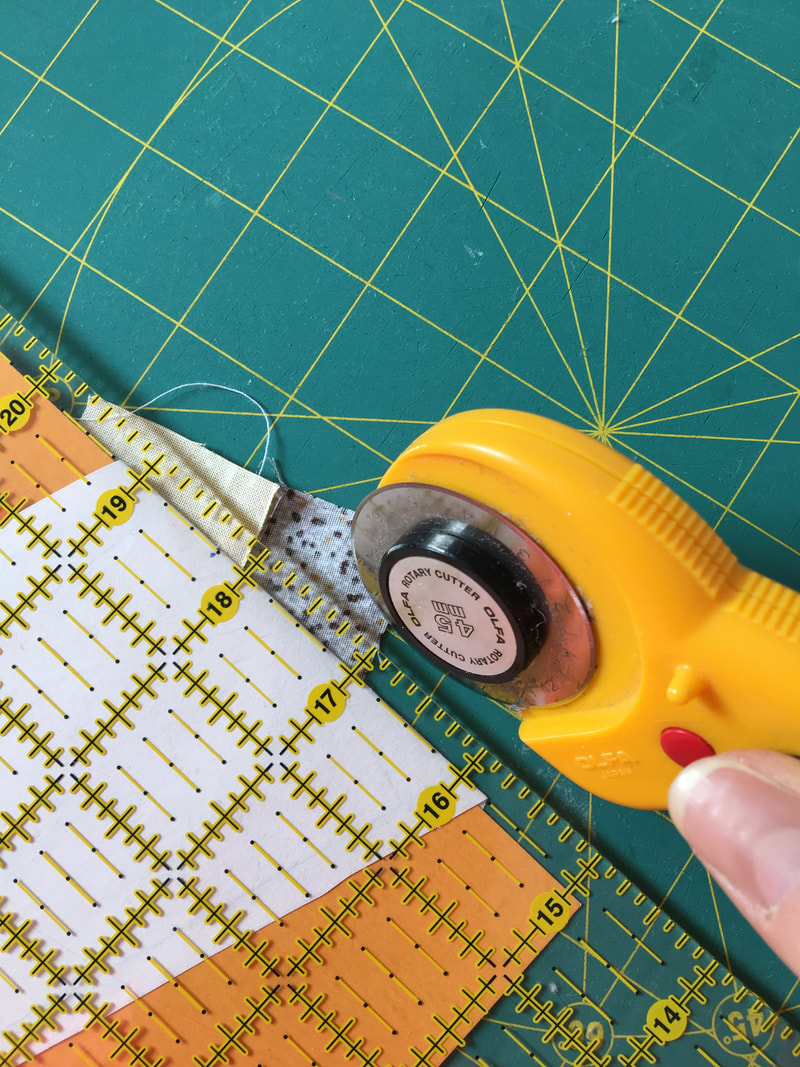
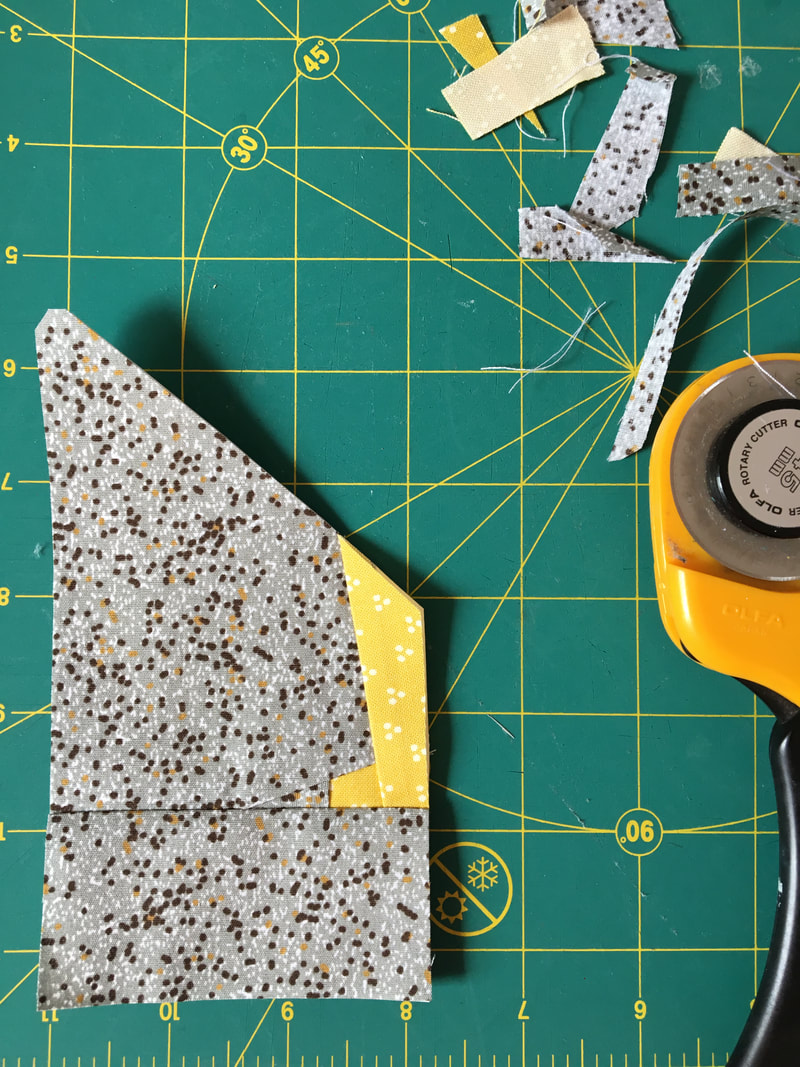
2. Lightbox. This is needed if you don't want to cut too much.
3. Rotary cutter and Cutting mat. Pictured is a rotating cutting mat, and I highly recommend these. 
4. Good quality scissors. There's nothing worse than dull scissors :-)
5. Fabric glue pen. This is if you're using foundation or regular printing paper. I prefer glue to pins.
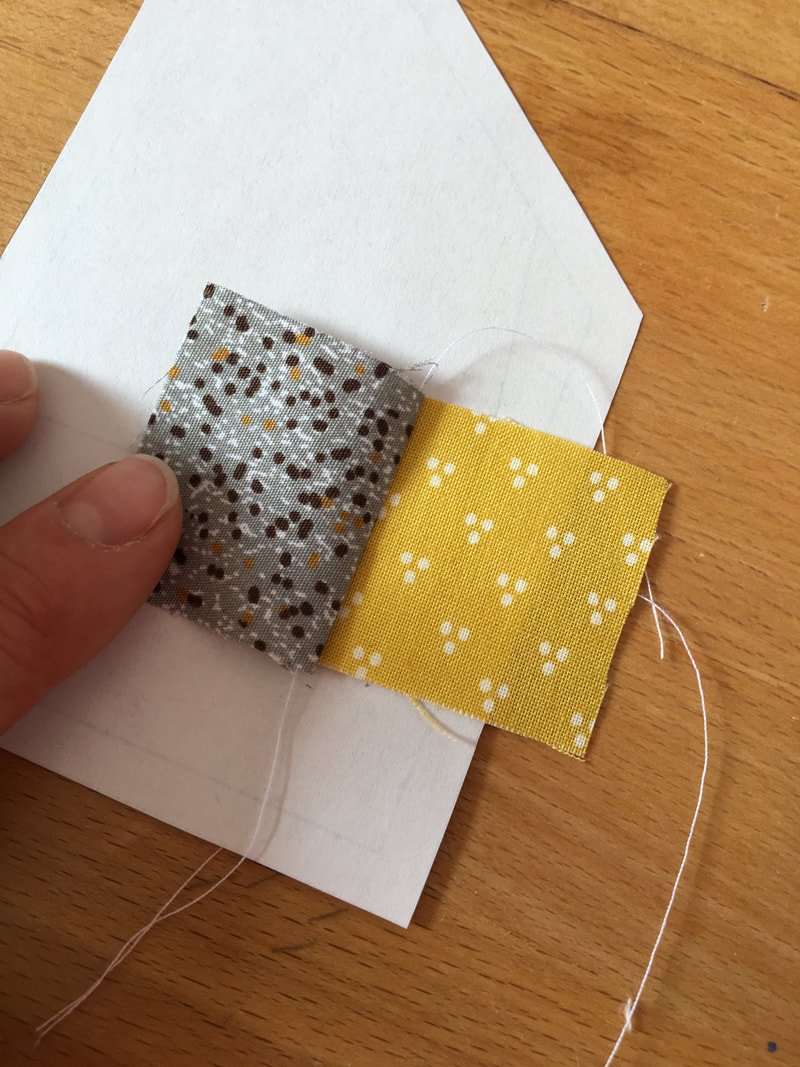
6.Quilt rulers. There's tons of options, I use my 6" x 23" Omnigrid the most.
7. Thread. Don't underestimate the importance of thread. I use Aurifil 50-weight thread. It's thin and strong and made of 100 % Egyption Mako cotton.
Bild

Step 1: Choose Fabric and Trace

After choosing your fabric for the block, you print or trace the pattern onto foundation or freezer paper.

TIP
Regular paper works too, but foundation paper is thinner and makes it easier to remove the paper after sewing. Freezer paper gives you additional stability because you can iron on the fabric, that way it doesn't move while sewing, but its thicker and not as easy to remove afterwards.

Bild

Step 2: Cut Paper Segments

Now you cut out all the segments. I always lay them according to the numbered overview, it makes it easier for me to see what is what.

Bild

Step 3: Iron the Fabric to the Paper

Flip the pattern segment over so the unprinted side is facing you. Place a piece of fabric right side up, over section 1, making sure it's at least 1/4 " larger than section 1.
Then turn the segment as shown in the picture and hold it against light to make sure the fabric is positioned right. Iron (with freezer paper) pin or glue (washable textile glue) the piece of fabric in place.


Bild

Step 4:  Align Fabric Pieces

Place fabric for section 2 together with piece 1, aligning the raw edges.
When you fold over fabric 2, it must be large enough to cover section 2 entirely plus at least 1/4 " around the parameter of the section. (see picture)


Bild

Step 5: Sew dotted line

Sew along the dotted line. ( I dotted the line for the photo, so its obvious where to sew)

TIP
​I always set my machine to 1,5 stitch length, or 16-18 stitches per inch (very small). This will make it easier to remove the paper after you finished sewing.

Bild
Step 5 (second picture)
Sew along the dottet line.

Bild

Step 6: Press Both Sides

Open piece 2 so the right sides of the fabric are showing. Press now with the iron or finger press.

Bild

Step 7: Turn and Fold

Turn the segment so the printed side is facing you and place a notecard ( or postcard) on the stitching line to the next section. Then fold the paper over the edge of the card for a nice and crisp fold.

Bild
Step 7 ( second picture)
…

Bild

Step 8: Trim Seam

Trim the seam allowance to 1/4" using a rotary cutter and an acrylic ruler.

TIP
There's a ruler called 'Add a Quarter' which makes it really easy to cut the perfect seam allowances. But a regular ruler or just eye balling it will work just as fine.

Bild

Step 9: Cut Next Pieces 

Cut the next piece of fabric, again so it covers at least 1/4 " more than section 3.

​Note! the wrong side of the fabric is against the unprinted side of the paper.
Now you place again the right sides of the fabrics together with the raw edges aligning and sew along the next line ( here it is section 1/2 against 3 , see fold)

Bild

Step 10: Repeat Steps 6-9

Add the remaining pieces of fabric in numerical order, using the same method in steps 6-9.

Bild

Step 11: Trim the segments and Finalize

Trim the segments along the 1/4" pattern edge. 
To finalize the block, sew the segments together as mentioned in the instructions.
If you've never done Foundation Paper Piecing before, and you want to try it out before buying expensive patterns, there's a free pattern in my shop the 'happy tree'  :-)
happy sewing :-)

You can also watch my tutorial video on you tube

sewing pattern
Picture
Visit us at
Newsletter
Contact
Retail Partners
Imprint
Privacy Policy
Terms and Conditions
Joe, June and Mae
Ingrid Alteneder
Germany
mail@joejuneandmae.com