|
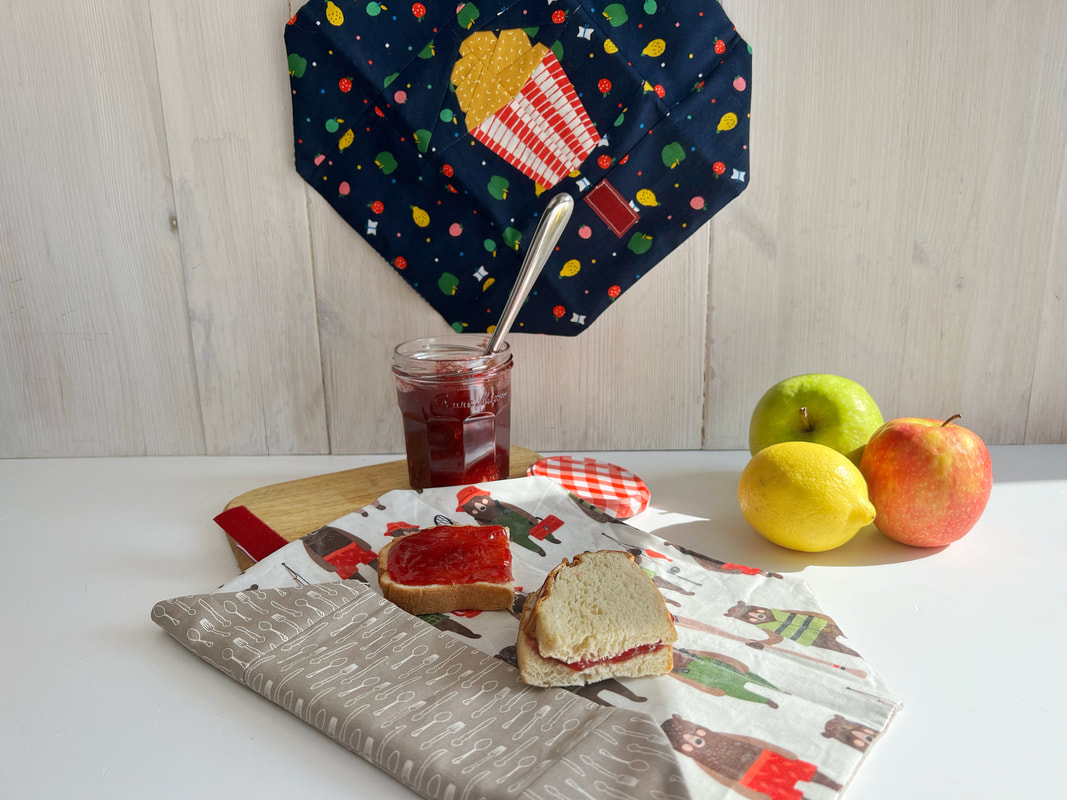
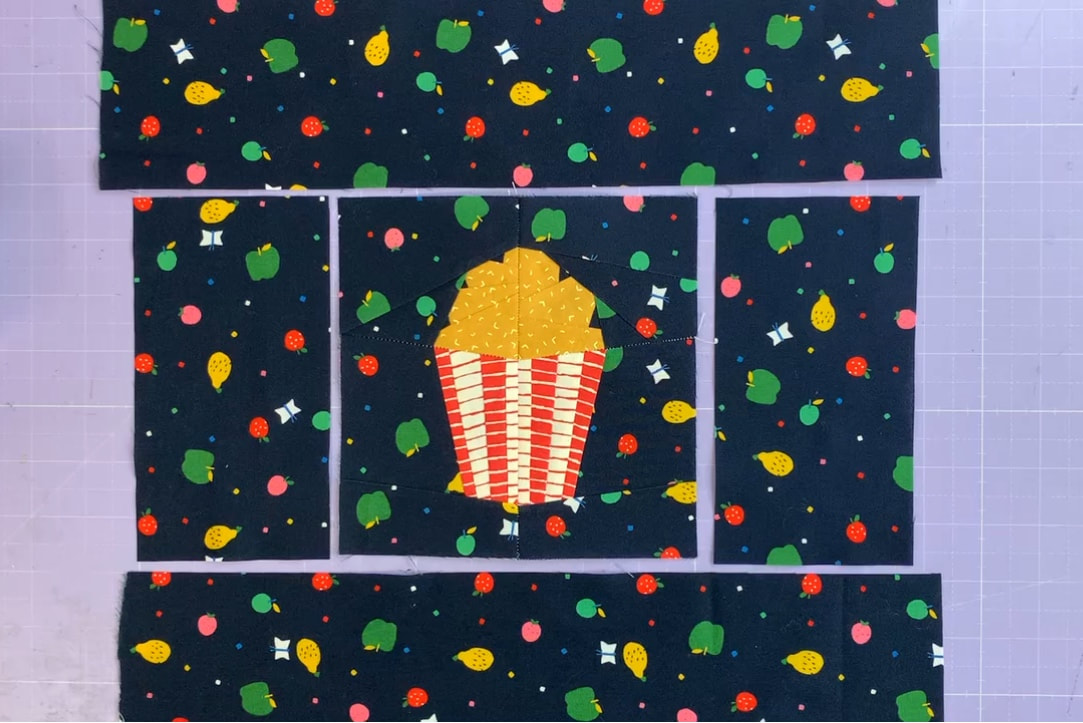
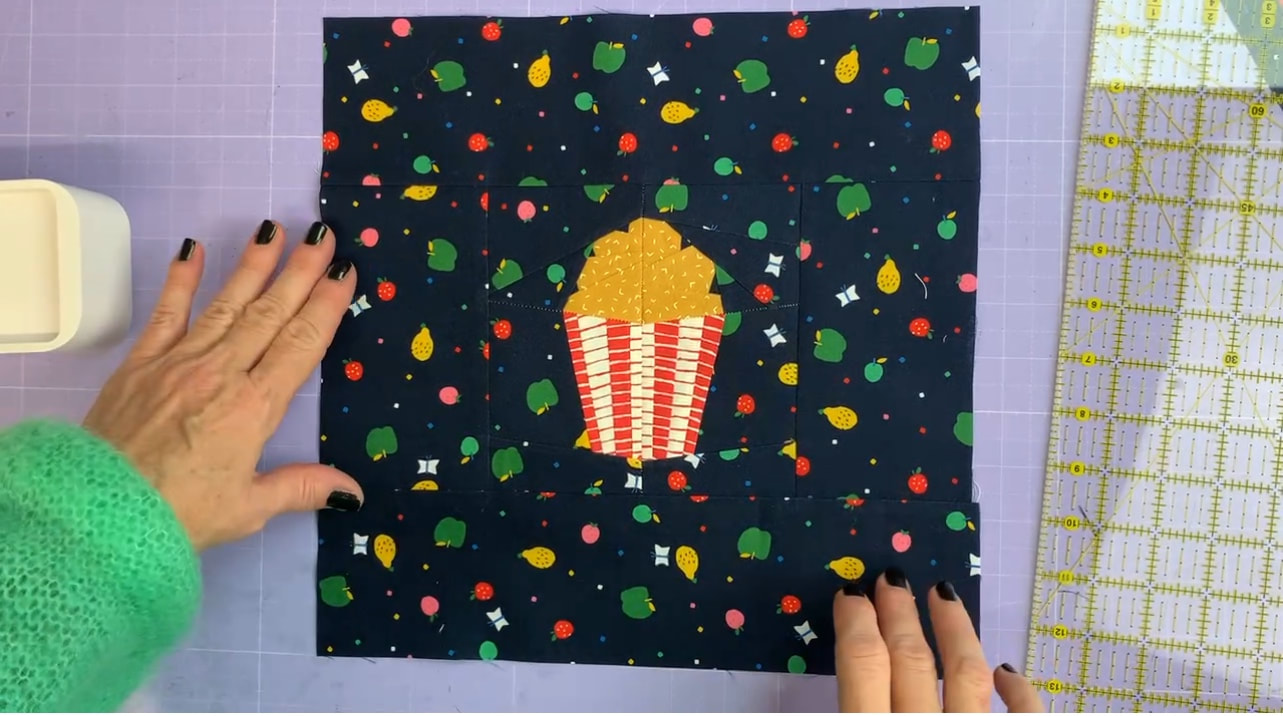
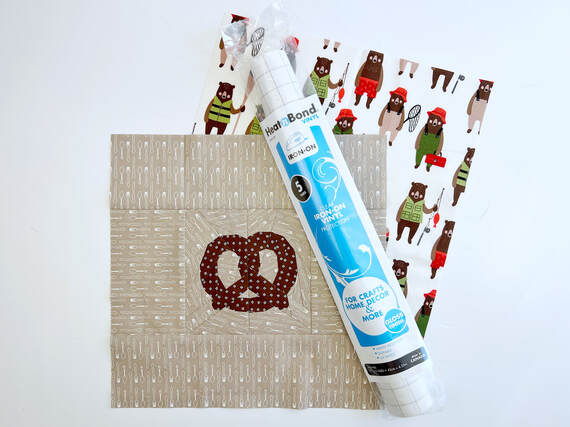
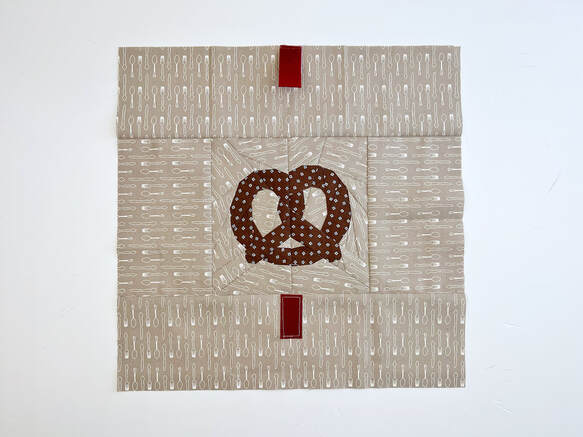
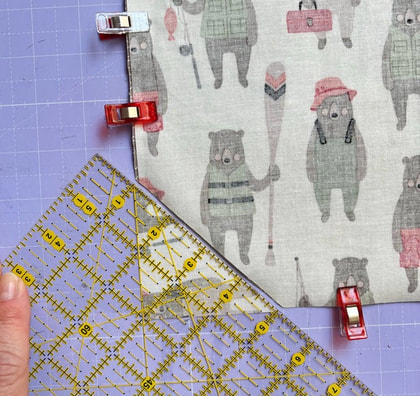
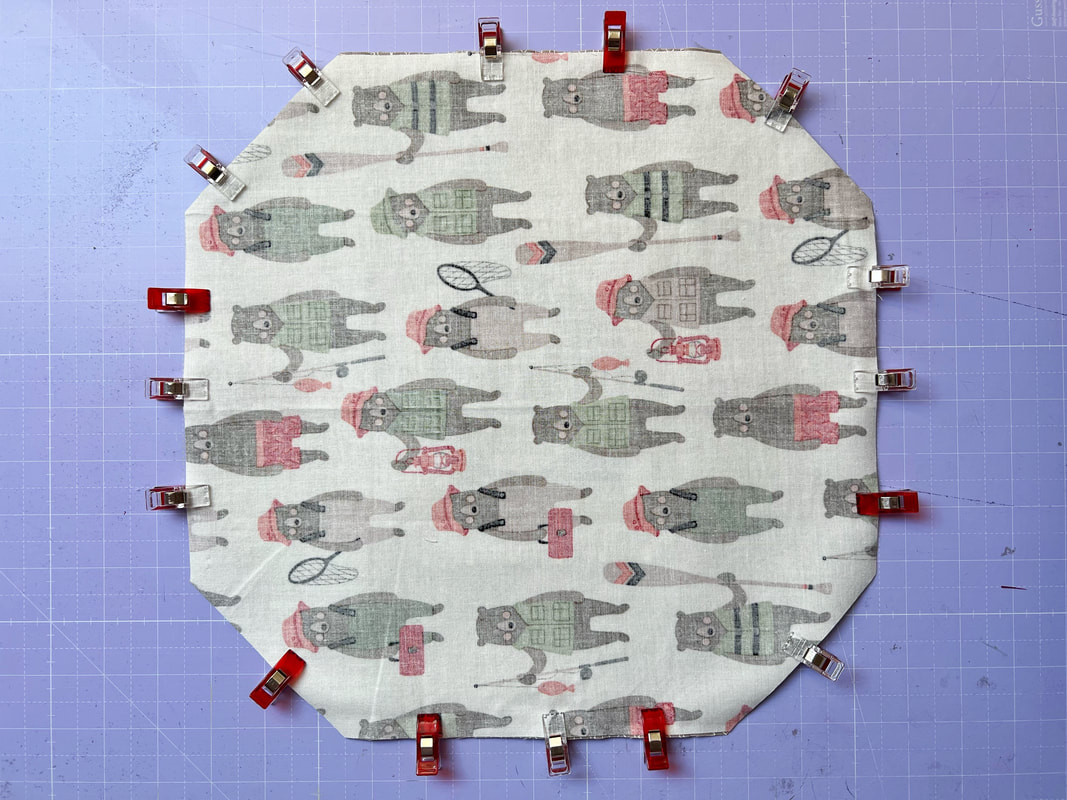
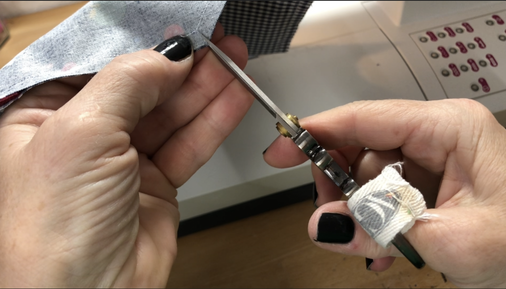
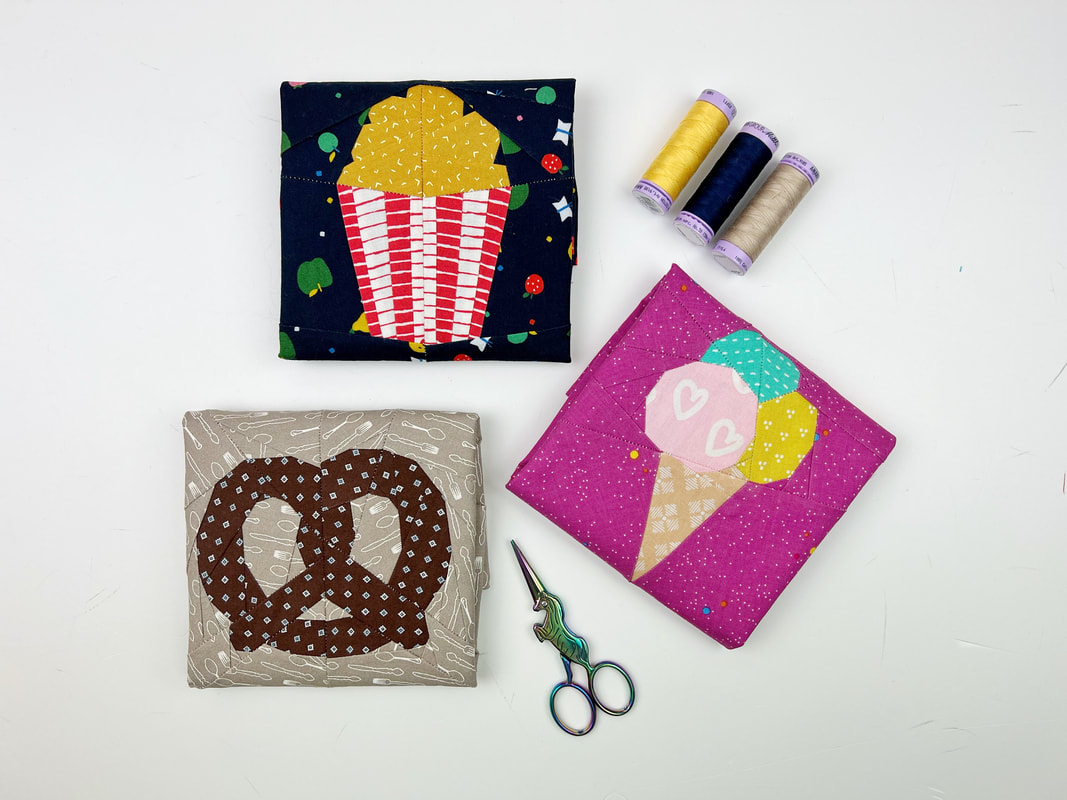
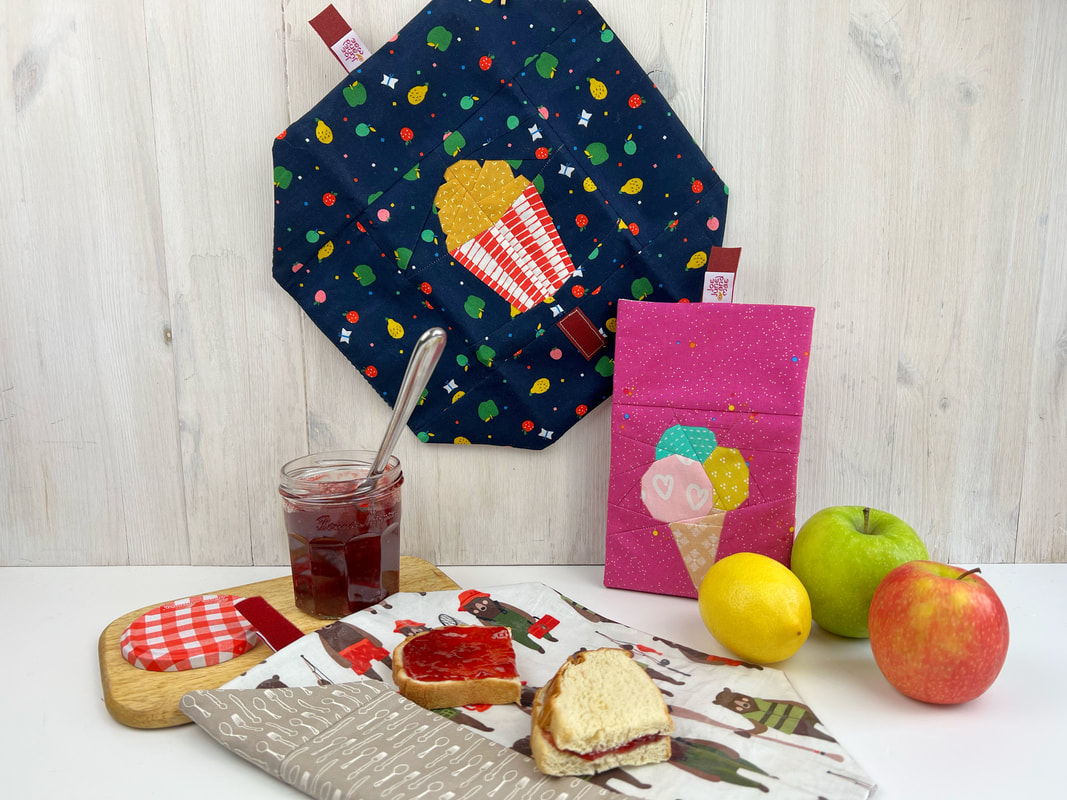
Now we all want to save plastic, no question about that. The easiest way to do this, is to start in our own home. I don't even want to think about the amount of little bags or foil I used to quickly wrap my kids lunch. Many years ago I made reusable lunch wraps and they are still in constant use. I experimented with lots of different materials and patterns for reusable sandwich wraps over the years. Here, I 'll show you my sandwich wrap pattern, that I like best at the moment .... and it totally helps, that it is SUUUUPER cute. I'm sure you can't wait to start sewing, so how to make a reusable lunch wrap? It's a lot easier than you think. Reusable lunch wrap pattern : please read through the instructions first ( finished size aprox. 12"x 12") Tools needed: -sewing machine -cutting mat/ rotary cutter and acrylic ruler -pins or clips and iron optional tools to make your life easier: -spray baste -fabric glue pen for your foundation paper piecing Materials needed: -one of the food quilt blocks in size 6"x 6" (will be 6 1/2" square when sewn together) I used the pretzel, ice cream cone, and pop corn. - 2 strips of fabric for the side of the quilt block 3,5"x 6,5" - 2 strips of fabric for the top and bottom of the quilt block 12,5"x 3,5" - 2" velcro strip (I cut the 'hooked' part a little shorter 1,5") for the lining: - a piece of fabric 12,5"x 12,5" - Heat'nBond vinyl 12,5"x 12,5" (or a piece of clear vinyl 12,5"x 12,5") Step 1: Sew the quilt block of your choice in size 6"x 6" (the finished block will be 6,5"x 6,5" when sewn together, that includes the 1/4" seam allowance) Then cut the fabric strips for the sides and top and bottom of the quilt block. What fabrics can I use for reusable snack bags and sandwich wraps? You want fabric that is water resistant or waterproof. That's the reason why I used Heat'nBond Vinyl to cover the lining fabric. You could also use oilcloth ( typically cotton) that's coated in linseed oil to make it waterproof. You could also use beeswax covered fabric or coat your fabric with beeswax yourself. Step 2: Attach the side strips of fabric and the top and bottom strip to the quilt block. Sewing the side strips on first and then the other two fabric strips. Square off the sandwich wrap top with your ruler, so it measures 12,5"x 12,5". Then cut the lining piece of fabric and the Heat'nBond to 12,5"x 12,5". Step 3: Attach the Heat'nBond to the lining fabric. This is done by peeling off the paper of the vinyl and putting the 'sticky' side towards the fabric. You can still correct it, it will only melt into the fabric once you press it. lay the paper on top and press it with medium heat. If you're using clear vinyl, you just cut the vinyl the same size as the lining piece and lay it on top of the lining fabric. *HeatnBond Iron-On Vinyl contains no BPA or lead. However, Iron-On Vinyl does utilize a plasticizer, DID in the manufacturing process. At this time there is no data testing regarding Iron-On Vinyl on children's toys, bibs, food storage, etc. since this product was not intended for children. Step 4: Cut the VELCRO strips. I did cut the 'hooked' part to 1,5" and the velvet part a little longer to 2". Btw. here is a little fun fact about VELCRO that you probably didn't know. VELCRO was invented by a gentleman in Switzerland named George de Mestral in the 1950s. In Switzerland French is one of the official languages of the country. So VELCRO got its name from the French words “velour” (velvet) and “crochet” (hook), de Mestral created the iconic VELCRO® trademark to identify his brand of hook and loop fastener. Stitch the 'hooked' part of the VELCRO right underneath the quilt block in the center of the bottom fabric. Stitch the 'velvet' part to the center of the top edge of the sandwich wrap, with the velvety side facing up. (I placed a small 'JoeJuneandMae' logo underneath it as well) Step 5: Place top fabric and lining fabric of your lunch wrap, right sides together and pin or clip in place. (if you're using clear vinyl, the vinyl will now be placed between lining and top of your lunch wrap.) Then cut off the corners at a 45° angle. Measure 2" from the corner edge and align your clear ruler at the 45° line, as shown in the photo. The long side of the cut off triangle will be 4". Then pin or clip the corners in place as well. Step 6: Stitch all the way around it with 1/4" seam allowance leaving a 3" opening on one side for turning your sandwich wrap later. Before turning the sandwich wrap inside out, clip the corners carefully , this gives you nice sharp edges when turned inside out. Now turn the lunch wrap inside out and push out the edges carefully. Step 7: Fold in the seam allowance at the opening and stitch close with a very small seam allowance. And here we go ... You are all done and you are now the owner of the cutest reusable sandwich wrap. Aren't these the best? Which one is your favorite? I know you want to pull out all your cute fabrics right now and start sewing a reusable lunch wrap right away, am I right? Happy sewing Ingrid xx
2 Comments
|
Author
Ingrid Alteneder Archive
March 2022
Categories
All
|
-
Shop
- New patterns
- All Patterns
- Appliqué Patterns
- Animals
- Baby
- Ballet
- Bear Cottage
- Beach/ Boats/ Nautical
- Buddha/ Mindfulness
- Chinese New Year
- Christmas
- Easter and Spring
- Fairytale
- Fall/ Autumn
- Flowers, Trees and Plants
- Food/ Drinks
- Halloween
- Oktoberfest
- Quilted items
- Stars
- Viva la Frida/ Dia de los Muertos
- Valentine's Day
- Village Patterns
- Mixed pattern
- Home
- About
- Blog
- Publications
- Etsy
- News
- Deutsch
|
Visit us at
|



 RSS Feed
