
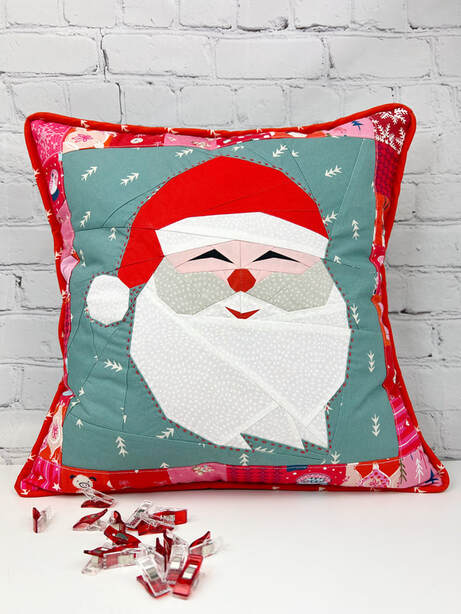
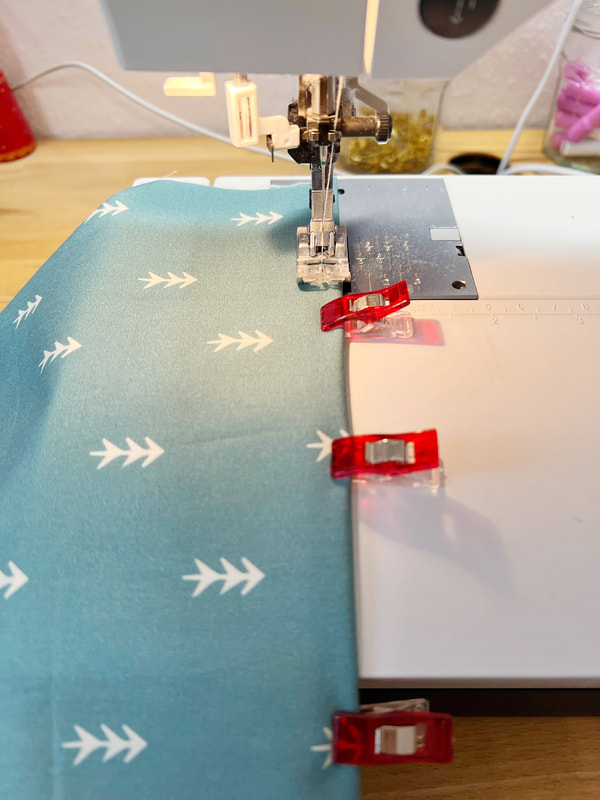
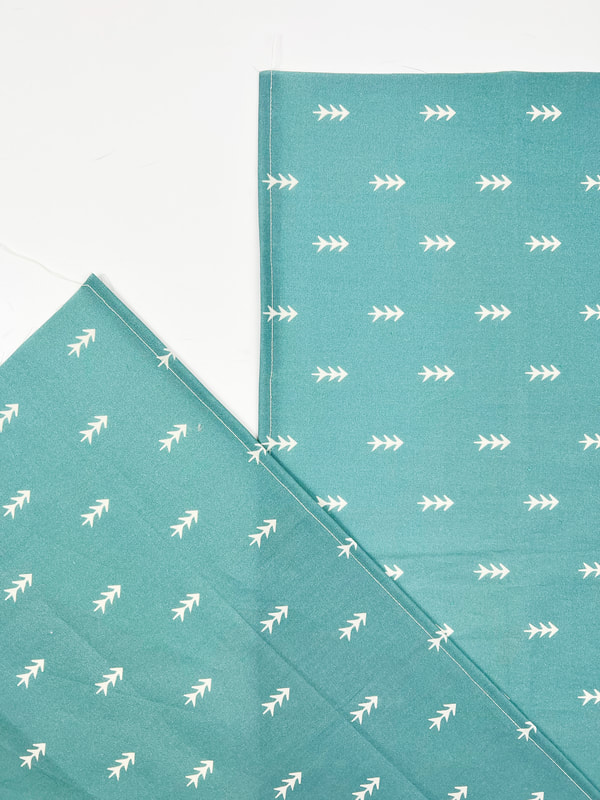
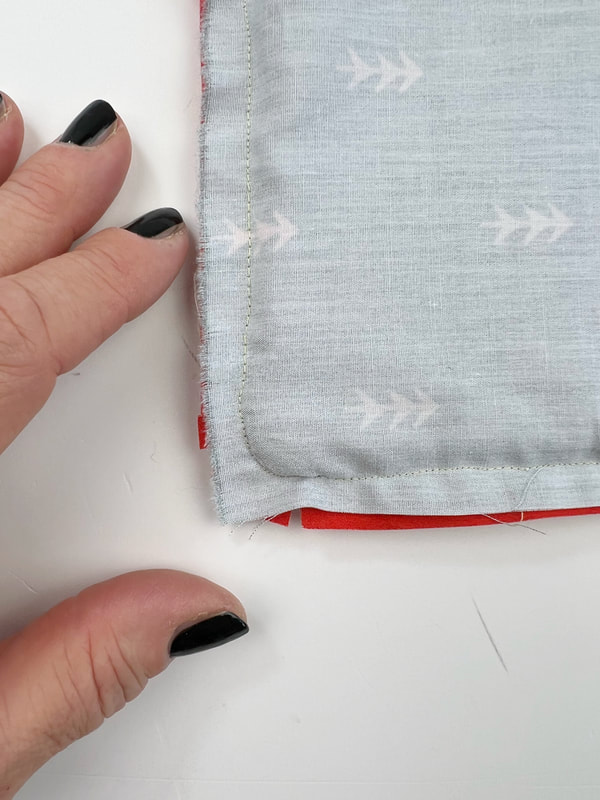
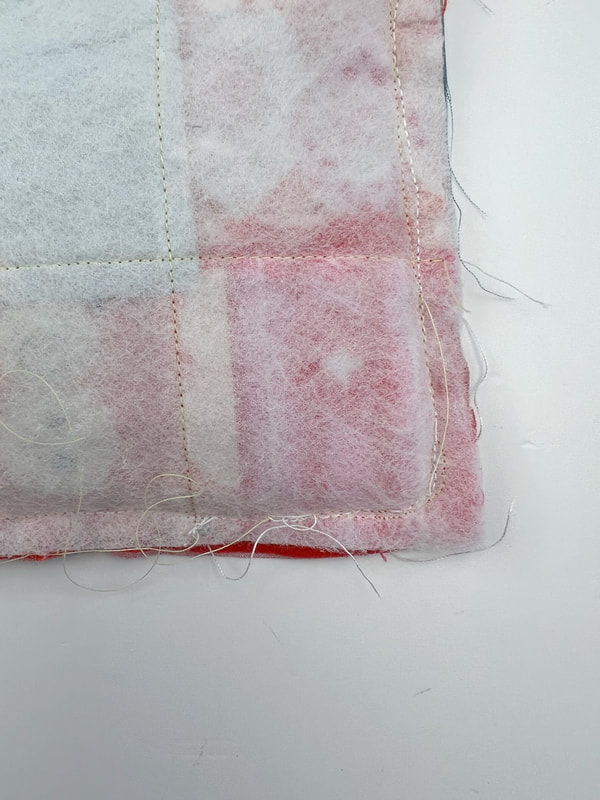
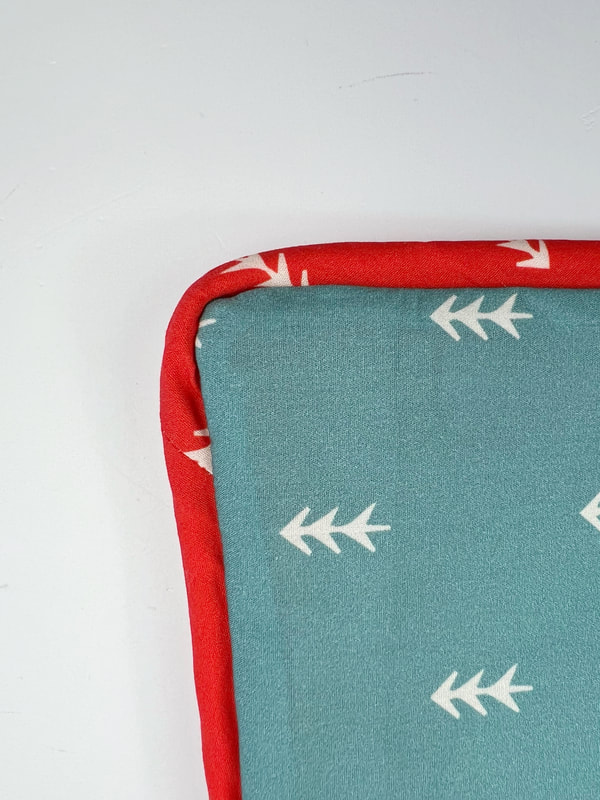
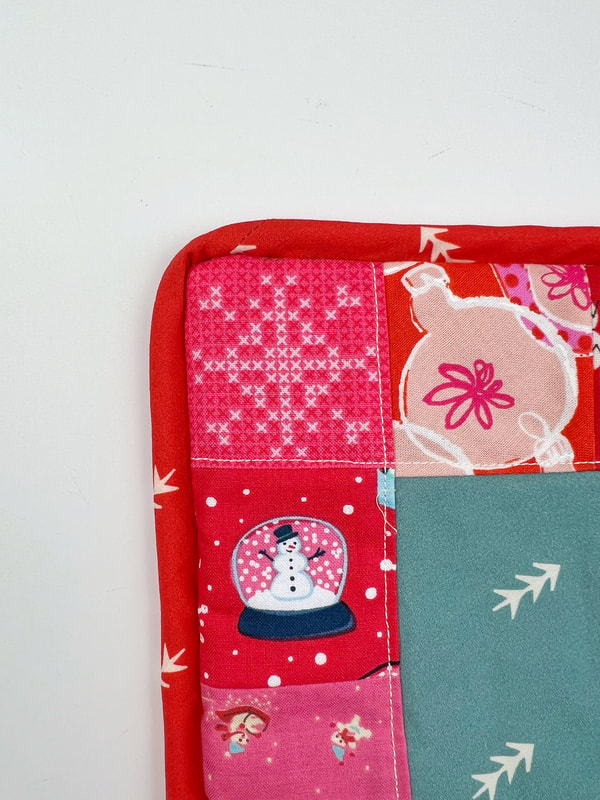
 Santa pillowcase Did you ever wonder how to sew a fancy cushion cover with piping? You want a professional-looking pillowcase with piping on the edges? Here is a super easy step step by step tutorial. Since 'tis is the season' I will use my happy Santa Head quilt block for this tutorial. 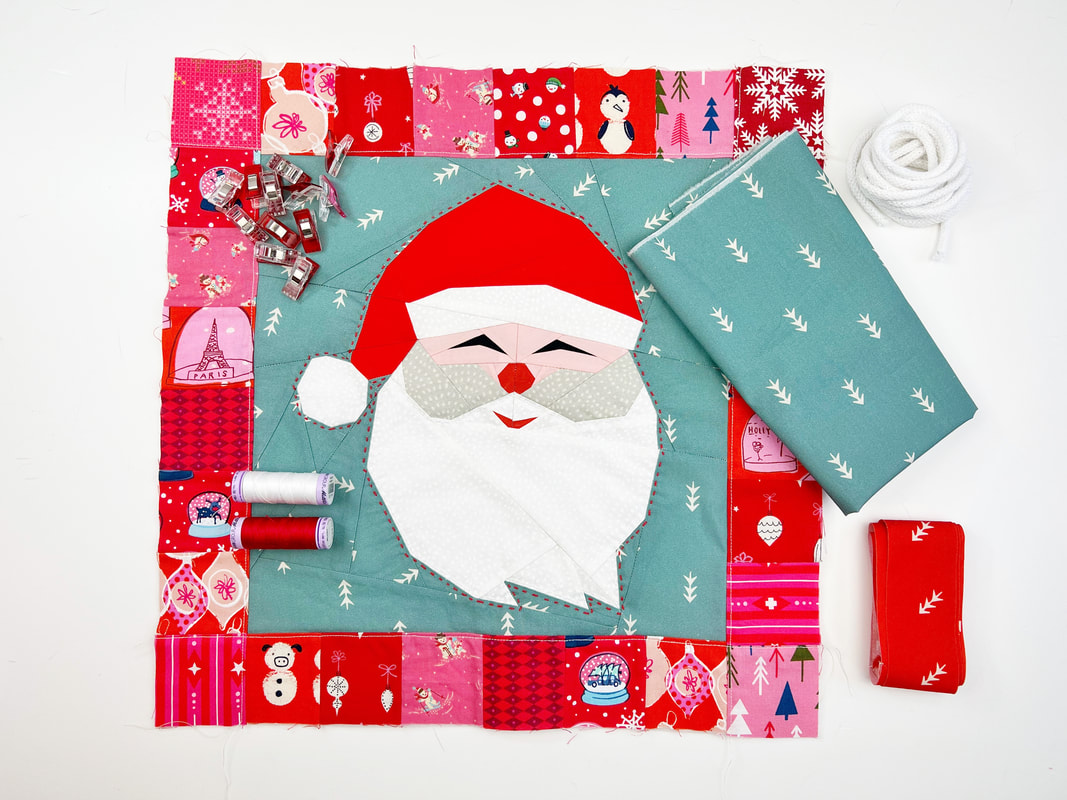 Materials for Santa pillowcase Materials needed: (for a pillowcase aprox. 15.5"x 15.5" finished) - quilt block 12"x 12" plus 28 2 1/2 " squares around the quilt block or a 16"x 16" quilt block (or of course a 16"x 16" piece of fabric if you don't want to use a quilt block as pillowcase front) - for the back 2 pieces of fabric 16"x 13" - 70" piping - either store bought piping or you can make your own piping. - square shaped cushion insert. Either you purchase a new insert or reuse one of your existing pillow inserts. - Sewing machine, acrylic ruler, scissors, pins or clips. Instructions: 1. Sew your quilt block , or cut your fabric for the pillowcase front accordingly. 2. Attach the 2 1/2" squares to your quilt block ( if you're making a pillowcase like the one I am using here. You will find a full tutorial on a pillowcase with fussy cut squares like this one here and I also made a little quick video) 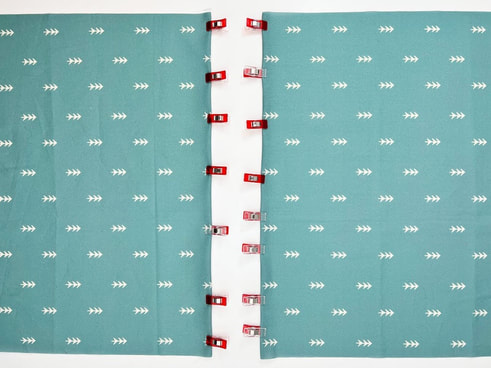 backing of envelope pillowcase 3: Preparing the back Fold over one of the 16" edge on each of the fabric pieces for the back. Fold over 1/2 " twice and clip in place. Then stitch along the edge with a small seam allowance. If you have directional fabric, make sure the fabric pieces are both facing the same direction, and that you fold in the edges that face each other. 4. Stitch the hem in place with a small seam allowance. 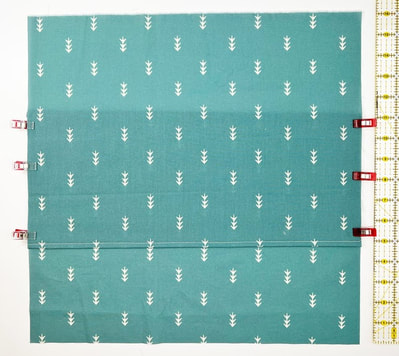 overlap the hemmed edges for the envelope pillowcase backing 5. Overlap the hemmed edges so that the back becomes the same hight as the front ( 16" in this case here) and clip the overlapping edges in place and stitch with 1/8" seam allowance to hold it in place. Attaching the piping: 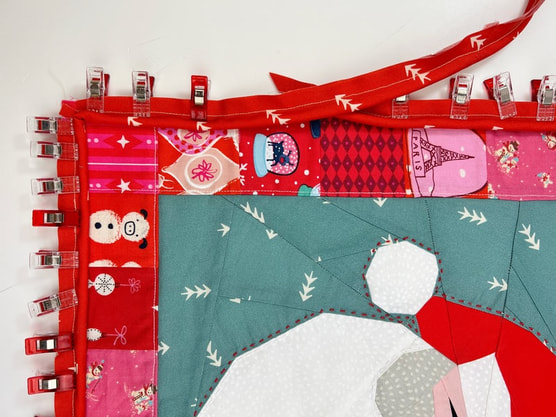 Clip the piping in place 6. Now you start pinning or clipping the piping in place, I definitely prefer clips. I always hurt myself using pins. So clips it is. Take the front of your pillowcase and start clipping the piping to the edge. I like starting a couple of inches from the corner roughly at the center of one side. The stitching of the piping should be in line with your seam allowance. Since this will be the line that you will sew on. Tweet this: In my case it's 1/4" seam allowance. The seam allowance of my piping is also 1/4" ( from the edge of the tape to the stitching) so align the raw edges of the pillowcase front and the piping. 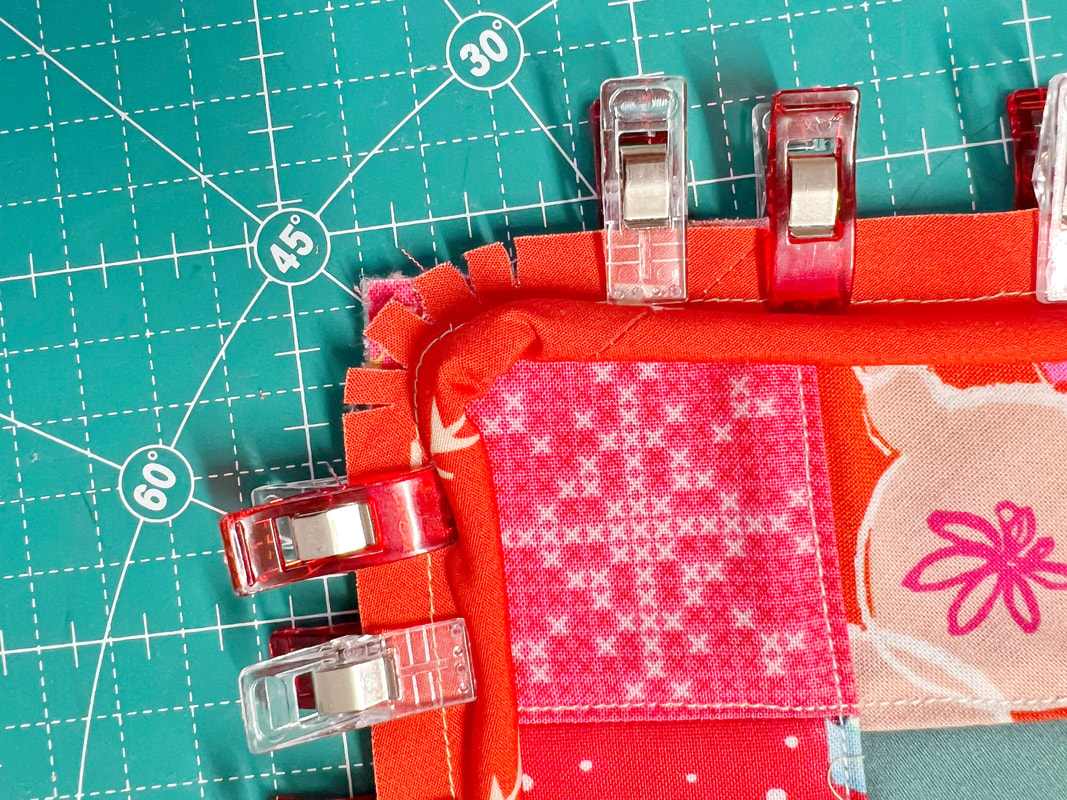 Clip the edge of the piping for the corners 7. Work the corners. In order to avoid wobbly crooked corners, carefully clip the edge of the binding to help it bend around the corner. Make sure you do not cut into the stitching line of the piping. You can see in the photo, that the inner piping wrinkles slightly, this will straighten once you turn your pillowcase inside out.  piping clipped in place 8. Clip the piping all the way around the pillowcase front until you get to where you started there you overlap the ends of the piping for about 2"-3" and leave it open. 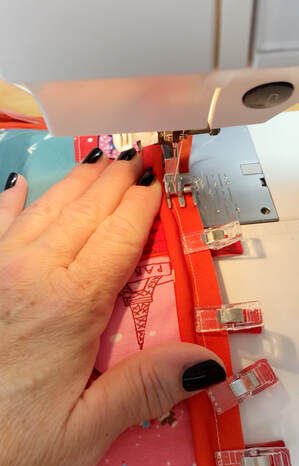 attach the piping to the pillowcase front, stitch on the same stitch line 9. Stitch the piping to the pillowcase front. Make sure you stitch on the same line as the stitch line of the piping. This ensures a perfect looking piping once you turn the pillowcase inside out. This way you won't see the stitches of the piping on the outside of your pillow. So I can not stress enough: ALWAYS STITCH ON THE SAME STITCH LINE! Leave the ends of the piping loose, meaning you don't stitch these in place yet. How to join the ends of the piping properly? There are different ways to joining the ends, I personally like this one the best, and find it the easiest. 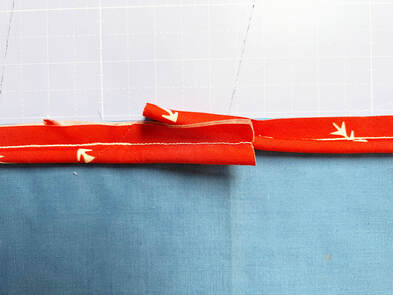 let the piping overlap for about 2 " 10. Leave the piping to overlap about a 2"-3". Leave these ends loose. 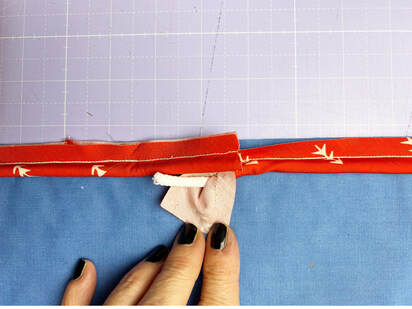 remove the stitch of the piping on one end and expose the cord 11. Open the stitching of the piping on one of these ends (I will call them left and right end in this tutorial to make life easier, but it really doesn't matter which end you take) So again, open the stitching of the right piping and expose the cord. 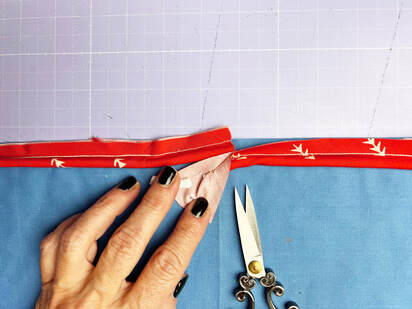 cut the extra cord 12. Cut the extra piece of cord on the right, that you exposed. Your goal is to lay the left end of the piping inside the bias tape on the right and wrap it inside the bias tape. 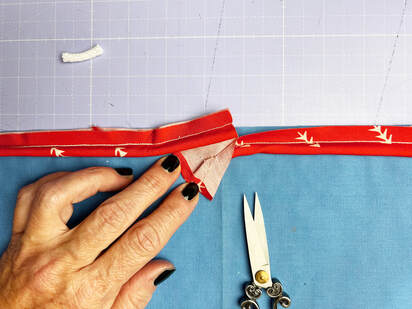 Fold in the bias tape for about 1/4 " 13. Fold in the bias tape on the right about 1/4". 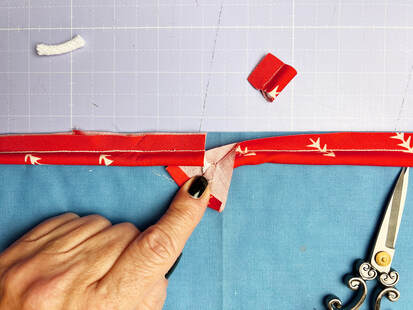 cut the other end to where the cord ends 14. Now cut the left end of the piping to where the cord ends. So that the two ends of the cord touch. 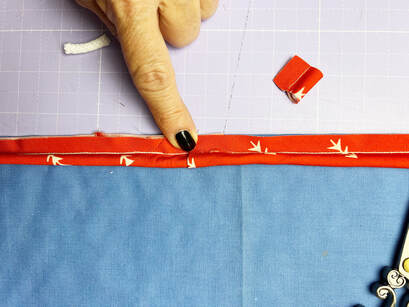 wrap one end of the bias tape around the other. 15. Wrap this end into the left bias tape and clip or pin in place. 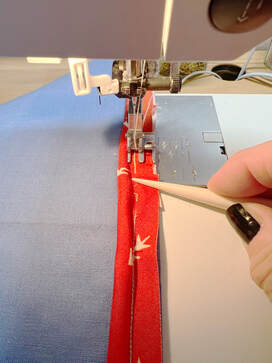 stitch piping end in place 16. To finish your piping, stitch the piping in place. Again make sure you are stitching on the stitch line of the piping. Perfect, now you stitched the piping in place.  All you need to do now, is attach the backing of the pillowcase and you're all done. 17. Clip the backing to the pillowcase front. I like the opening of the back to be the top overlapping the bottom, but some people want the left overlapping the right, or the other way around. You decide for yourself, it's a square so it doesn't matter which way you place the backing to the front of the pillowcase size wise. 18. Stitch the backing to the front, and again...don't laugh please, you will thank me later.... Stitch on the same stitching line again! Then turn your pillowcase inside out... and YAYYY all finished! 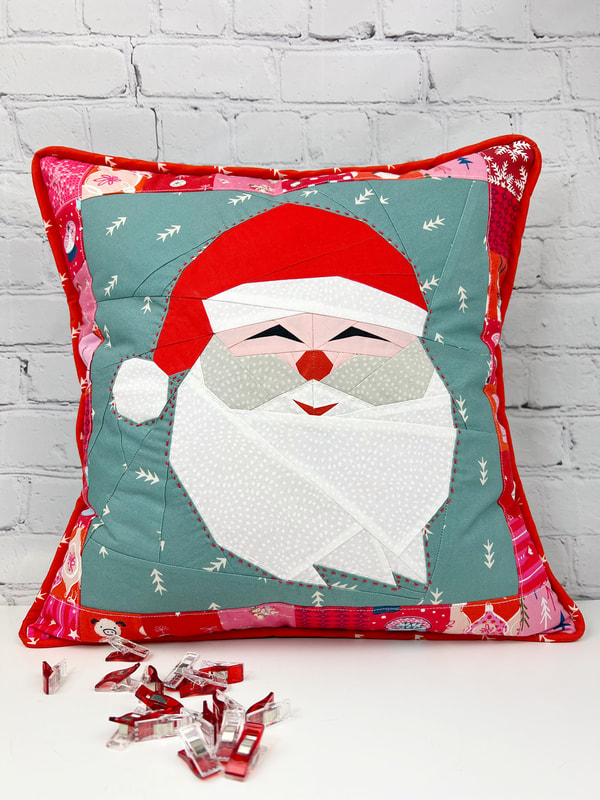 What do you think? Doesn't this look fabulous? And it's super easy, right? Just in case you are wondering, you will find the Santa Quilt block here. Happy sewing and Happy Holidays Ingrid xx
1 Comment
You know how to make your own bias tape, but you always wondered how to make your own piping? You're asking yourself how can I make my own corded piping? What is piping for sewing? Or what kind of piping do I refer to here? I am talking about a trim or edging around a pillowcase or bag, that typically consists of a thin strip of fabric, usually a bias tape with a cord inside. This narrow tube is attached to the edges of decorative items such as pillowcases, garments or bags to enhance the edges or give the items a more defined or professional look. 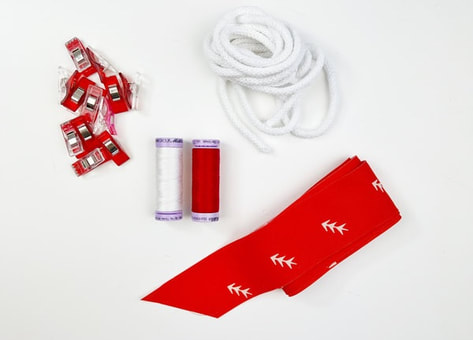 materials needed to make your own piping for sewing Materials needed: - Bias tape - cord - clips or pins - sewing machine, zipper foot, needle and thread The piping cords come in all different sizes and qualities and most importantly thicknesses. So depending on your project you can choose a very thin cord or a really thick one. I used a medium cord for this tutorial it's 1/4" (6mm) diameter. You will be sewing very close to the cord, so a zipper foot is extremely helpful. 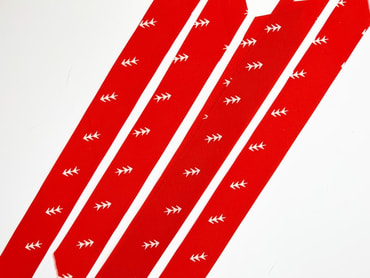 cut diagonal fabric strips 1. To start you will need diagonal ( 45° angle) fabric strips, also called bias tape. The fabric will be wrapped around your cord so the bias tape has to have the width according to the circumference of your cord. This means, you need to measure the circumference of your cord ( not diameter of your cord) then add the seam allowance twice and that gives you the width of your bias strips. 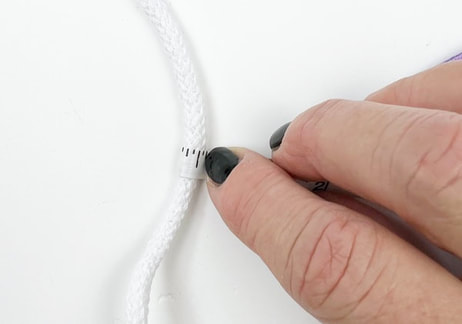 measure the cord circumference 2. You need to measure the circumference of your cord, mine was 5/8" in circumference (not to be confused with diameter!) Then you add your seam allowance (1/4" in my case) twice, and there you have your width of the bias tape: FORMULA: circumference of cord + 2 x seam allowance = width of bias tape In my case: 5/8" + 2 x 1/4" = 9/8" or 1 1/8" 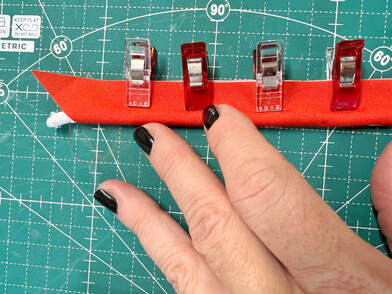 place cord inside of bias tape 3. Fold your bias tape in half, aligning the raw long edges. Place your cord in-between the folded bias tape. As you know, I prefer clips so here you can see, I clip this cord/ bias tape sandwich in place, but you can also use pins. If you're using pins you can either pin along the cord or you can place your pins vertically, depending on your personal preferance. If you want to be very neat, you can now hand baste along the piping with large running stitches, before you machine stitch your piping. I have to admit, when I first learned how to sew, from my Mum ( she was a home economics teacher) I had to hand baste everything. I wasn't very happy about that , as you can imagine, since it took so much time. But it helped immensely and my sewing was a lot straighter and neater than in would have been without the hand basting. 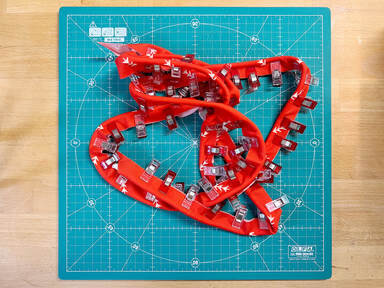 piping all clipped in place As you can see, these days I am not as neat and prefer a couple more clips. 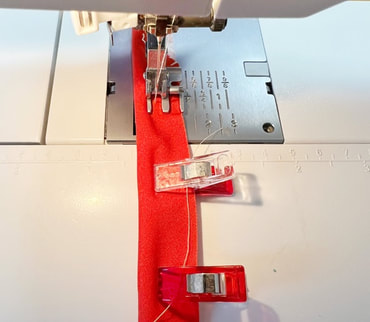 stitch along the cord with a zipper foot 4. Now stitch along the cord with a zipper foot. This allows you to get as close as possible to the cord. This tutorial is with a zipper foot, since most machines come with a zipper foot or most people have a zipper foot for their machines. Side note here: I turned the zipper foot of my PFAFF sewing machine the other way around so I can see more of my stitches. I wish this foot would come in clear acrylic, that would be perfect. (If you have a piping foot for your sewing machine, that's a different story. Then you place the cord under the round part of your piping foot and move your needle the side so you can stitch along the edge of the cord.) 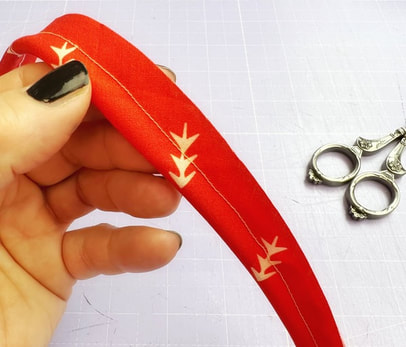 finished piping for sewing 5. And here it is, your very own individually hand made piping. This was easy peasy, right ? And here is a tutorial on how to use this piping in a project, and how to sew it into a pillowcase the super easy way. Check out this quick video with the full instructions.... Happy sewing Ingrid xCheers to a successful making of your piping :-)  |

Author
Ingrid Alteneder Archive
March 2022
Categories
All
|
 RSS Feed

|
Visit us at
|