|
Do you ever wonder where certain Christmas traditions come from?
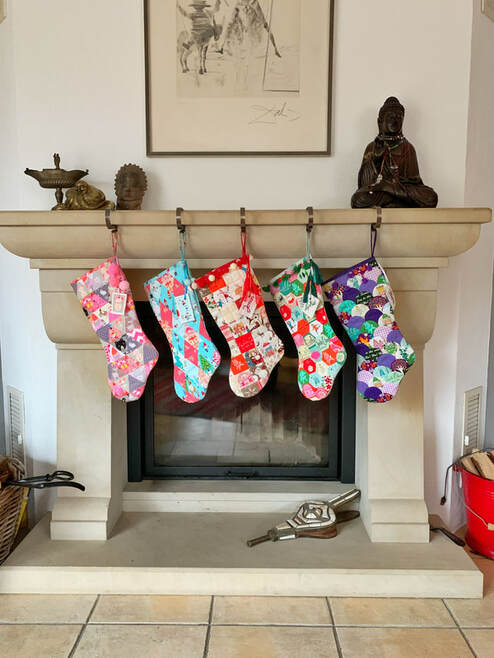
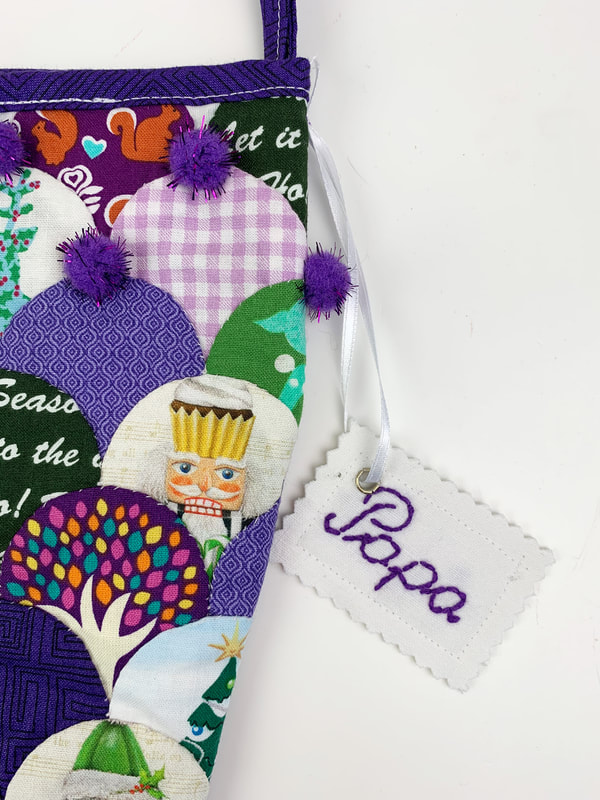
Well if you do and want to know more about Christmas stockings here is the story: The Christmas stocking tradition started in Europe, I have to add, a lot of Christmas traditions have, not sure why though, I have to get into that some other time. Christmas stockings traditionally have the owners name written on them, makes sense, otherwise Santa wouldn't know where to put the presents, right? " The stockings were hung by the chimney with care, in hopes that St.Nicholas soon would be there." - a visit from St. Nicolas Why People Hang Stockings
The Christmas stocking tradition is said to have started with the good deeds of a king noble man named Nicholas, who was born 280 AD, in Patara a city on the Mediterranean coast of Turkey. ( If you ever visit Turkey , you have to visit that coast, it's beyond beautiful).
Nicholas became a priest and used all his money to help the poor, the needy, sick or suffering. He was very religious and was made Bishop of Myra at a young age. He never married or had children. But he loved children and gave gifts often, this is why he also became known as the gift giver of Myra. He was a rich man and traveled all over the country and gave his gifts generously. He didn't want his identity to be known, so he gave his presents late at night. Children were told to sleep early, otherwise Nicholas wouldn't come. He became known as Saint Nicholas the patron saint of children and sailors. The most popular legend about why stockings are hung on Christmas is this: A very poor widowed father of three girls was worried his daughters weren't able to get married because of their impoverished status. St. Nicholas heard the story of the man and wanted to help, but he knew the father wouldn't accept any charity. So he slid down the chimney of the family's house and filled the girls' recently washed stockings, which were drying by the fire, with gold coins. When the girls woke up in the morning, overjoyed with the generous gift, they were now eligible to marry and they all were happy ever after... And there you have it, the Christmas stocking tradition was born. How To Make a Christmas Stocking From Hexies
Now lets make some great Christmas stockings ourselves:
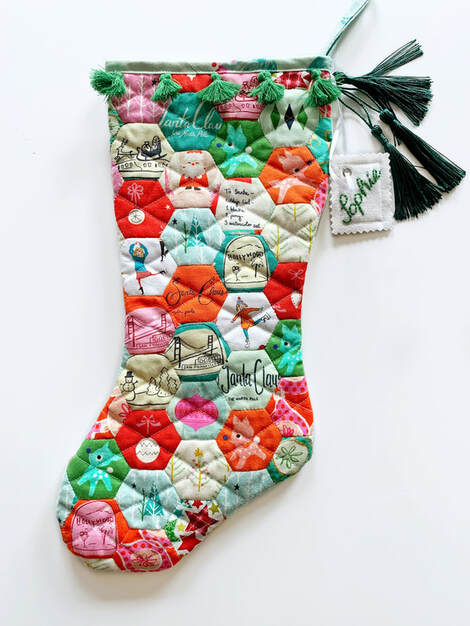
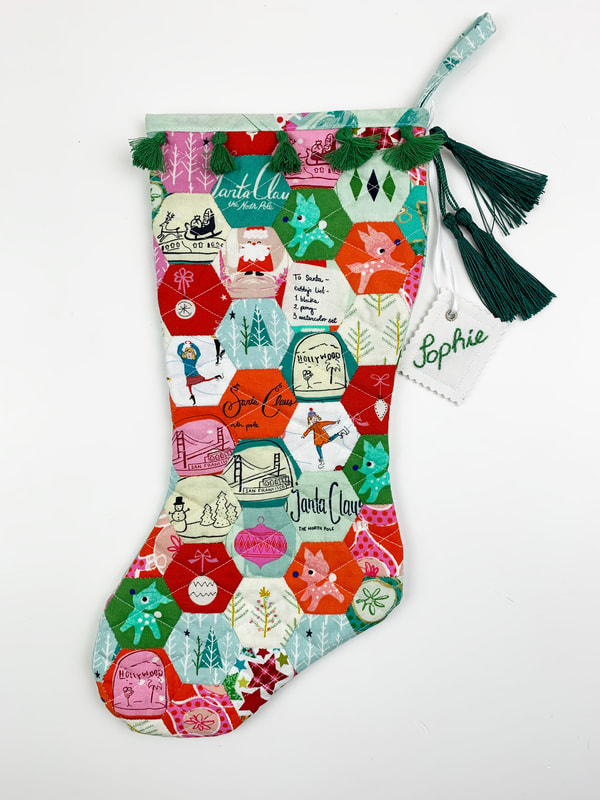
Fabrics needed for a Hexie stocking: - fabric scraps for about 42 - 1" hexies - 2 pieces of fusible interfacicing 16"x 9" - 2 pieces of fabric 16"x 9" for front and back lining - 1 piece of fabric 16"x 9" for the back - 1 strip of fabric 2"x 28" for binding - optional: tassels, fabric hangtag To make this process easier, you can download our Christmas stocking template.
Sewing the hexie Christmas stocking:
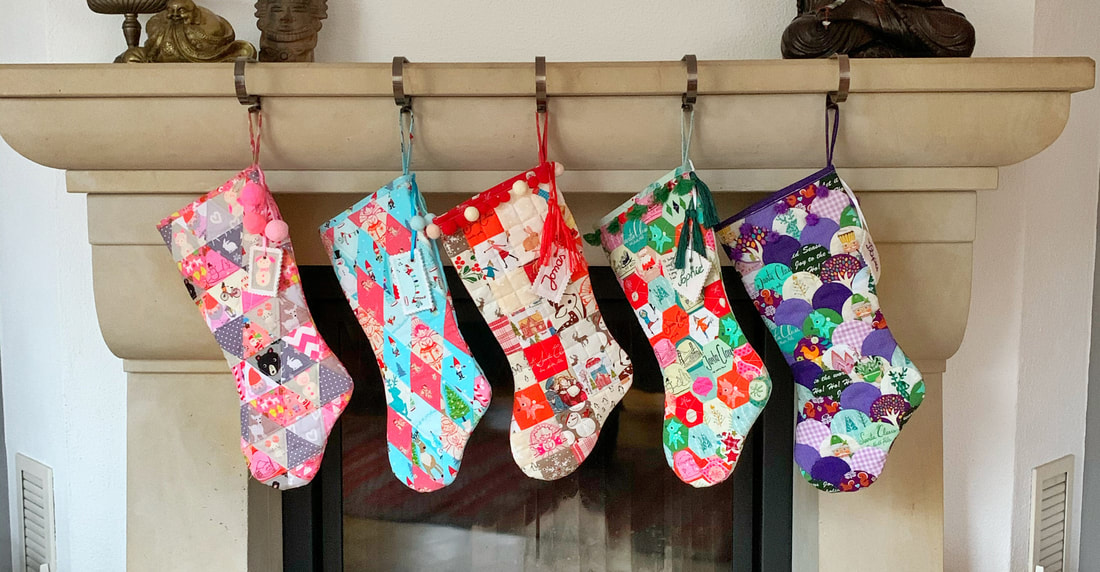
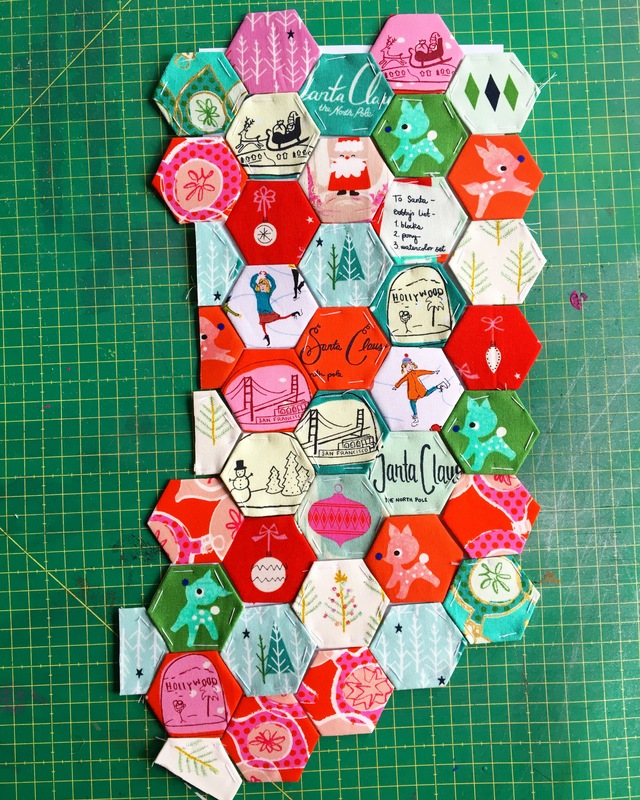
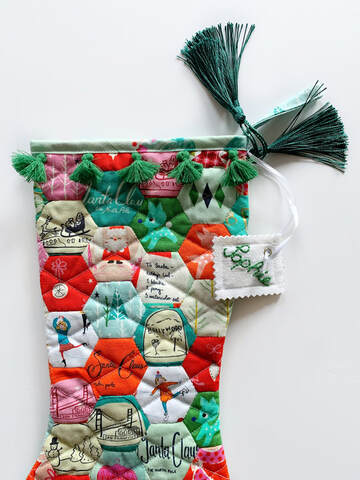
1. Print the stocking template and glue the two pages together and cut out the template. Find the PDF to the template here . 2. Baste about 42 - 1" sized hexies and place them on your stocking template. Depending on how you place them, you'll only need half hexies on the sides. This is a perfect way to use up all your adorable Christmas fabric scaps and do some fussy cutting.
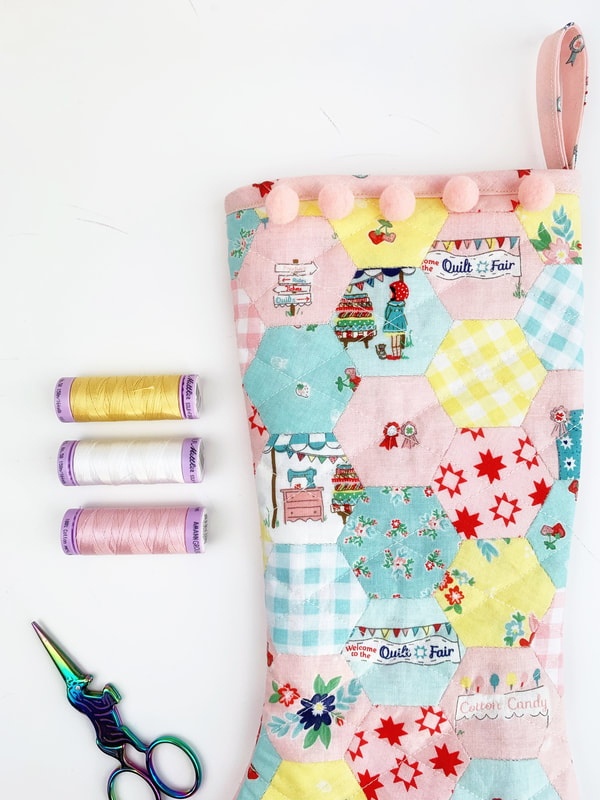
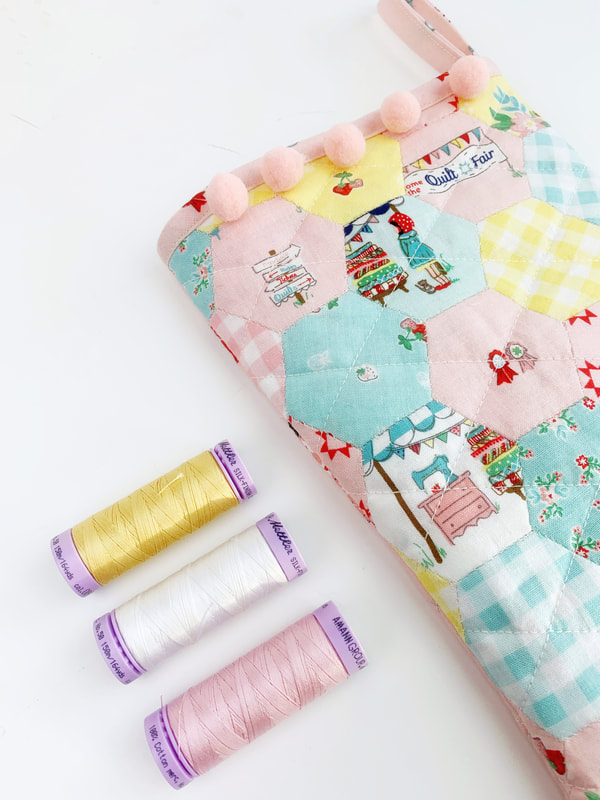
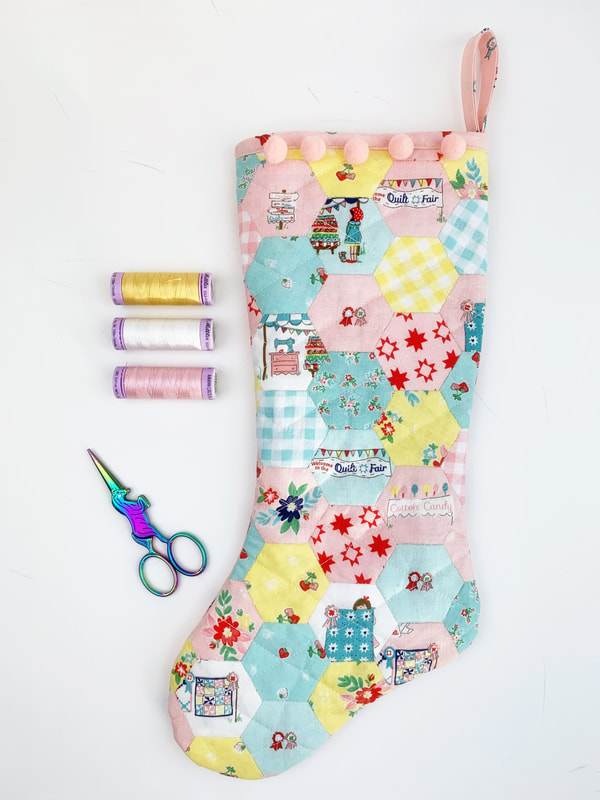
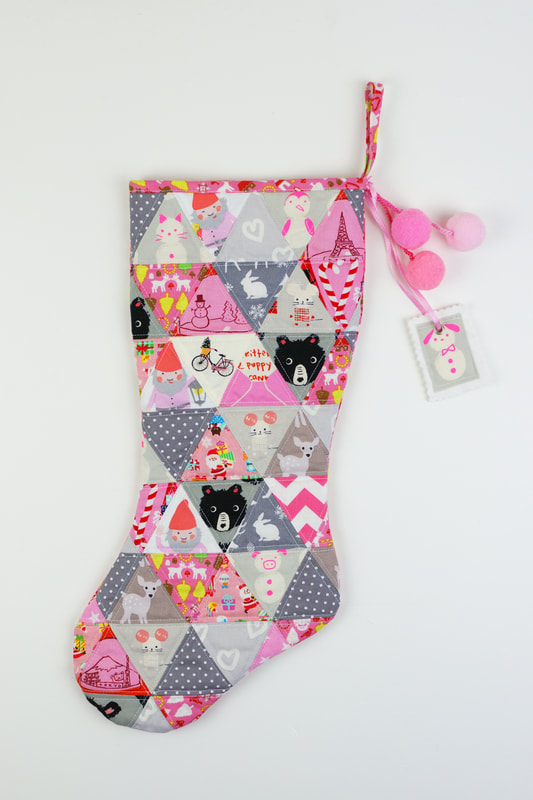
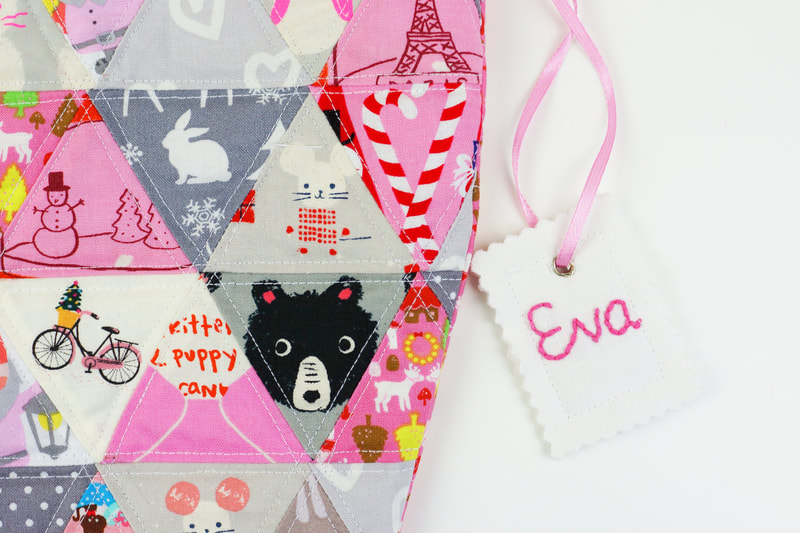
Even if you don't feel like using Christmas fabrics for your Christmas stockings, they look especially cute with all sorts of other fabrics too. I could not resist and had to make some with this uber adorable fabric line from Riley Blake Designs called 'Quilt Fair' by Tasha Noel.
Don't you agree, Christmas stockings in 'non-Christmas-fabrics' are equally cute? But let's get on with our sewing.
3. Sew together your hexies.
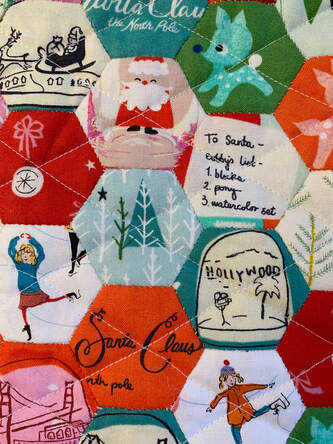
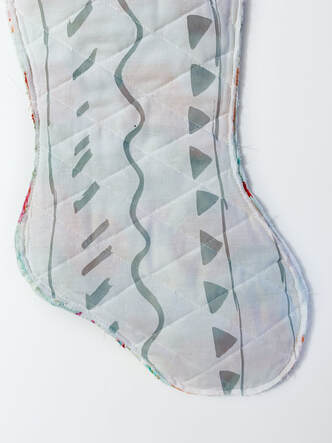
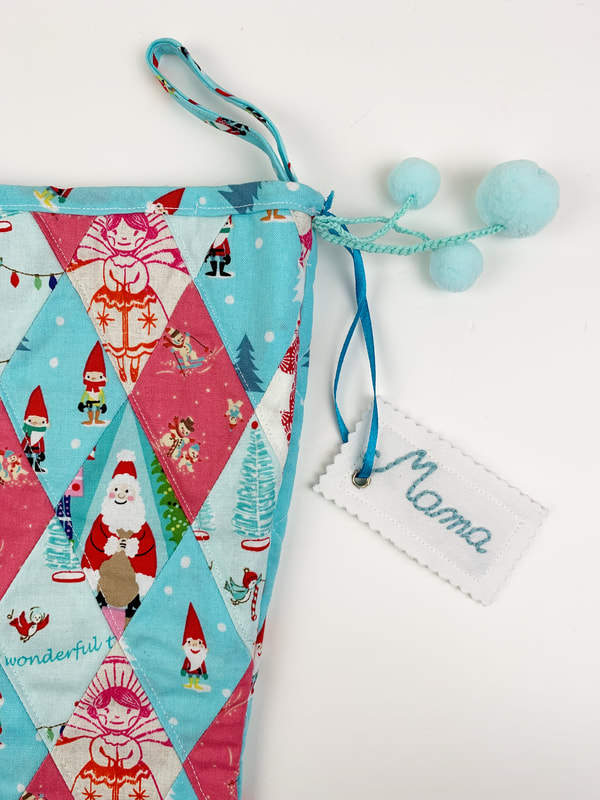
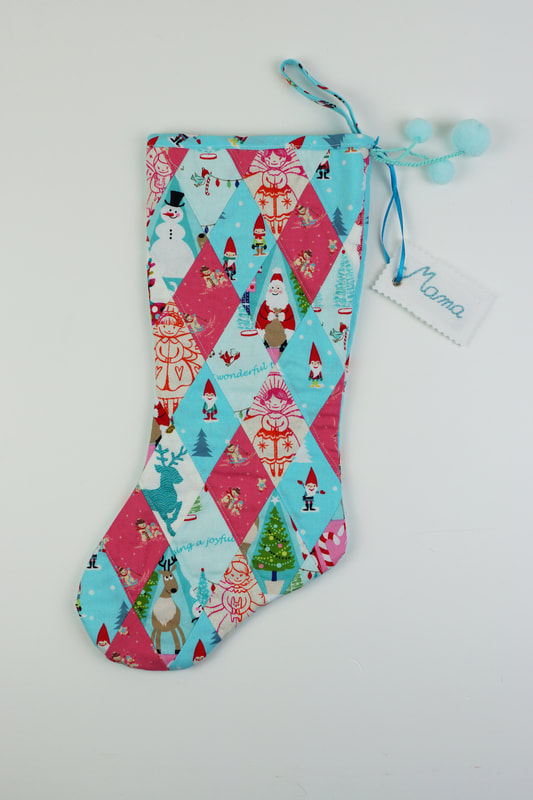
Add the fusible interfacing to your 'hexie fabric' piece and add the lining as well, wrong sides together and quilt as desired. I quilted diamonds. Repeat the same for the back of the stocking. Add the fusible interfacing to the back fabric, add the lining fabric wrong sides together and quilt as desired.
4. Now cut your quilted pieces into stocking shapes , use the stocking template.
5. Place front and back of your Christmas stocking right sides together and stitch along the outside edge using a 1/4" seam allowance.
6. Turn your stocking inside out.
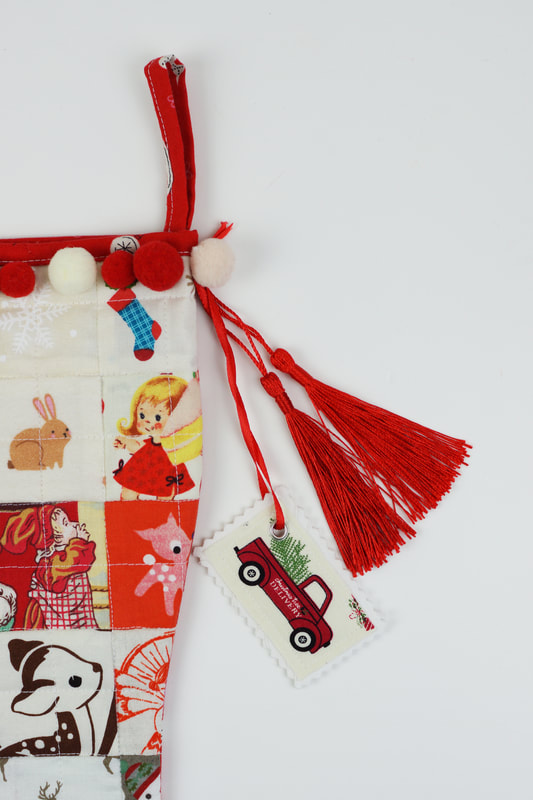
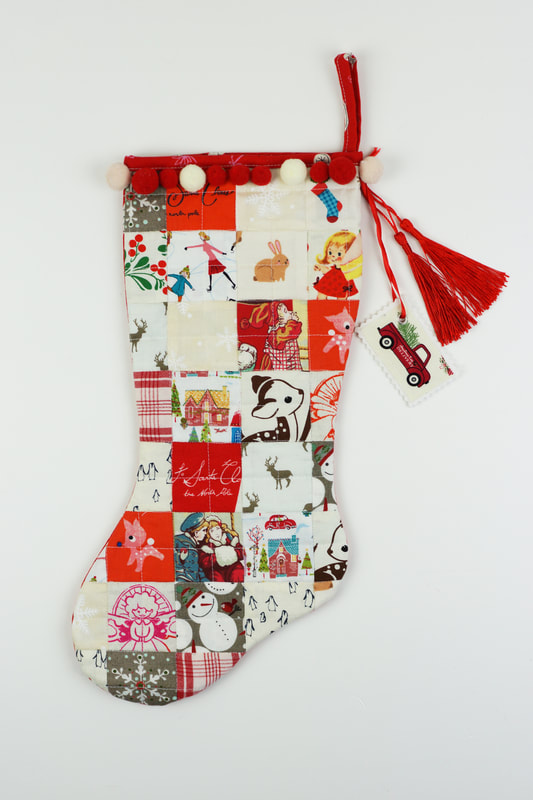
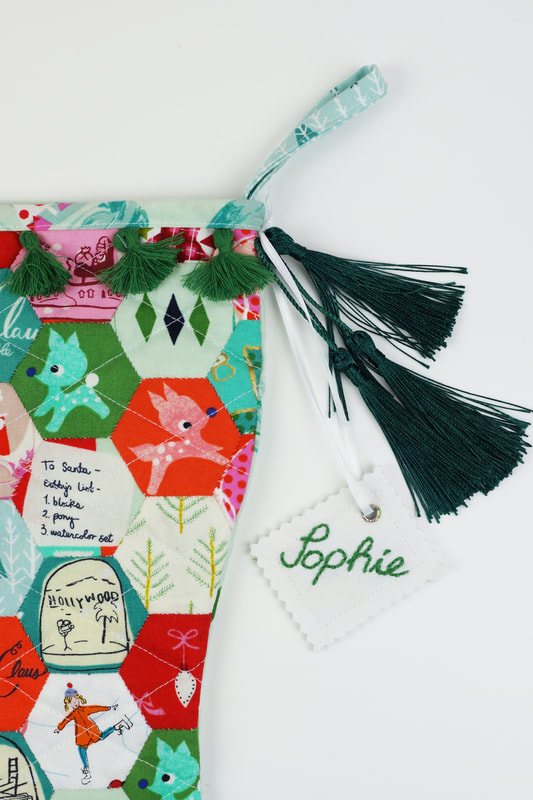
Attach the binding strip to the top edge of your stocking right sides together and raw edges aligned. Add a little hanging tab to the back of your stocking made out of the same binding strip. Clip or pin in place and stitch along the top edge with a 1/4" seam allowance. Fold over to the inside and stitch in place by hand. 7. optional: Add pompoms and/or tassels.
8. Make a little name tag.
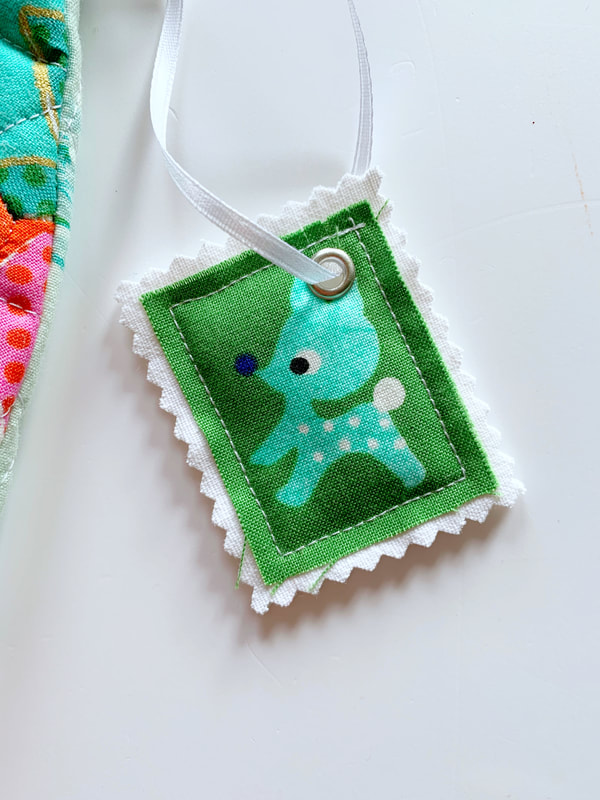
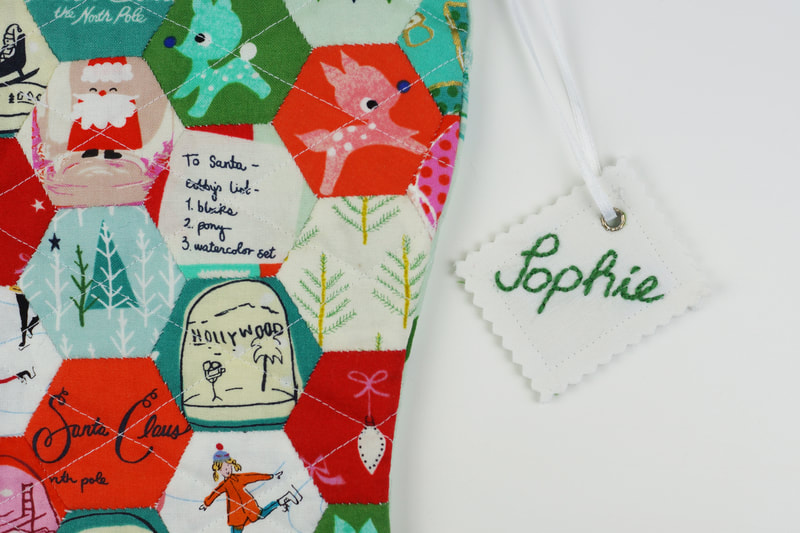
I used white fabric and embroidered the name on it. I added some fusible interfacing, to give it a little volume and topped it off with another piece of white fabric. I stitched the 'sandwhich' in place with a small piece of fussy cut motif and cut the outer edge of the white fabric with zig zag shears. Add a metal eyelet, or just use a hole punch and thread a little ribbon. Attach your name tag to your stocking. Et Voila .... all done! Now let your phantasie go wild and create stockings with all sorts of different patchwork techniques and styles. Whether you're using clamshells, triangles, hexies or just simple squares, these Christmas stockings will definitely make a lasting impression. If you are celebrating Christmas, What's your choice of Christmas stocking? Are you making one yourself? let me know in the comments. happy sewing Ingrid x
c
3 Comments
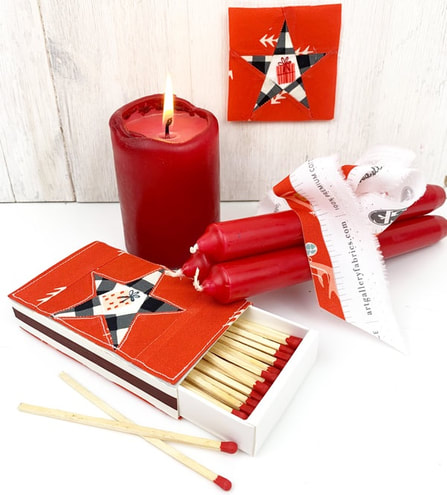
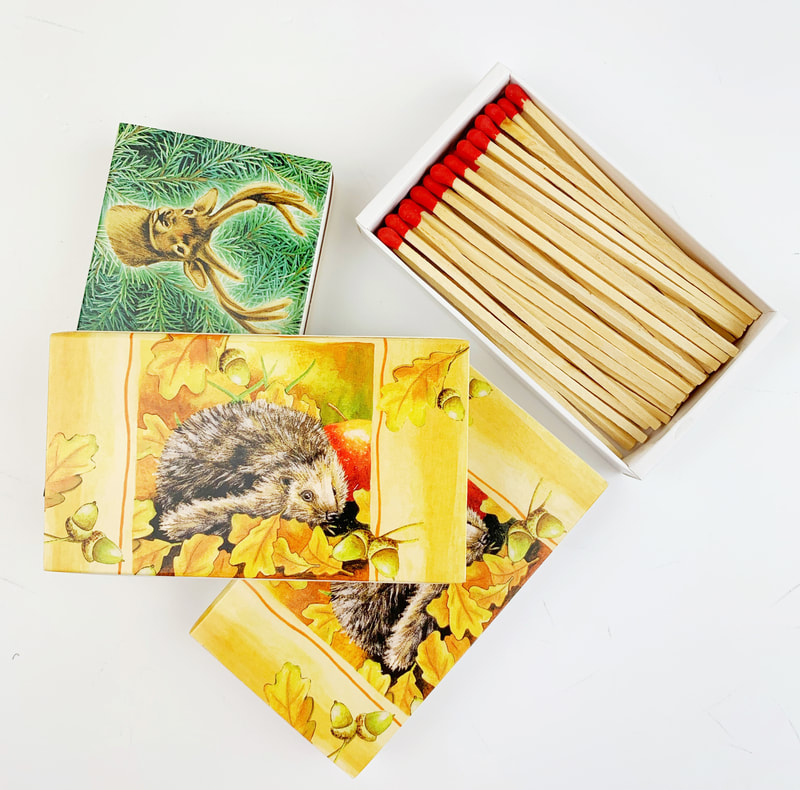
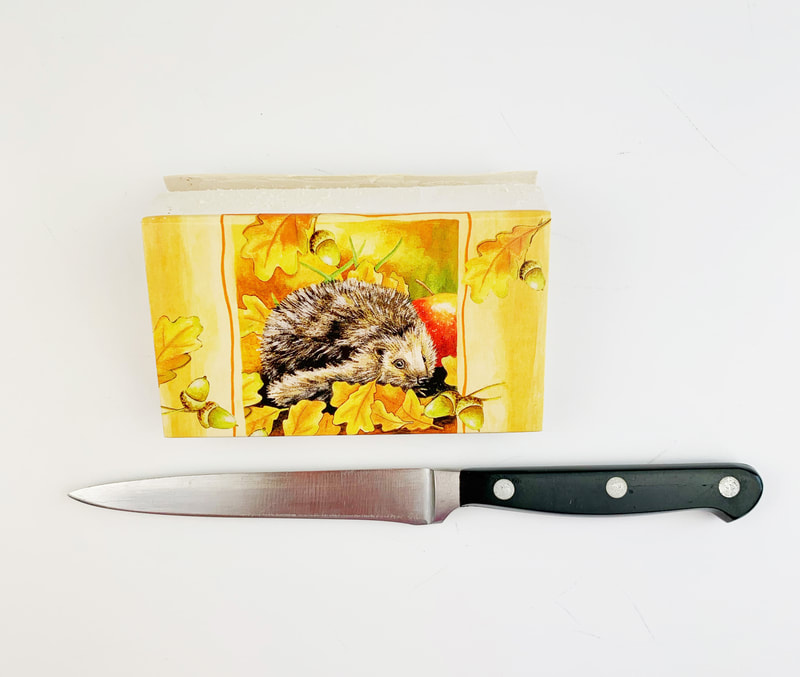
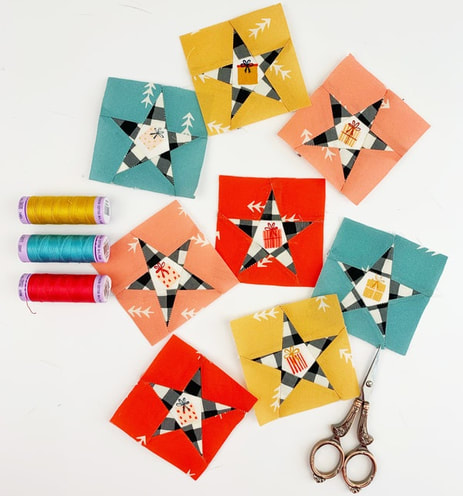
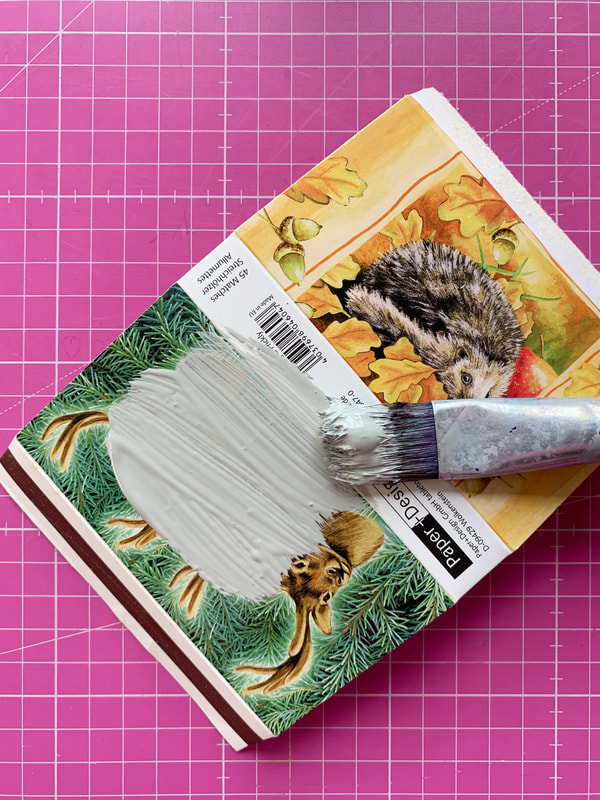
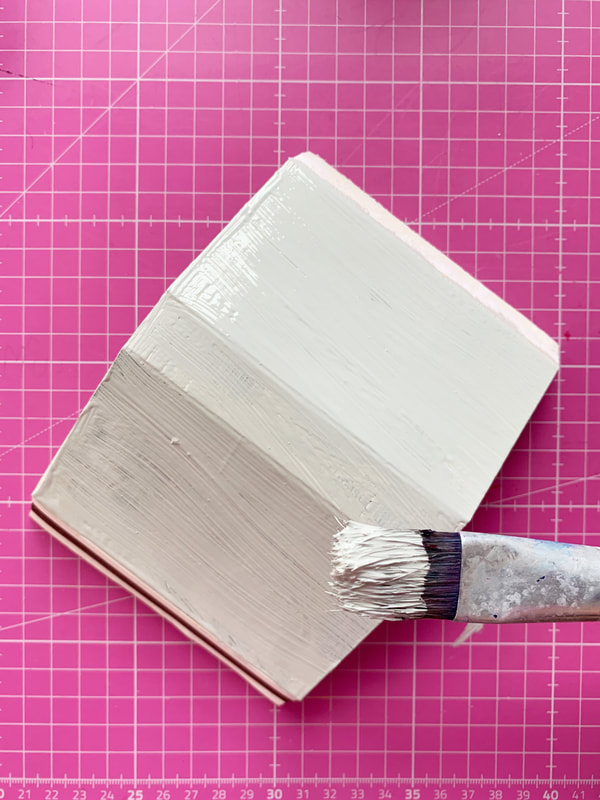
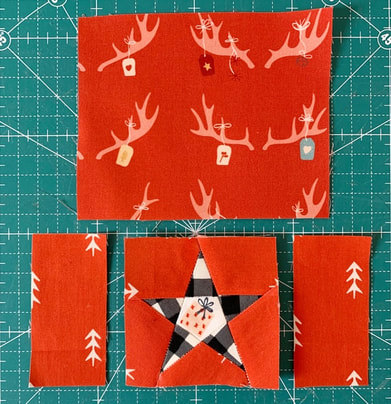
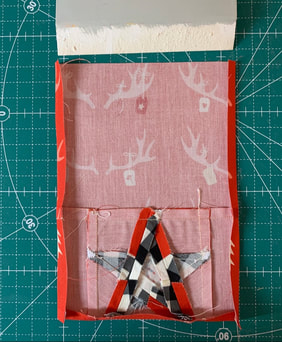
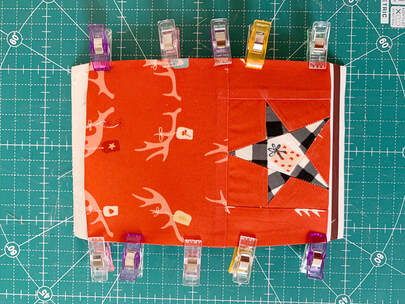
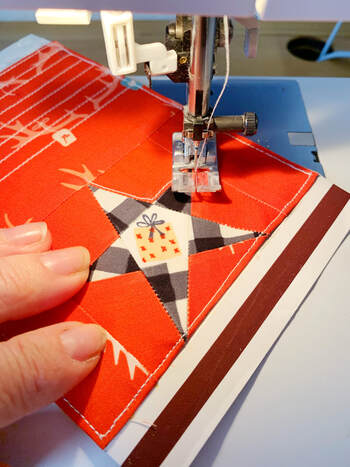
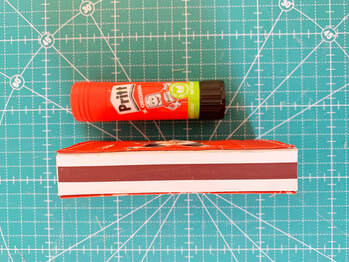
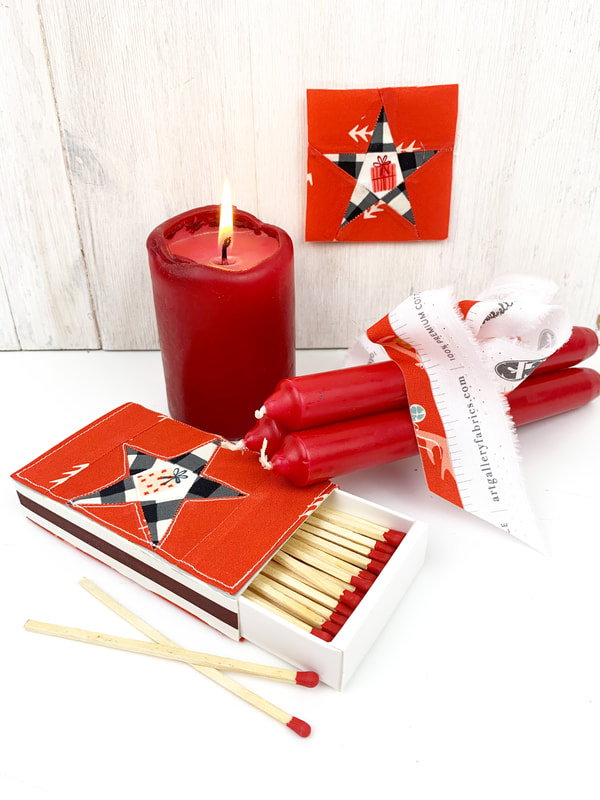
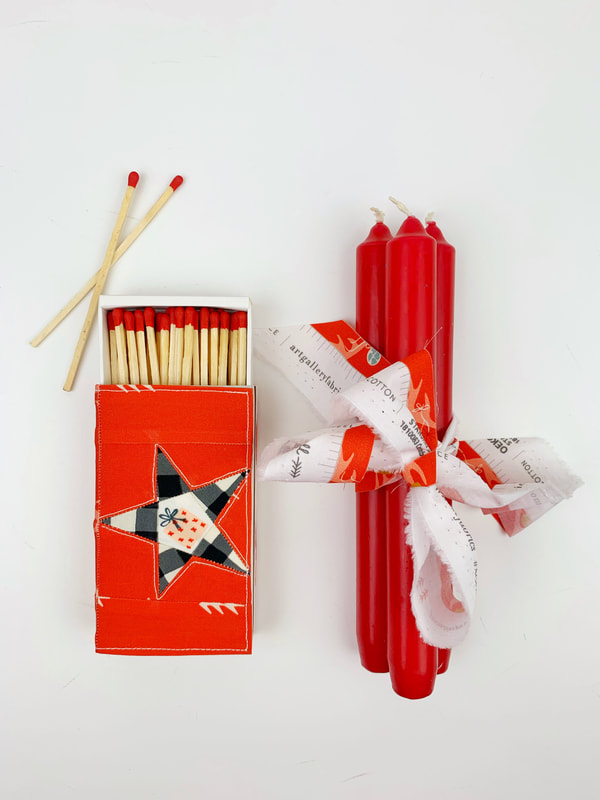
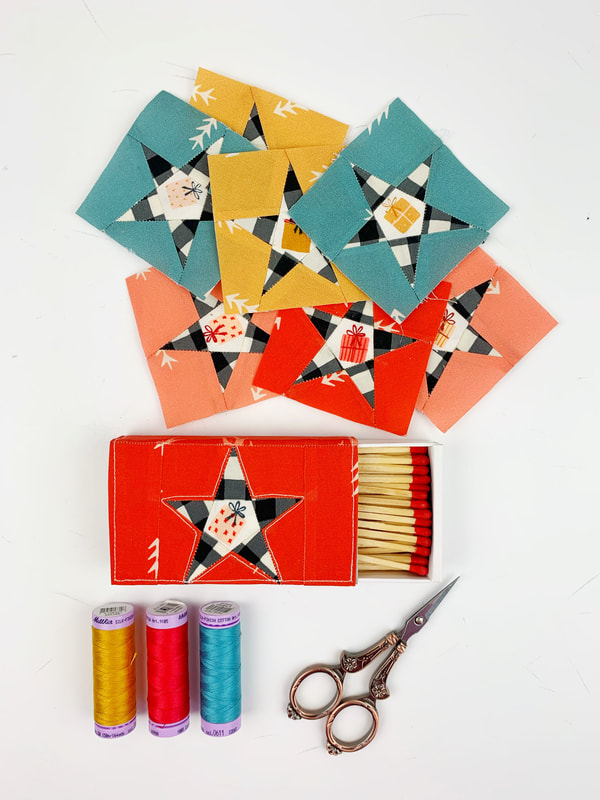
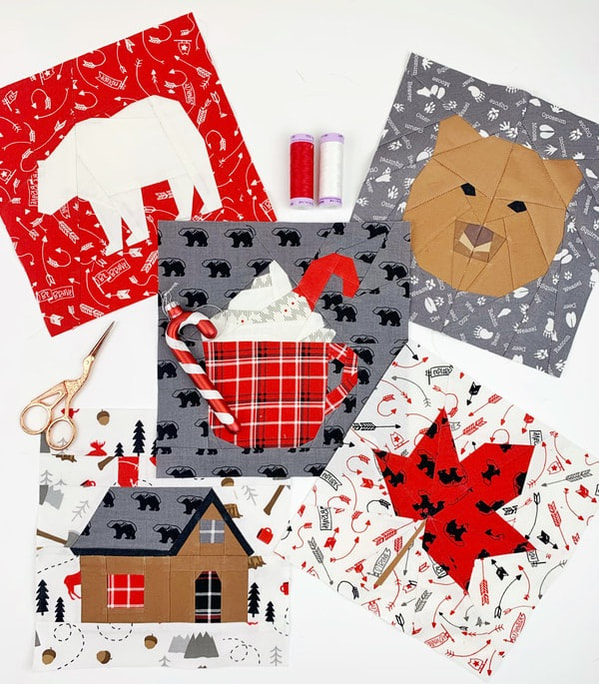
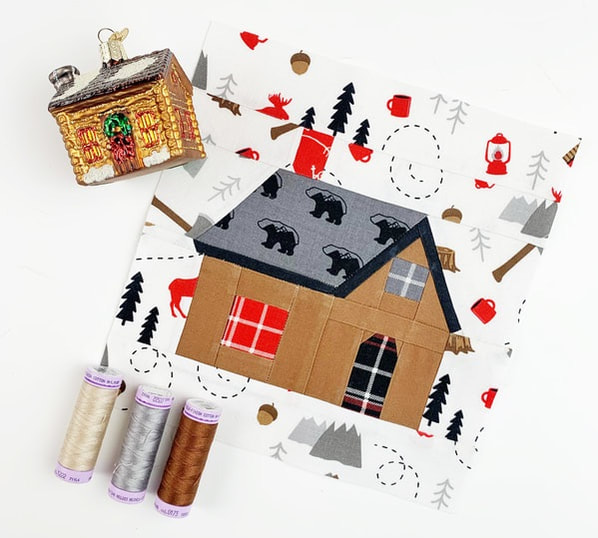
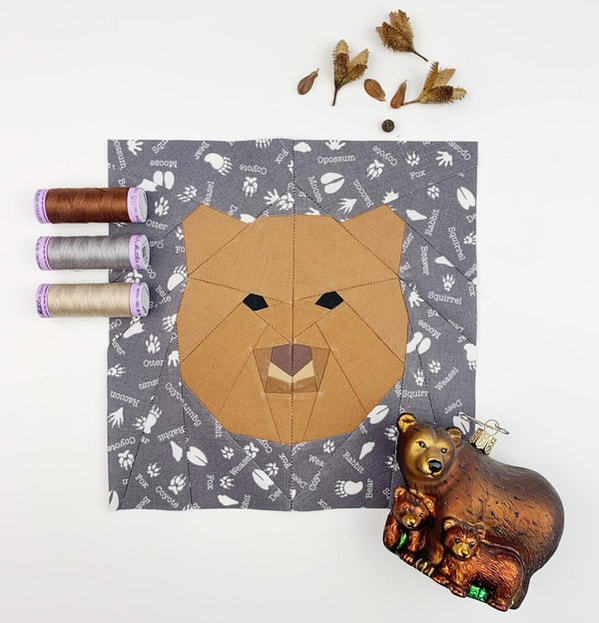
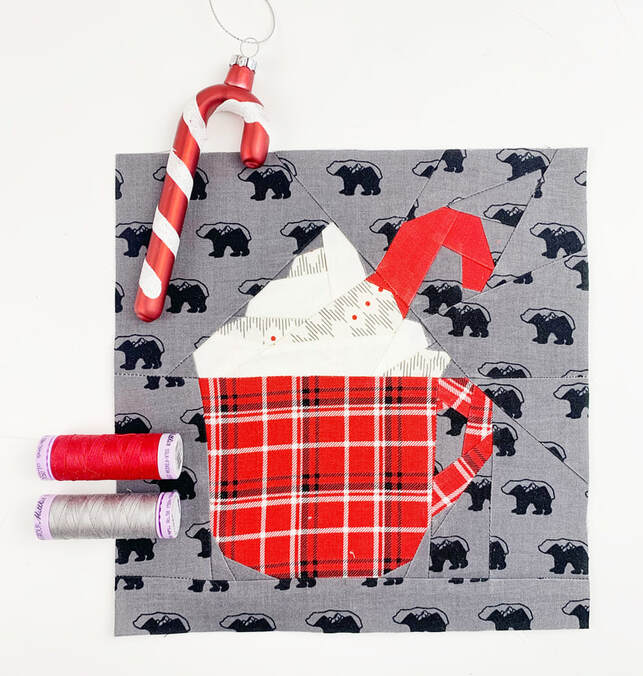
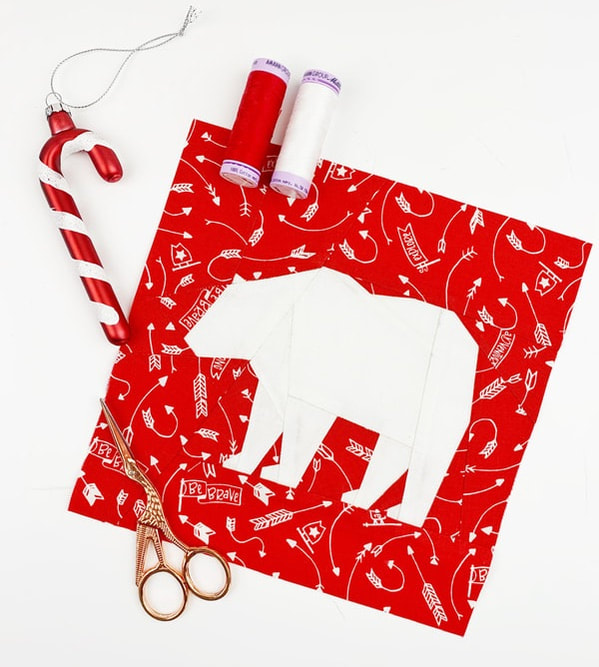
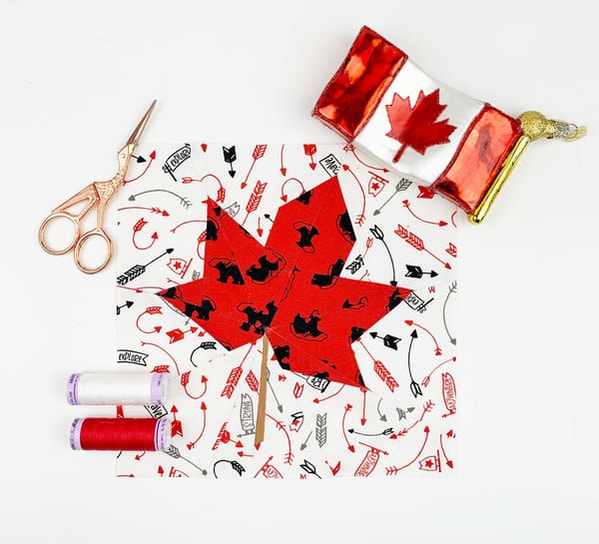
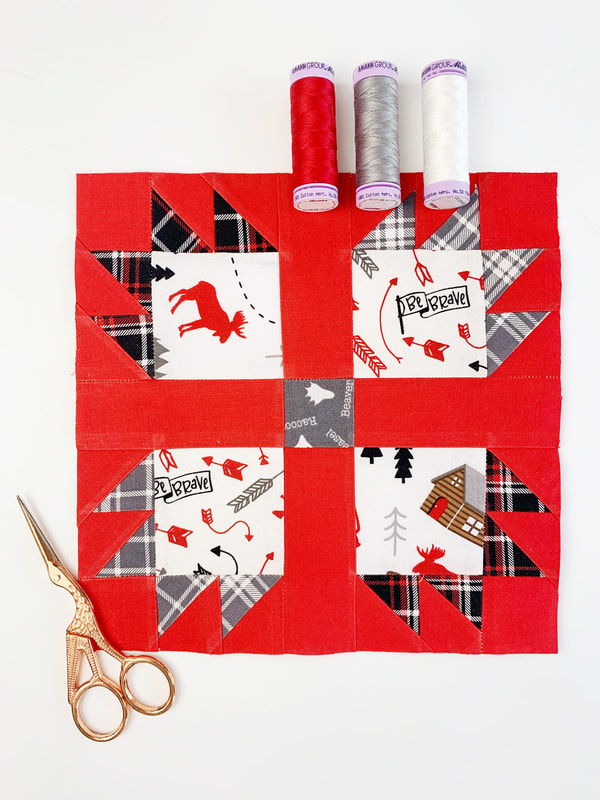
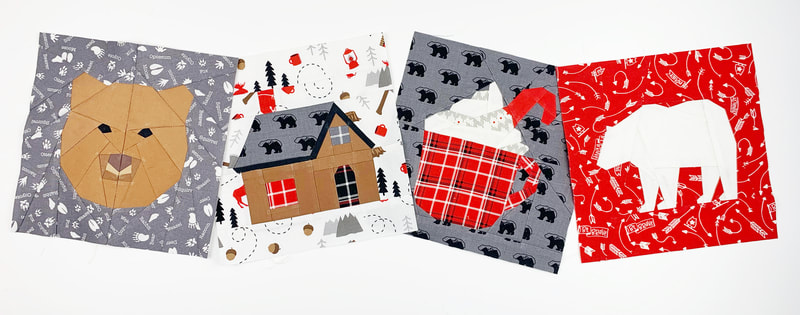
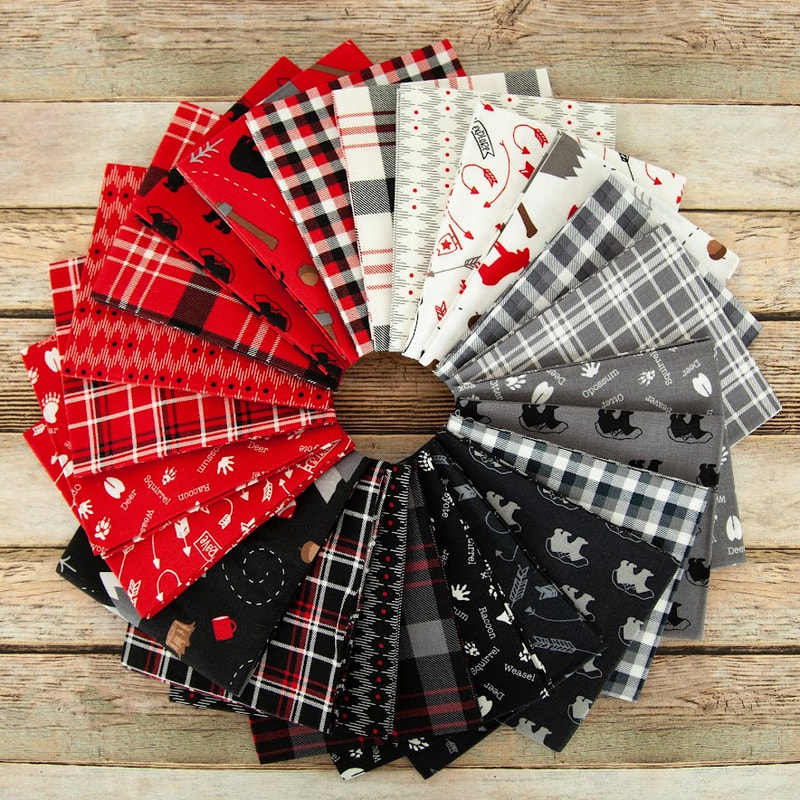
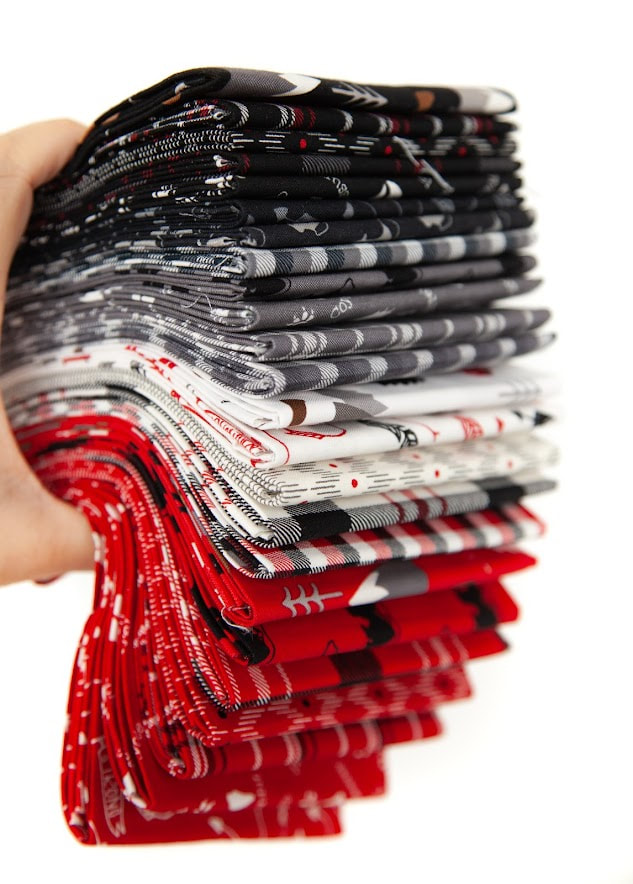
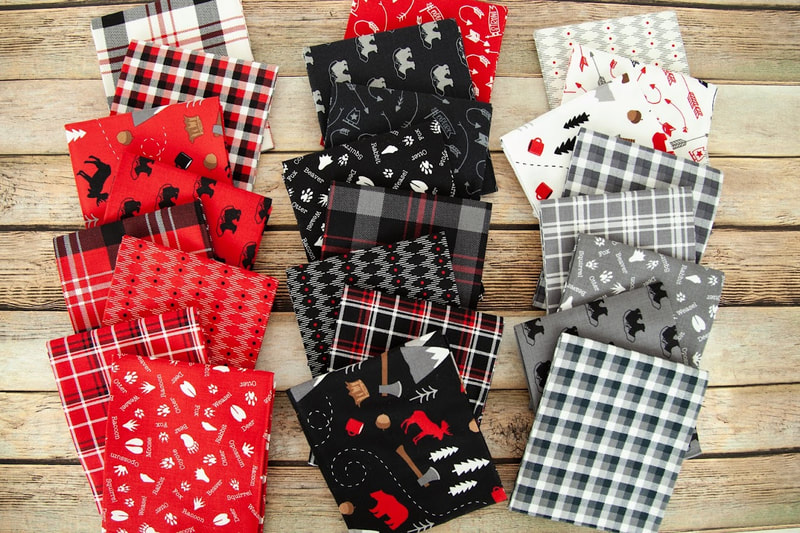
Are you always as short on Christmas gift ideas as I am? I am trying to collect all sorts of ideas all year around, so when it gets close to Christmas I have a few DIY projects lined up. This is one of those projects, a DIY fabric matchbox cover. It's a perfect Christmas gift for him or her .... a fabric matchbox cover is super decorative and who doesn't need matches? It's actually a very nice gift for all year around. Best of all, these decorated matchbox covers are super easy and quick to make, and a perfect scrap buster. So lets get started... Materials needed: - an assortment of large matchboxes ( the ones I used are 2.5" wide, 4.3/8" long and 3/4" deep ) - fabric scraps for the Star quilt block and the side and the back of the matchbox ( depending on the size you're making, of course) For the matchbox size that I used, it is - 2 strips of 1.5"x 3" of fabric for the sides of the quilt block. - I piece of fabric 5"x 4" for the back Sewing machine and thread. Instructions: 1.Open the side Open the side of your matchbox where it's glued together. I used a sharp knife. That way you can easily sew your fabric onto the cardboard matchbox. Glueing it to the matchbox is an alternative, but I find that the glue shines through the fabric and stains it sometimes, especially when you're using solid fabrics. So the decorative matchboxes look much nicer, when you sew the fabrics onto the matchbox. 2. Sew the star quilt block in size 2.5"x 2.5" 3. Prepare your matchbox In case you have printed matchboxes like the ones I am using, I suggest painting the matchbox with a light colored acrylic paint, just so the print of the matchbox won't shine through your fabric cover. The painting does not have to be perfect, do just one coat of paint so the print of the cardboard box is covered. And let it dry. 4. Cut your fabrics for your matchbox cover As I mentioned above, I cut two strips of fabric 1.5"x 3" for the sides of the quilt block. And I cut a piece of fabric 5"x 4" for the back of the matchbox. And this piece of fabric is 5" wide and 4" long, in case you have directional fabric , like I do. 5. Sew the fabric pieces together First add the two side strips to the quilt block to the left and to the right, then add the backing piece of fabric and press. I used spray starch to press the fabric. So it stays really nice and flat. Fold over the front edge 1/4" and press. Fold in the side edges 1/4" as well, so the width of the fabric matches the width of your matchbox. This might be a tiny bit more than 1/4", you might want to adjust it a little bit as you clip your cover to the matchbox. 6. Clip the cover to the matchbox Clip the fabric cover onto the matchbox. Start at the front edge, at the strip for striking the matches, and work your way to the other end. Adjust the side edges if needed. Fold in the end edge under as well and clip in place. 7. Stitch the matchbox cover to the matchbox Starting at the front edge, stitch the matchbox cover in place. I sewed all the way around the outside edge first and then stiched straight lines to the back side. Then I stitched all the way around the star as well. 8. Glue the matchbox cover back together 9. Et voilà.... all done. Fabrics used in this project Art Gallery Fabrics Cozy and Magical. Isn't this DIY matchbox cover a super cute Christmas gift? Combine the matchbox with a set of candles or some essential oils and you have the perfect Christmas gift for him or her. What do you think? Which color of the star quilt block is your favorite? Ingrid xx Here are the cutest bear quilt block patterns that are super easy to make..... I got to participate again in Riley Blake Designs blog tour for this new fabric series called 'Into the woods' by Lori Whitlock. I totally saw myself in a wooden cottage with a fireplace. The cottage standing in the middle of the mountains, bears roaming through the forest, a Hot Cocoa in my hands while I read a book in front of the fire place. Doesn't this sound Devine for the autumn weather we're having right now? As some of you know I used to live in Vancouver for quite some time and this fabric series brings back some of my best memories in Whistler or on Vancouver island. But Aspen and Lake Tahoe come to mind as well, right? This quilt block pattern series consists of 2 bear quilt blocks, a bear paw quilt block, a little cottage quilt block, a hot cocoa quilt block and I added my maple leaf quilt block just because it completes this series so perfectly. I designed it especially for this Riley Blake Designs fabric series and called it 'Bear cottage'. All of these quilt blocks will be stunning by themselves, but will make up very nice 'cottage themed' projects as well, such as pillowcases, table runners, mini quilts, apron and much more. Actually this would be a beautiful full on quilt as well, wouldn't it? The little bear cottage: This super simple but cute cottage quilt block pattern is perfect for fussy cutting. I placed the plaid pattern in the windows, so they look like window frames. But you could also place little faces in those windows and make a super sweet little cottage with this cottage quilt block pattern. The bear portrait: A bear portrait quilt block is a a great quilt block for a pillowcase. I especially love it if you add some hand quilting to the outline of the bear quilt block. I do have a whole series of animal portraits in my shop, and they would look adorable on a kids bed, don't you think? Hot cup of cocoa quilt block: A hot cup of cocoa is the epitome of coziness, right? And a red plaid cup with some sugar cane beats even that, isn't it so? Can't you just see yourself in some plaid onesie sitting in front of the fire place drinking your hot chocolate with lots of whipped cream? This hot chocolate quilt block pattern will be perfect for all sorts of kitchen related sewing projects. Think apron for Christmas, tea towel, oven mitt and much more. Let me know what other ideas you have for this cup cocoa quilt block pattern. The bear: I always wanted to design a bear quilt block, that wasn't as cute as my Barney the Bear quilt block. This fabric series was the perfect inspiration for that. I made this bear quilt block into a polar bear quilt block. Just because the colors matched so perfectly. But this bear quilt block is perfect as a brown or black bear as well. Now he needs a name as well, don't you think? The maple leaf: I just couldn't resist and add this maple leaf quilt block pattern to this 'Bear cottage' series. The fabric series just asked for this maple leaf quilt block to be added. Having lived in Canada for so long adds a little bit of home to this fabric series. The bear paw quilt block pattern: No 'Bear cottage' quilt block pattern series without the bear paw quilt block, right? The bear paw quilt block is an absolute classic. Usually the bear paw quilt block is made out of squares and half square triangles (HST). And sewing this bear paw quilt block in its classic way will make up a whole sewing tutorial by itself. It's a beginner friendly traditional piecing quilt block pattern. But you know me for being foundation paper piecing addicted, so I decided to make this classic pattern in to a paper pieced pattern. This has some advantages. You do not need to do complicated calculations for the squares and HST in order to figure out how to get a 8"x 8" or 10"x 10" quilt block. Just print the bear paw pattern, and you will get the perfect size. This bear paw quilt block pattern is also beginner friendly in its foundation paper piecing version. It's actually a pattern that doesn't take much longer than half an hour to sew. No pre cutting the fabric, just start sewing right away. And precision is a given with foundation paper piecing. You will get the bear paw quilt block pattern for free with the purchase of the bear cottage quilt block pattern series. Thank you Riley Blake Designs for the opportunity to design a quilt block pattern series and for supplying the absolutely adorable fabric series designed by Lori Whitlock 'Into the woods' that I used in this quilt pattern series. What do you think? Ready to cozy up in front of the fire place? Let me know in the comments the projects you would love to sew with these quilt block patterns. Happy sewing Ingrid xx |
Author
Ingrid Alteneder Archive
March 2022
Categories
All
|
-
Shop
- New patterns
- All Patterns
- Appliqué Patterns
- Animals
- Baby
- Ballet
- Bear Cottage
- Beach/ Boats/ Nautical
- Buddha/ Mindfulness
- Chinese New Year
- Christmas
- Easter and Spring
- Fairytale
- Fall/ Autumn
- Flowers, Trees and Plants
- Food/ Drinks
- Halloween
- Oktoberfest
- Quilted items
- Stars
- Viva la Frida/ Dia de los Muertos
- Valentine's Day
- Village Patterns
- Mixed pattern
- Home
- About
- Blog
- Publications
- Etsy
- News
- Deutsch
|
Visit us at
|


 RSS Feed
