|
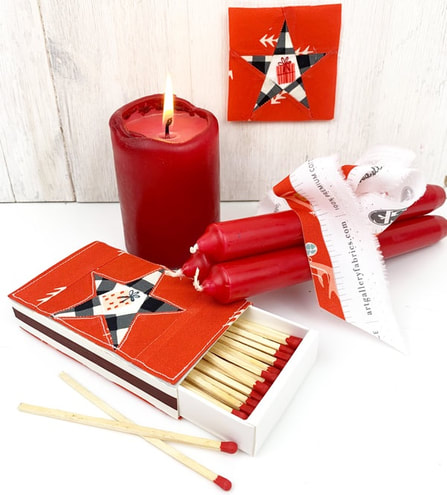
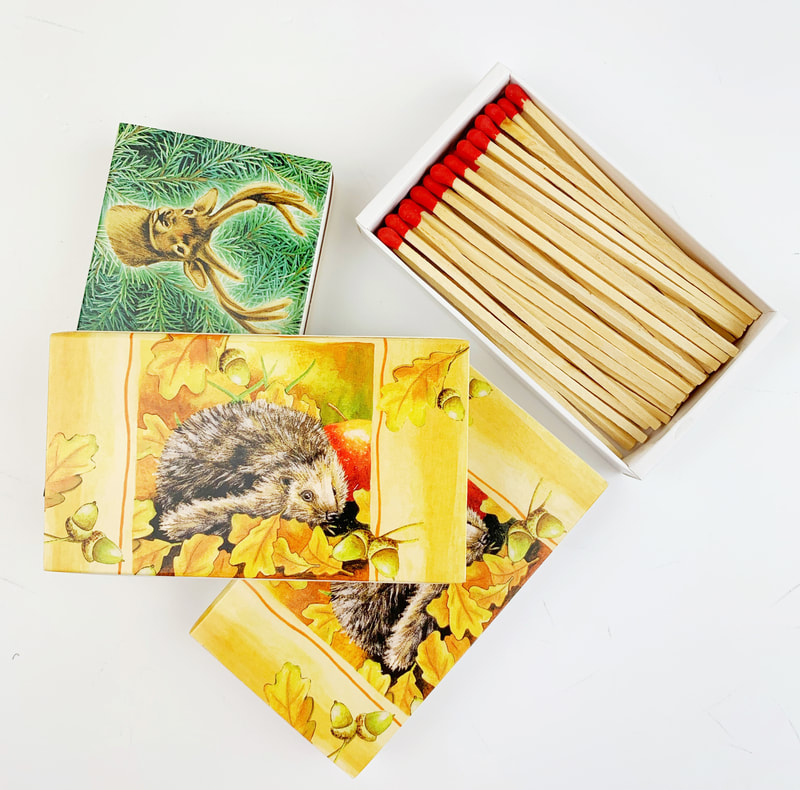
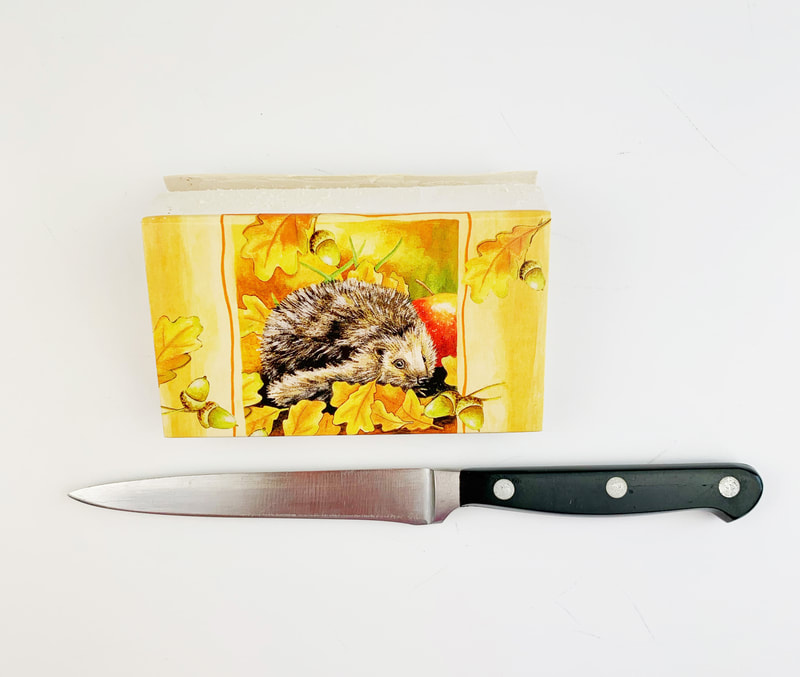
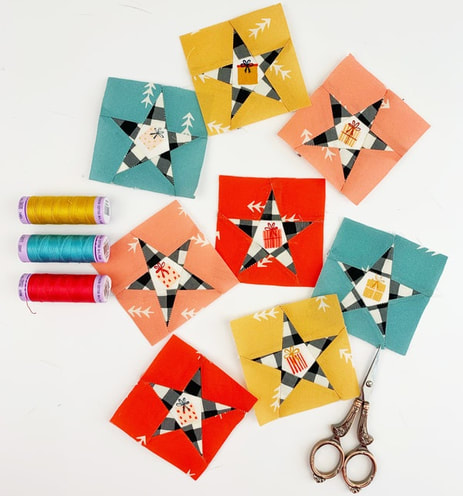
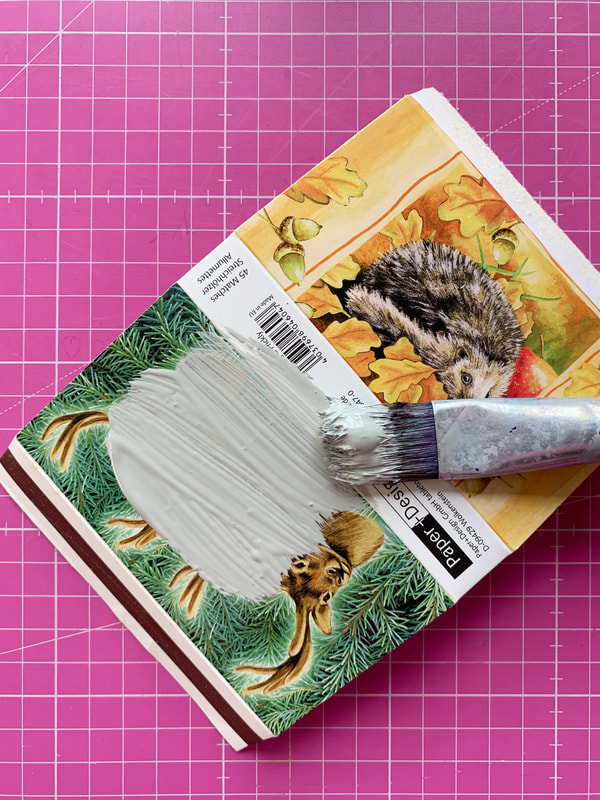
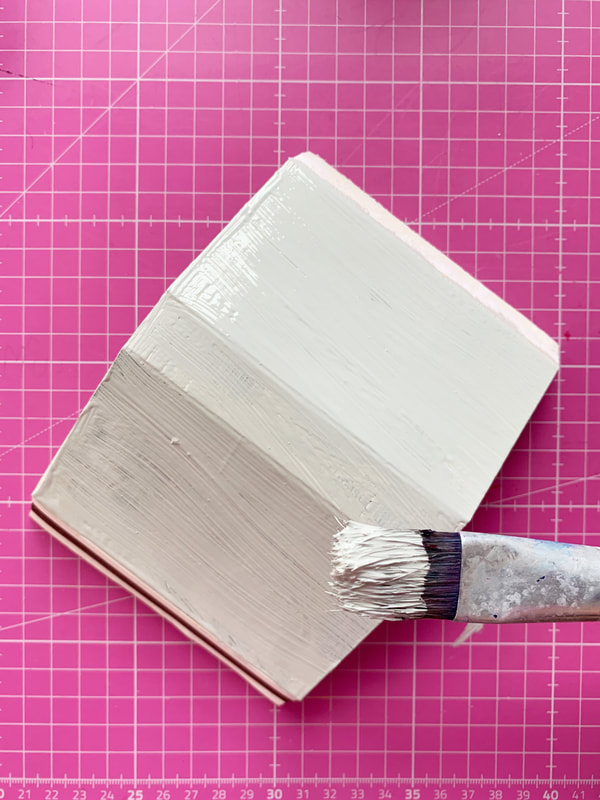
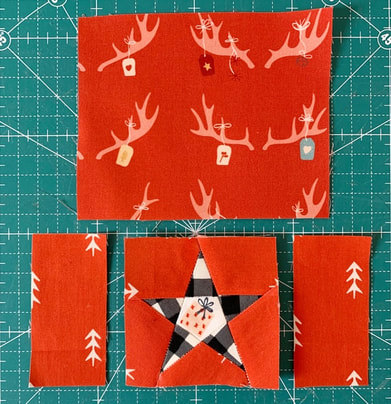
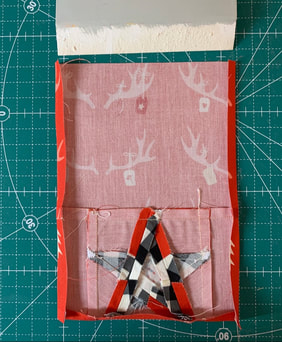
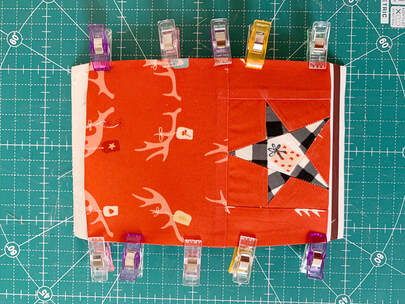
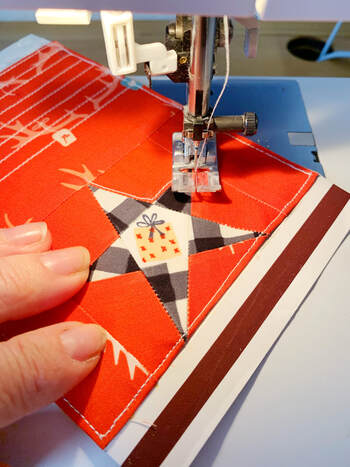
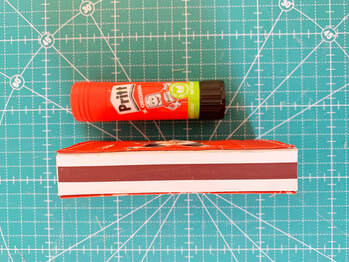
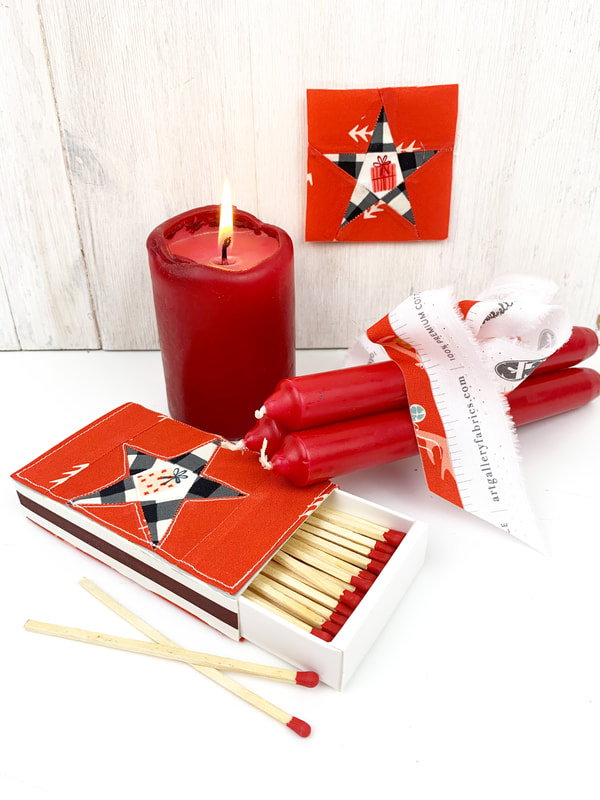
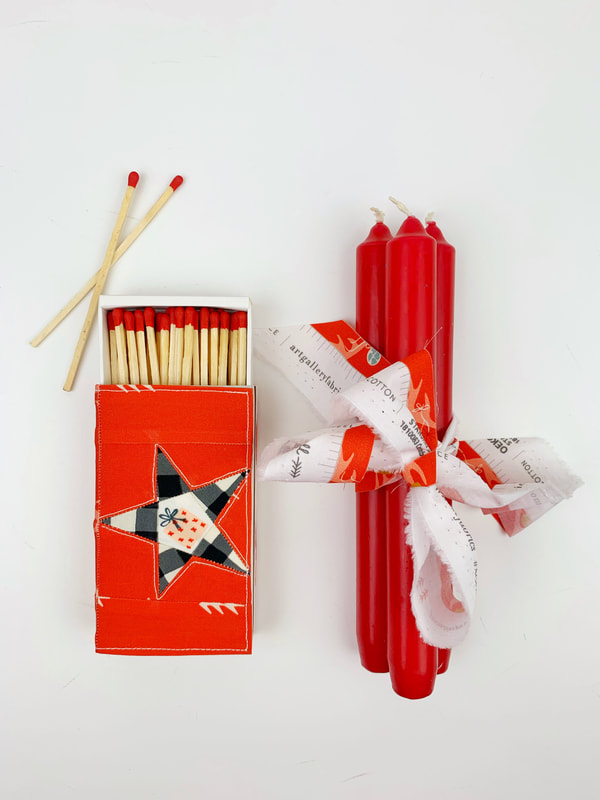
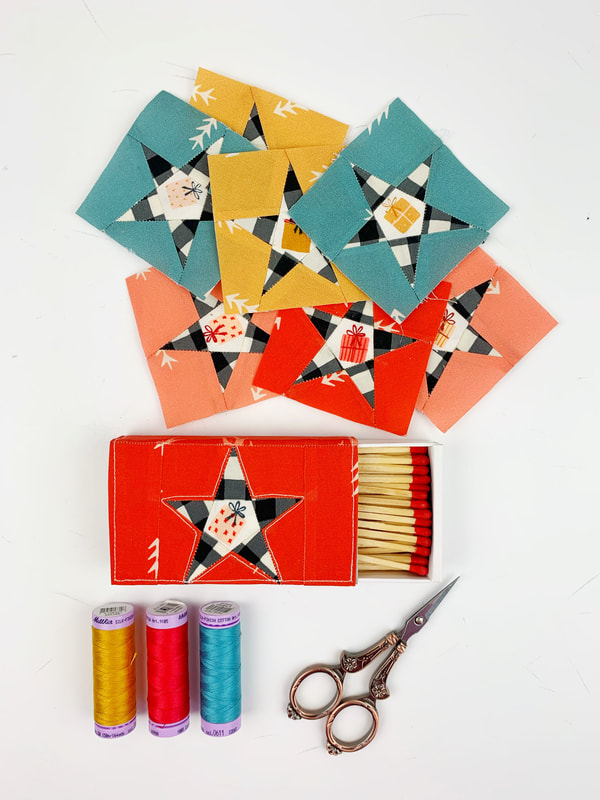
Are you always as short on Christmas gift ideas as I am? I am trying to collect all sorts of ideas all year around, so when it gets close to Christmas I have a few DIY projects lined up. This is one of those projects, a DIY fabric matchbox cover. It's a perfect Christmas gift for him or her .... a fabric matchbox cover is super decorative and who doesn't need matches? It's actually a very nice gift for all year around. Best of all, these decorated matchbox covers are super easy and quick to make, and a perfect scrap buster. So lets get started... Materials needed: - an assortment of large matchboxes ( the ones I used are 2.5" wide, 4.3/8" long and 3/4" deep ) - fabric scraps for the Star quilt block and the side and the back of the matchbox ( depending on the size you're making, of course) For the matchbox size that I used, it is - 2 strips of 1.5"x 3" of fabric for the sides of the quilt block. - I piece of fabric 5"x 4" for the back Sewing machine and thread. Instructions: 1.Open the side Open the side of your matchbox where it's glued together. I used a sharp knife. That way you can easily sew your fabric onto the cardboard matchbox. Glueing it to the matchbox is an alternative, but I find that the glue shines through the fabric and stains it sometimes, especially when you're using solid fabrics. So the decorative matchboxes look much nicer, when you sew the fabrics onto the matchbox. 2. Sew the star quilt block in size 2.5"x 2.5" 3. Prepare your matchbox In case you have printed matchboxes like the ones I am using, I suggest painting the matchbox with a light colored acrylic paint, just so the print of the matchbox won't shine through your fabric cover. The painting does not have to be perfect, do just one coat of paint so the print of the cardboard box is covered. And let it dry. 4. Cut your fabrics for your matchbox cover As I mentioned above, I cut two strips of fabric 1.5"x 3" for the sides of the quilt block. And I cut a piece of fabric 5"x 4" for the back of the matchbox. And this piece of fabric is 5" wide and 4" long, in case you have directional fabric , like I do. 5. Sew the fabric pieces together First add the two side strips to the quilt block to the left and to the right, then add the backing piece of fabric and press. I used spray starch to press the fabric. So it stays really nice and flat. Fold over the front edge 1/4" and press. Fold in the side edges 1/4" as well, so the width of the fabric matches the width of your matchbox. This might be a tiny bit more than 1/4", you might want to adjust it a little bit as you clip your cover to the matchbox. 6. Clip the cover to the matchbox Clip the fabric cover onto the matchbox. Start at the front edge, at the strip for striking the matches, and work your way to the other end. Adjust the side edges if needed. Fold in the end edge under as well and clip in place. 7. Stitch the matchbox cover to the matchbox Starting at the front edge, stitch the matchbox cover in place. I sewed all the way around the outside edge first and then stiched straight lines to the back side. Then I stitched all the way around the star as well. 8. Glue the matchbox cover back together 9. Et voilà.... all done. Fabrics used in this project Art Gallery Fabrics Cozy and Magical. Isn't this DIY matchbox cover a super cute Christmas gift? Combine the matchbox with a set of candles or some essential oils and you have the perfect Christmas gift for him or her. What do you think? Which color of the star quilt block is your favorite? Ingrid xx
0 Comments
Leave a Reply. |
Author
Ingrid Alteneder Archive
March 2022
Categories
All
|
-
Shop
- New patterns
- All Patterns
- Appliqué Patterns
- Animals
- Baby
- Ballet
- Bear Cottage
- Beach/ Boats/ Nautical
- Buddha/ Mindfulness
- Chinese New Year
- Christmas
- Easter and Spring
- Fairytale
- Fall/ Autumn
- Flowers, Trees and Plants
- Food/ Drinks
- Halloween
- Oktoberfest
- Quilted items
- Stars
- Viva la Frida/ Dia de los Muertos
- Valentine's Day
- Village Patterns
- Mixed pattern
- Home
- About
- Blog
- Publications
- Etsy
- News
- Deutsch
|
Visit us at
|


 RSS Feed
