|
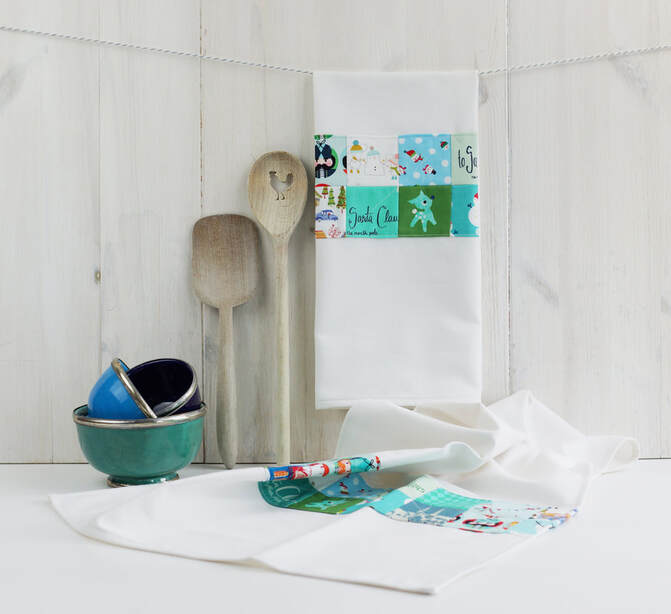
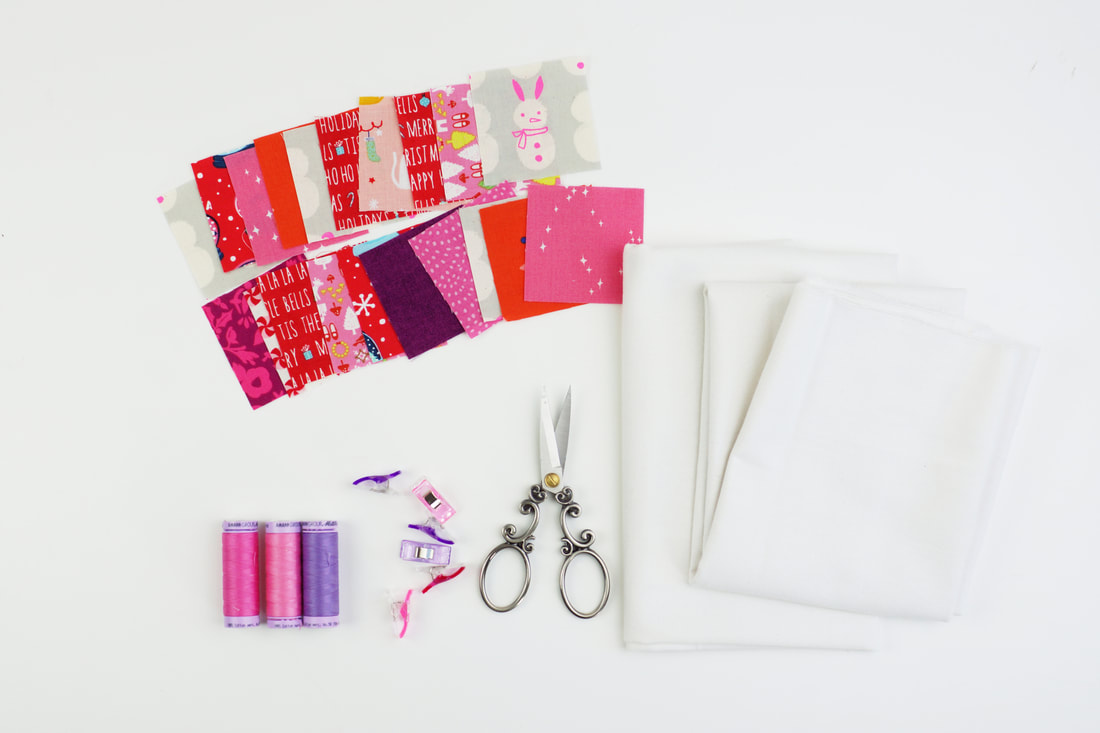
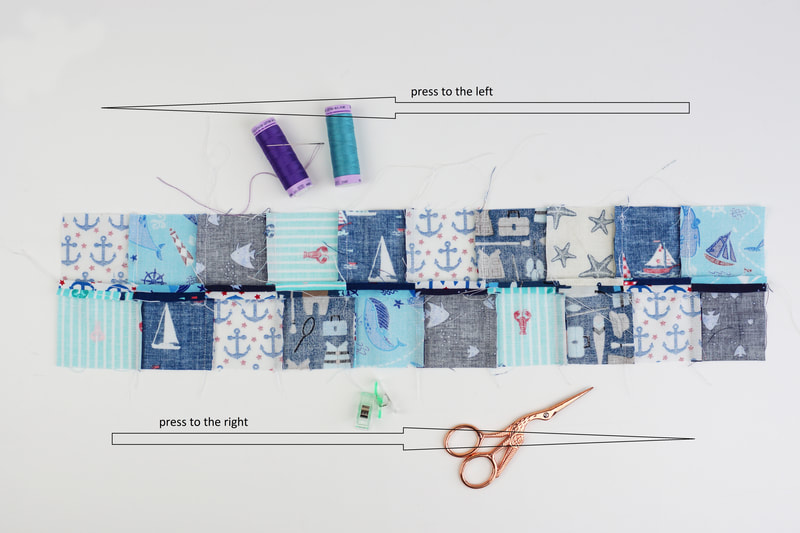
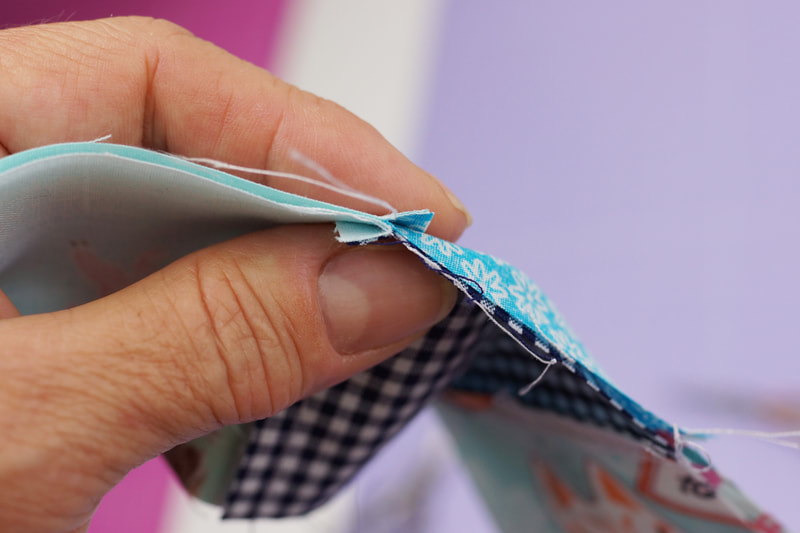
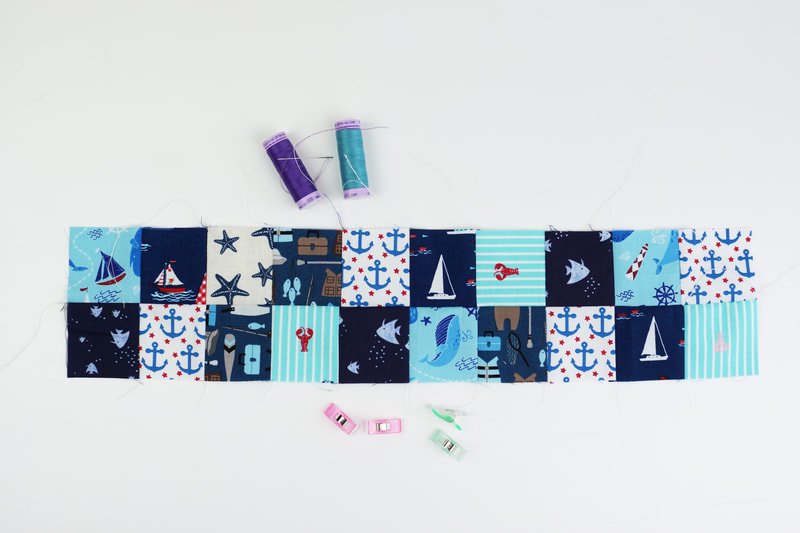
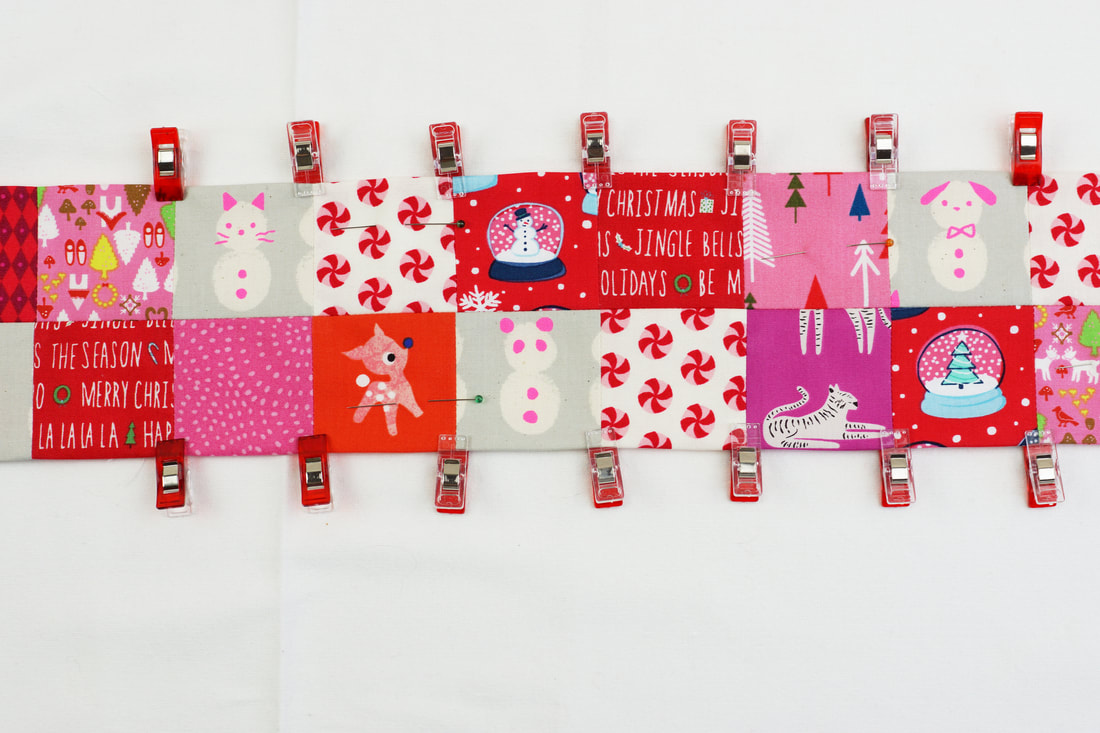
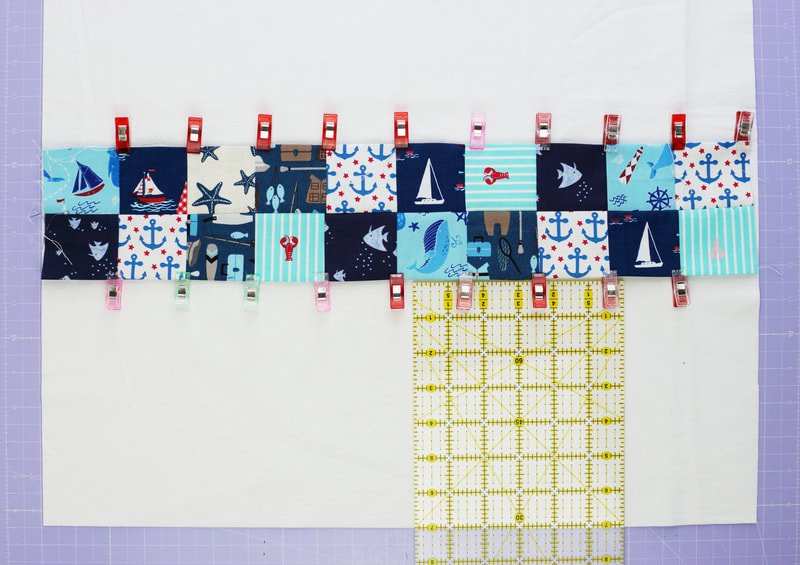
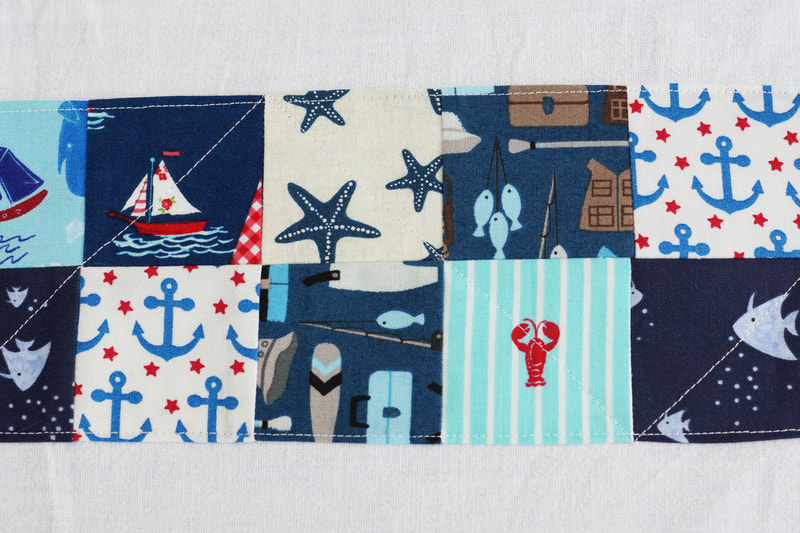
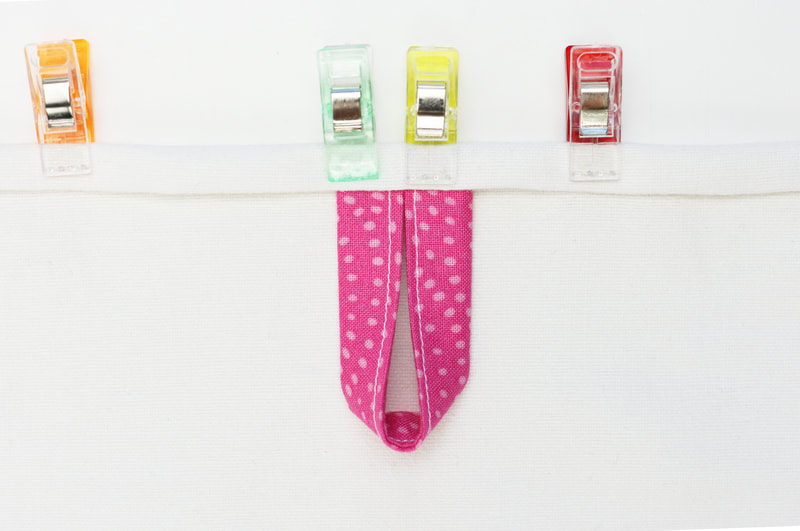
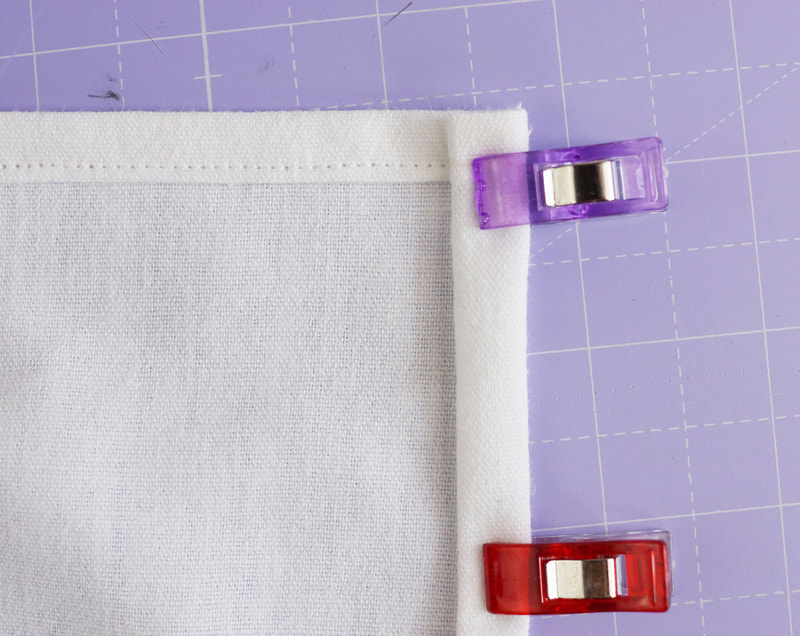
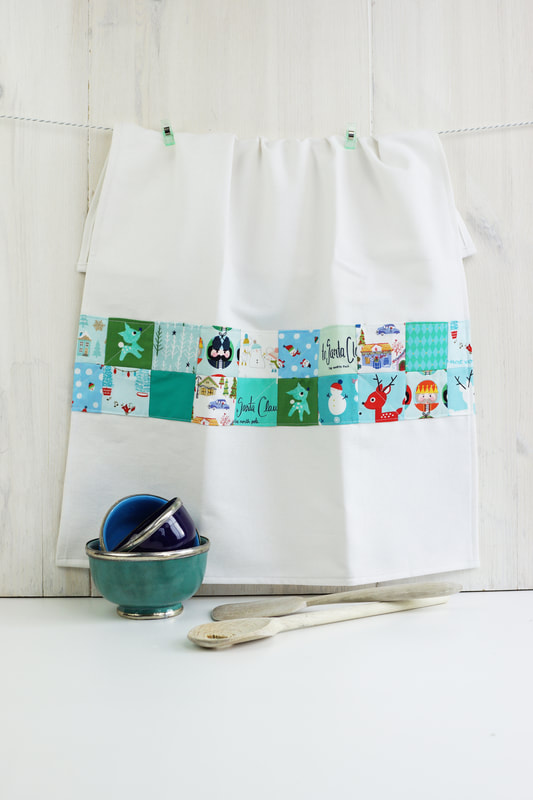
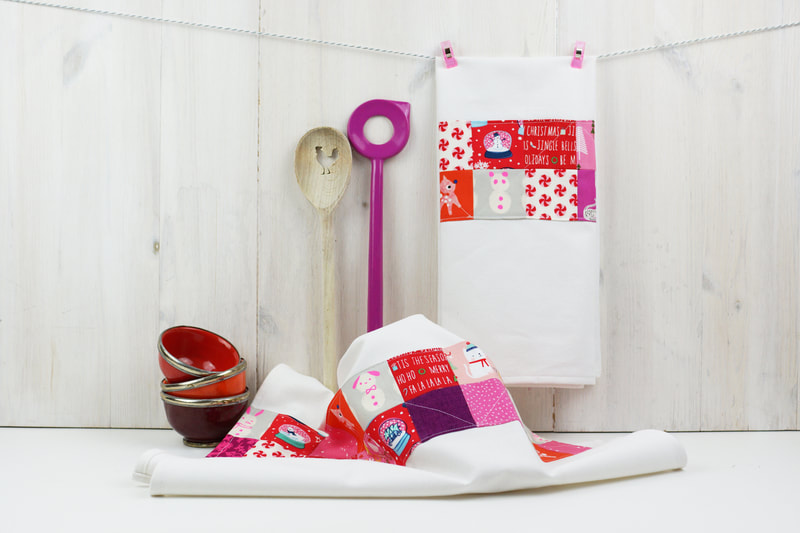
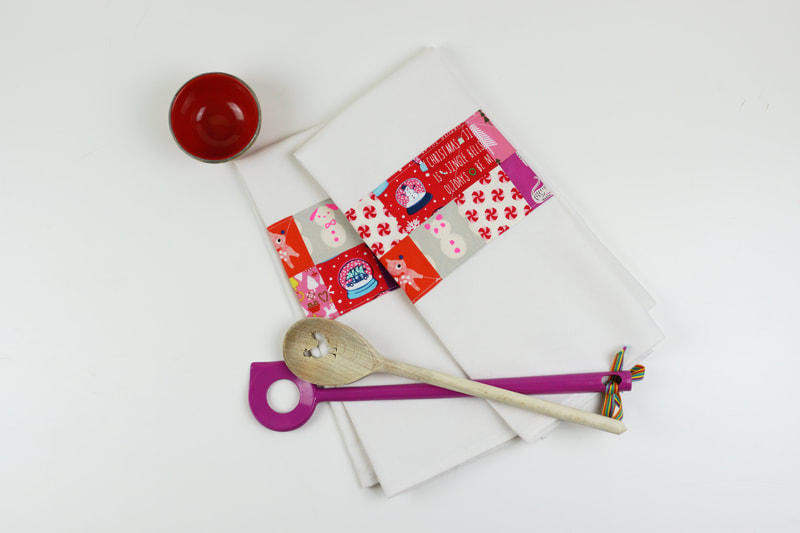
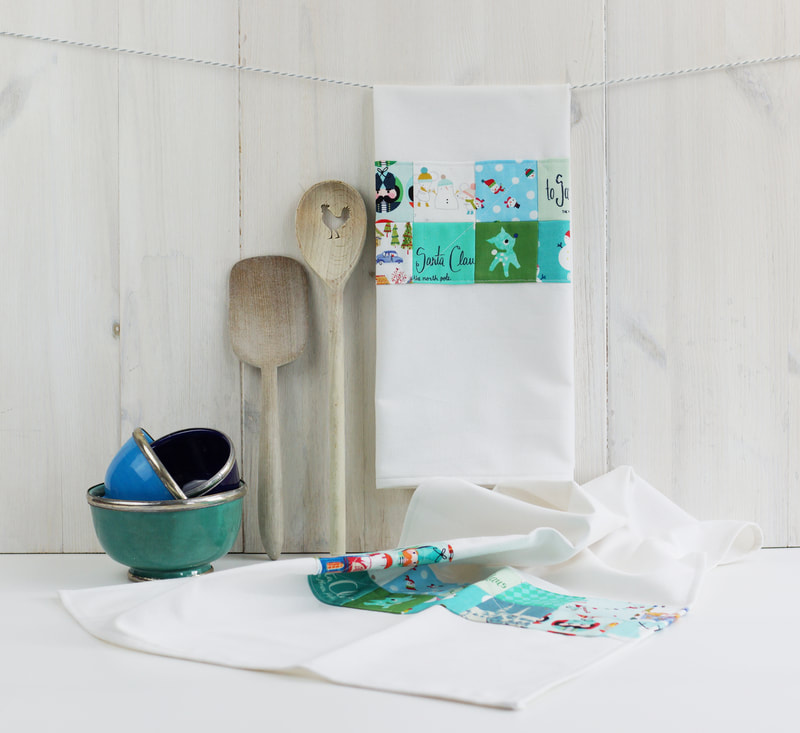
You know I love recycling and reusing. And you know I looove recycling and reusing fabric. I roam through flea markets, garage sales, second hand and thrift stores and almost always find some pre-loved piece of fabric. And I always buy old fashioned flat sheets, they're most often made of really thick cotton, or a cotton/linen mix, which is absolutely perfect for all sorts of sewing projects. Especially dish cloths or napkins, but I also use them in quilts, key fobs, pouches and much more. I wrote a whole blog on fabric recycling in case you want to know more. Today I want to show you how to make the cutest dish towels with recycled cotton sheets and left over fabric scraps. Materials/fabrics needed for 2 dish towels: - 2 pieces of white fabric ( I use cotton table cloth or flat sheets for this, they're pre-washed so many times, that they work perfectly as dish cloths as they dry dishes very nicely) 20.5"x 27". - 40 pieces of 2.5"x 2.5" fabric squares. - 2 strips of fabric 2"x 5" for the hanging tab Sewing the dish towels: 1. Cut your fabrics as mentioned above. 2. Sew your fabric squares into 4 strips of 10 squares each ( two strips per towel) 3. Press your seam allowances. You can either seperate your seam allowances and press them each seperatly, or press the seam allowances in opposite directions before joining your fabric square strips. This is really easy and quick. (photo 1) You press one strip in one direction and the other in the opposite direction, this will help with nesting your seams and having accurate corners and matching points. The seams sort of fit together automatically ( photo 2). You end up with a perfectly flat fabric square panel. ( photo 3) 4. Fold over the long raw edges of your square panel 1/4" and press again then pin or clip in place. 5. Place this panel on one of your white fabric pieces at 7", mesured from the bottom raw edge of your kitchen towel and pin in place. 6. Stich this panel in place with a small seam allowance. I also added some diagonal seams. 7. Sewing the hanging tab for the tea towel: - Fold the 2"x 5" strip in half lengthwise and press. Fold in 1/2" seam allowance on each long raw edge and press again. - Stitch with small seam allowance. - Fold the tab in half and clip in place at the center of the back of your kitchen towel top edge. 8. Fold over the raw edges of your dish towel 3/8" twice and pin or clip in place. I did just simple corners on these tea towels, but if you want to get really fancy you could do mitered corners as well. 9. To finish stitch all the way around your kitchen towel. What do you think about these kitchen towels? Don't you agree they're ...... :-)? Now I cant wait to see all of your tea towel versions... use #dryinstyletowel on social media, so I can find your makes .... happy sewing. Ingrid xx
2 Comments
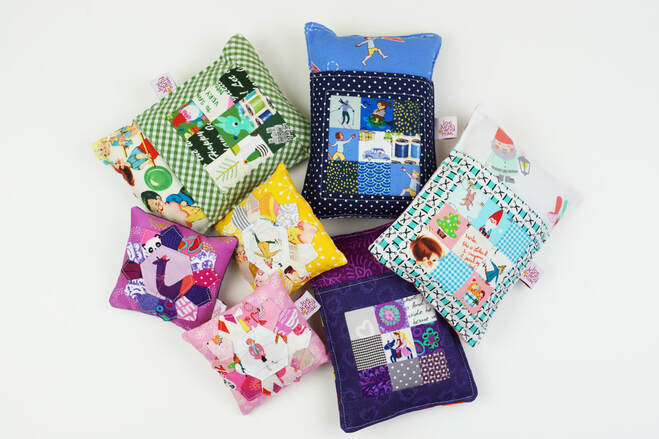
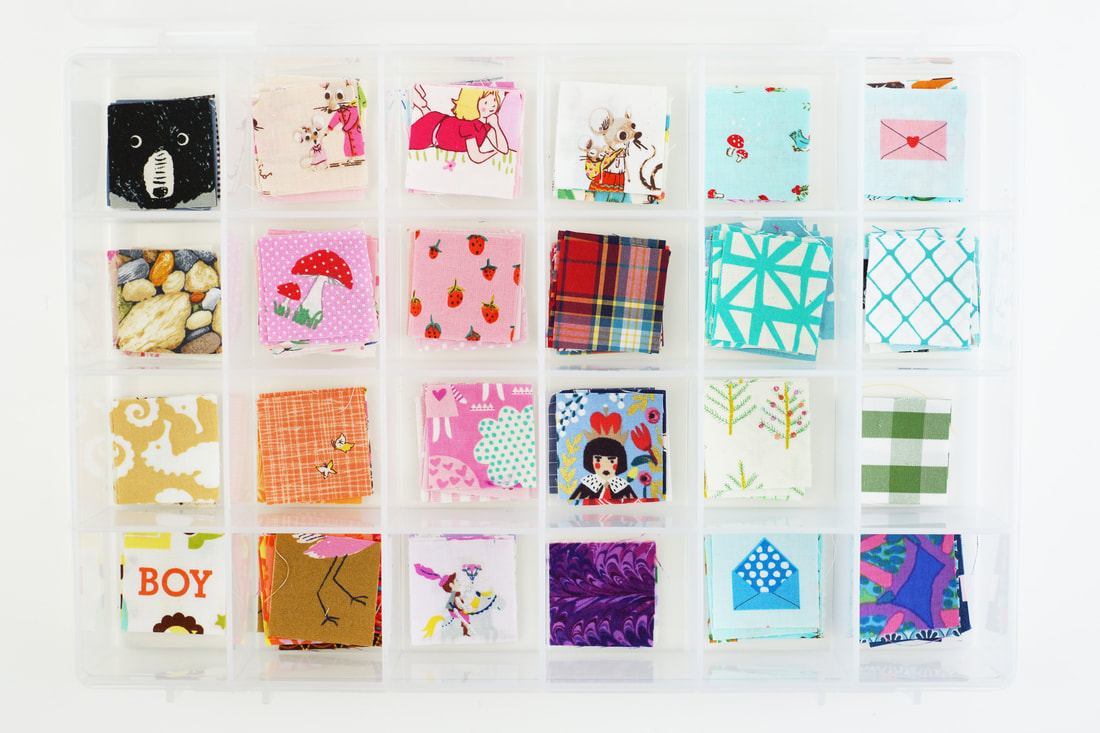
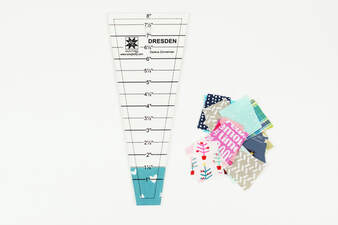
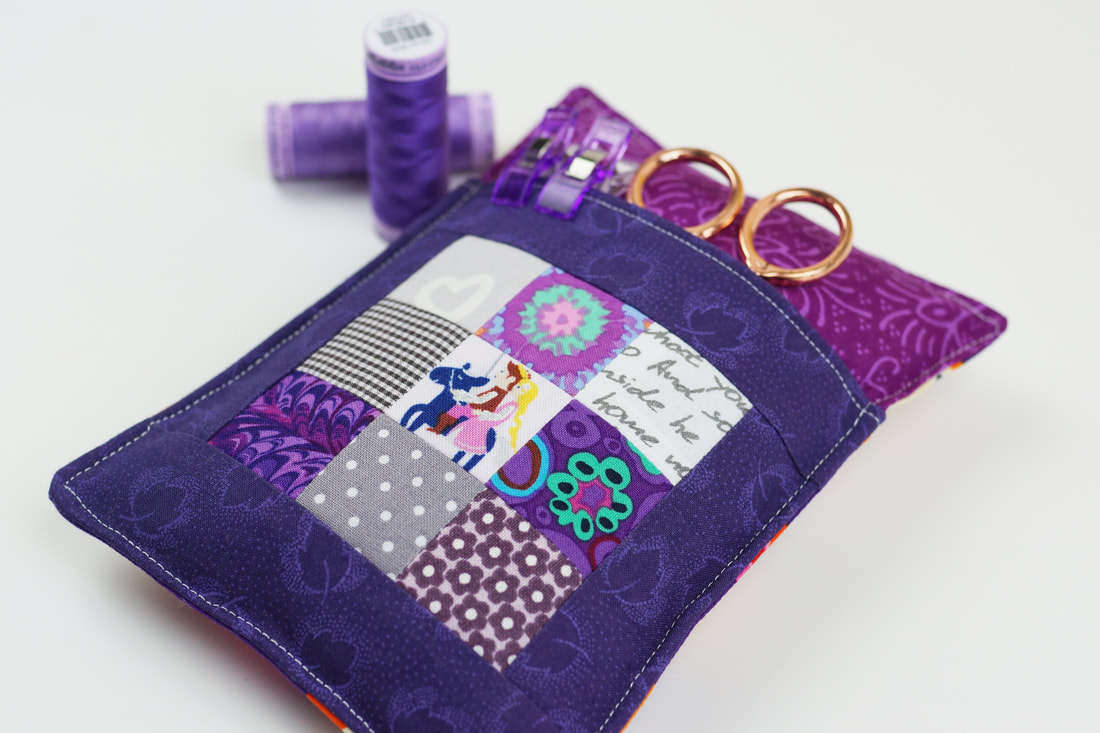
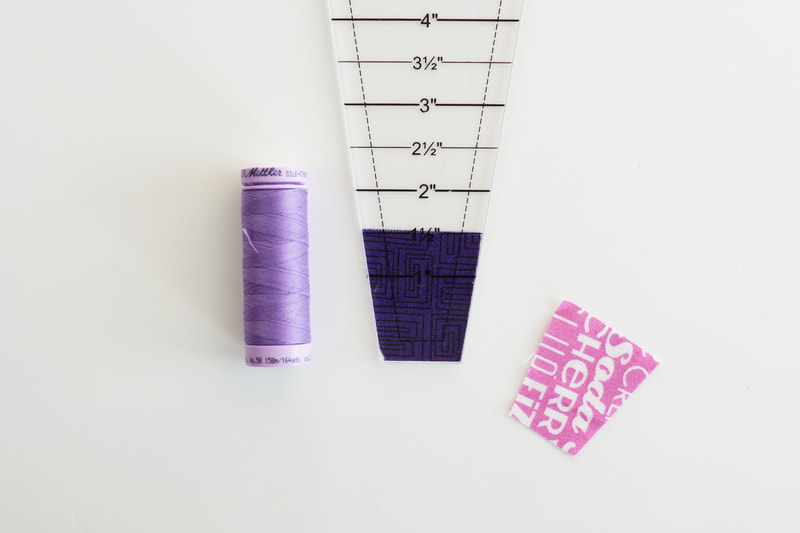
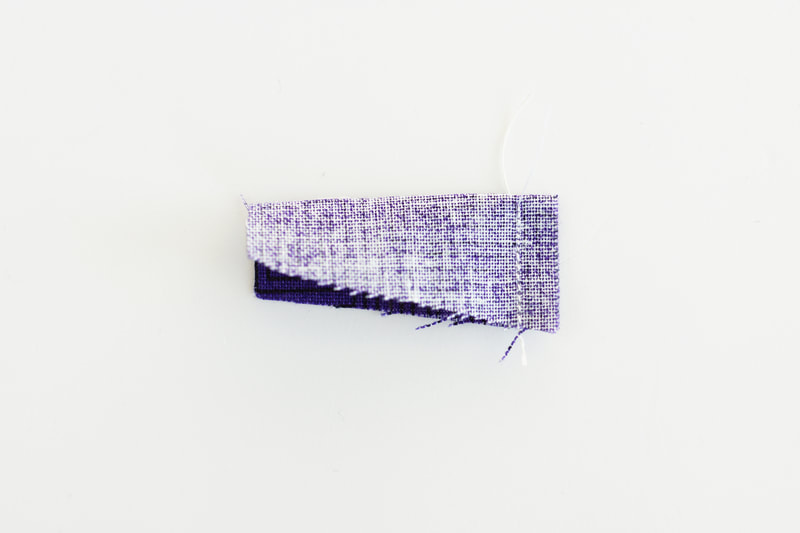
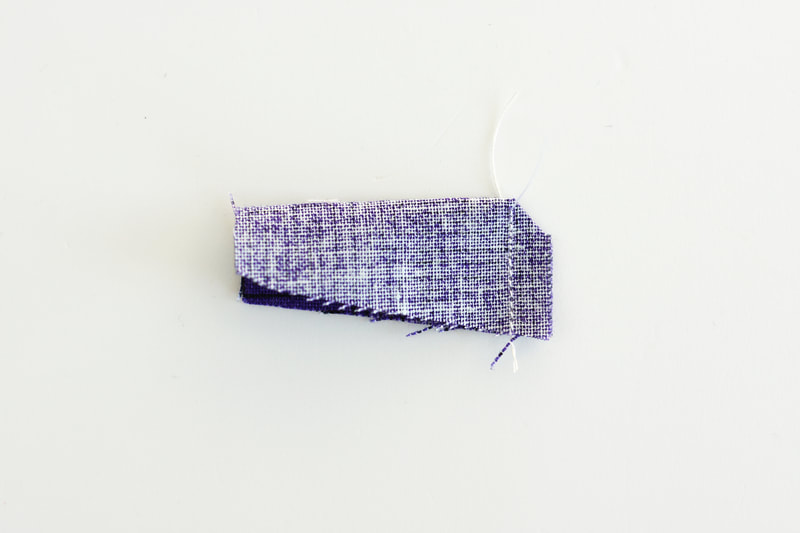
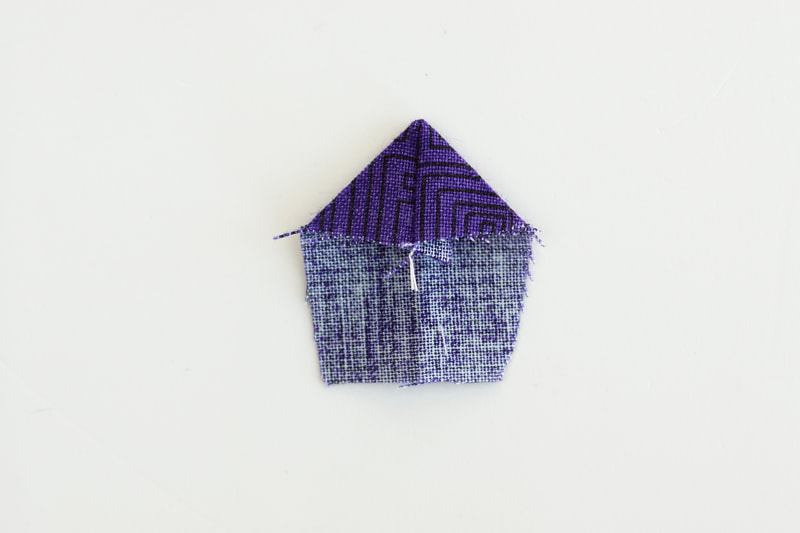
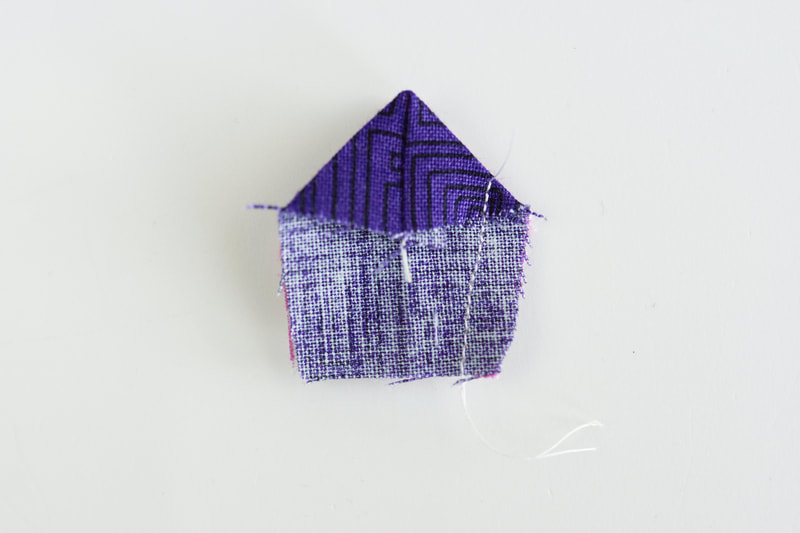
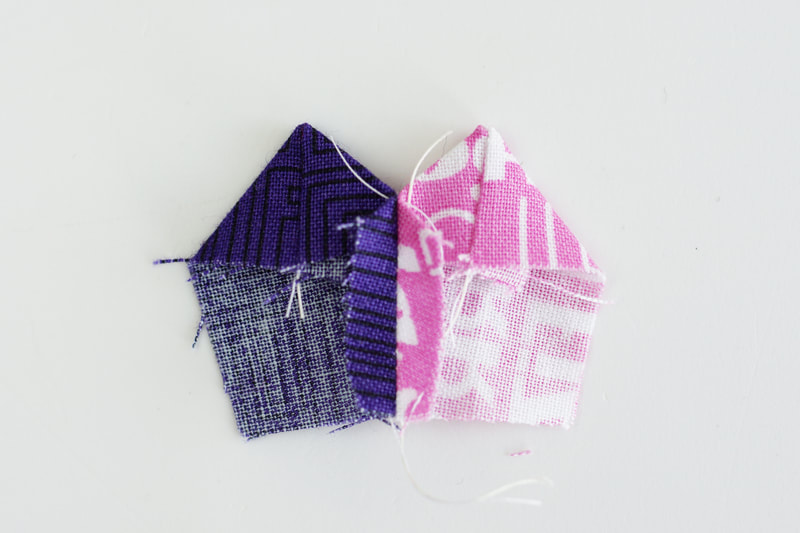
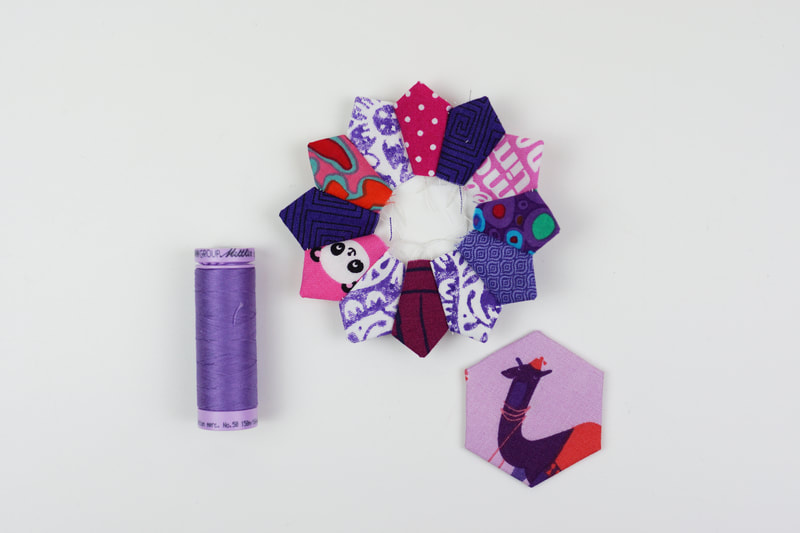
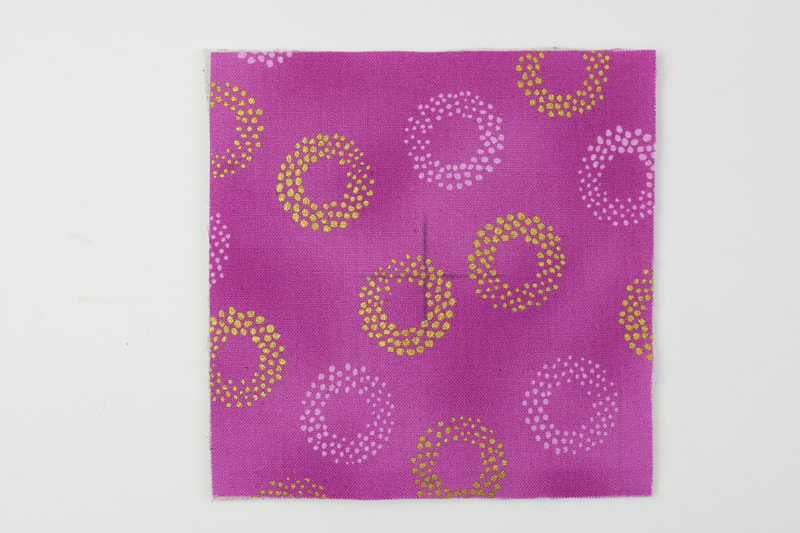
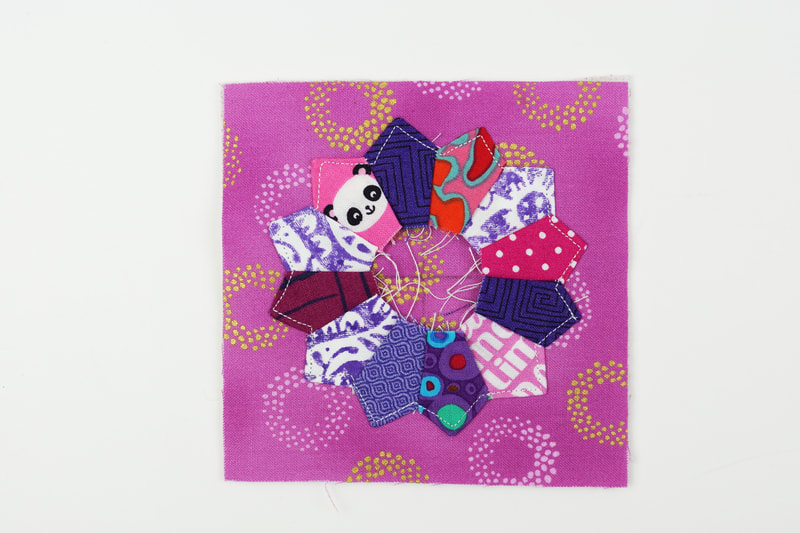
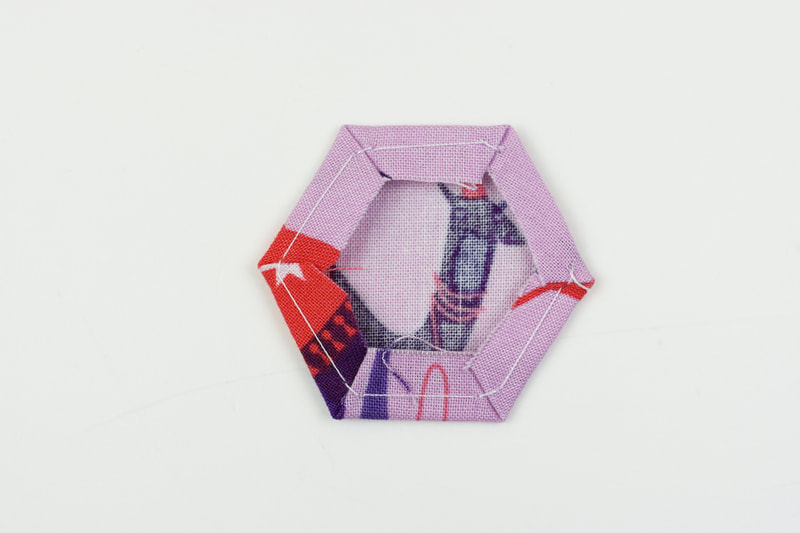
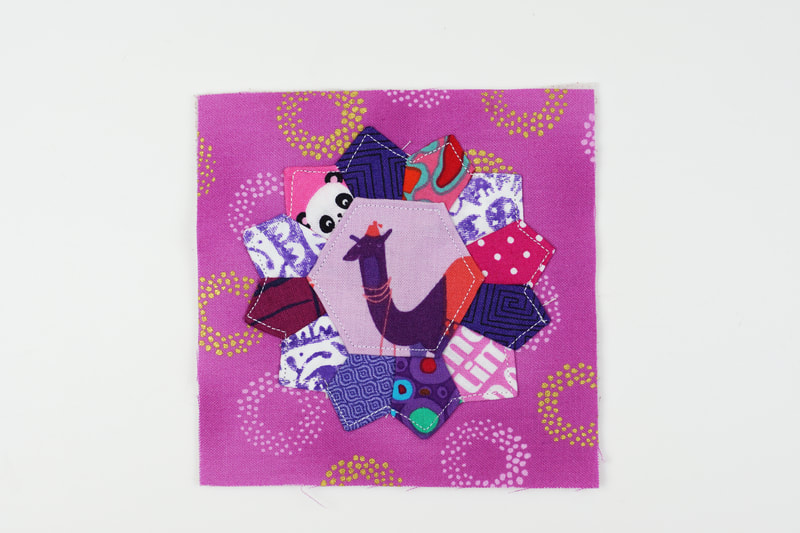
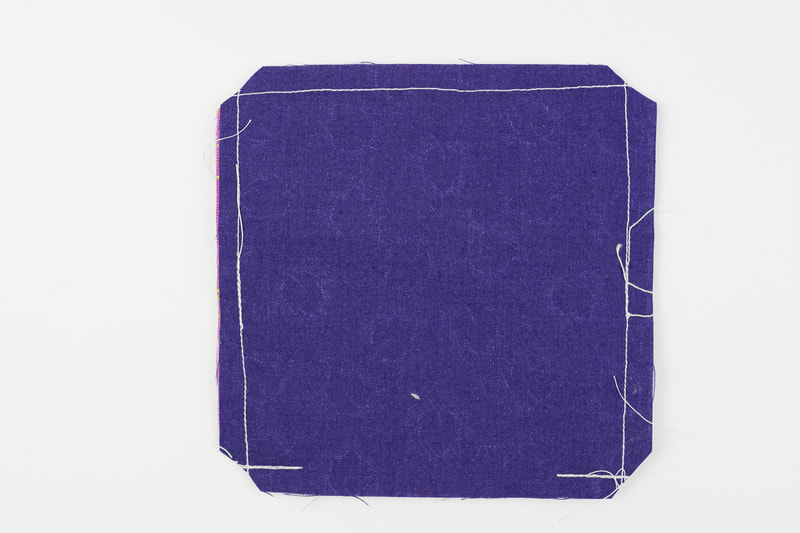
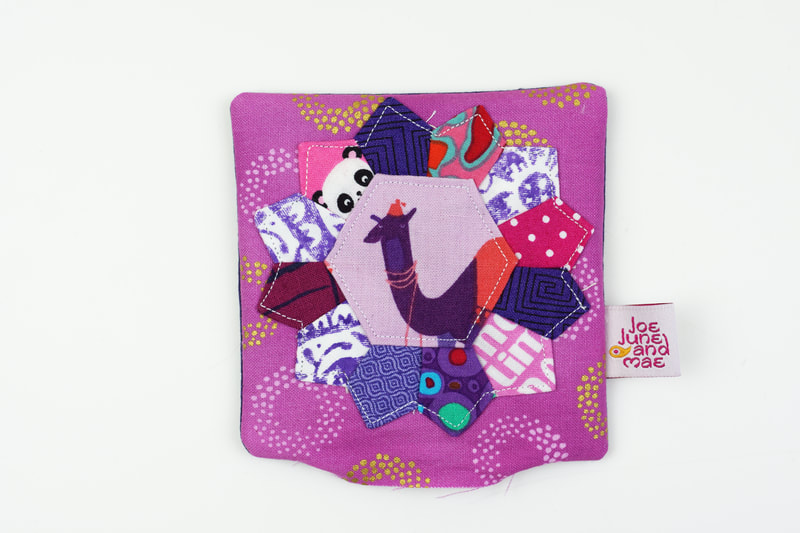
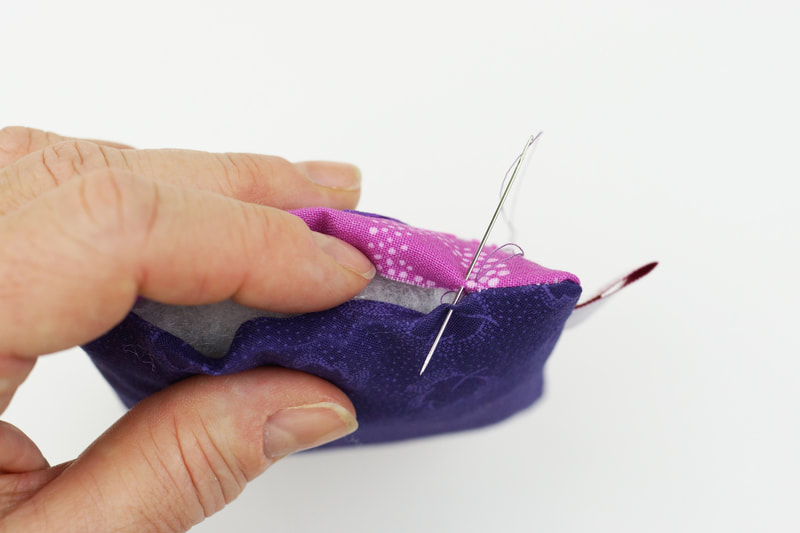
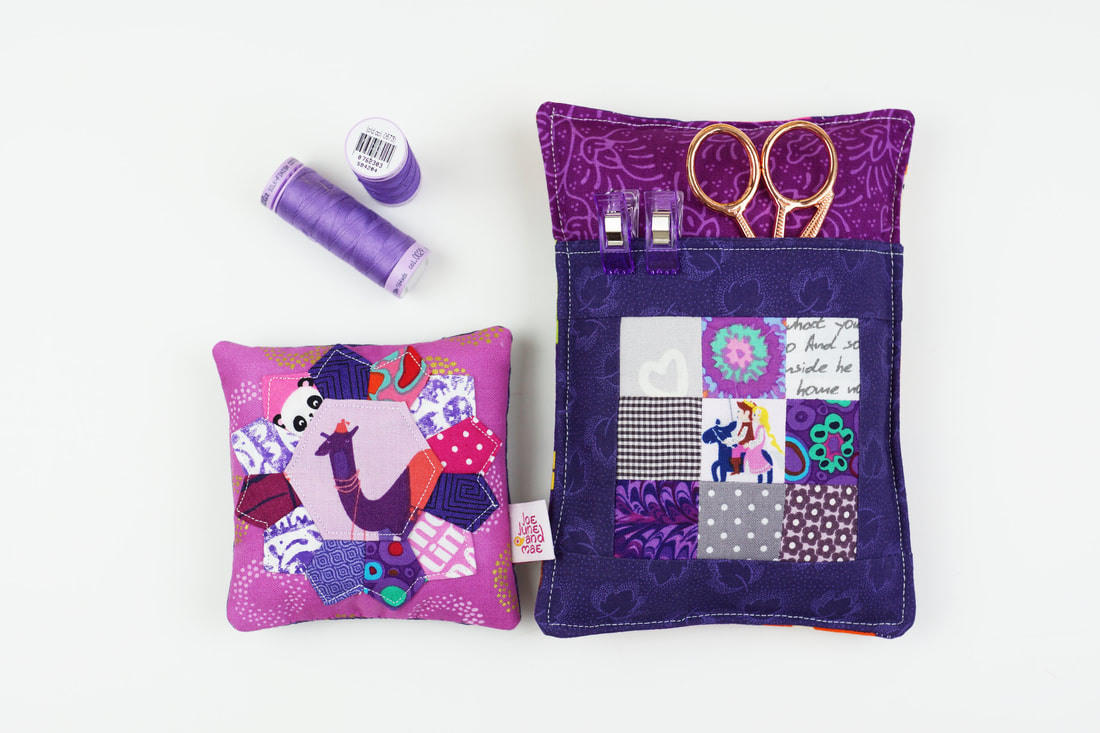
Do you ever wonder what to do with all those super cute fabric scraps that are left over from your sewing projects? Well, here are a couple of pincushion ideas for you to sew up with the smallest fabric pieces. Now you might wonder how I get those fabric scraps color coordinated, and how I will find them when I need them. Here's a simple trick, I make it a habit to cut up the cutest scraps right away into 1.5" squares and sort them by color into a simple acrylic organizer box. That way, I have them handy when I need them for fabric stamps, hang tags or smaller sewing projects like these pincushions. Plus that box is really pretty to look at, don't you think? I also cut up some Dresden plate pieces every once in a while and keep them in another box sorted the same way. I like making these tiny Dresden plates, just because they're so super cute, and I can really make use of the smallest fabric pieces. For cutting Dresden plate pieces I use the Darlene Zimmerman Dresden Acrylic Ruler. This awesome pincushion is also called Deluxe pincushion and is a super cute pattern from the book Sew organized for the Busy girl by Heidi Staples. It's a great pattern and a quick and easy make. This is an absolutely perfect pattern for all kinds of fabric scraps. You can use them color coordinated or by theme, make a little fairytale pincushion, or one with just flowers, a Christmas themed one or use very modern little scraps. I'm sure you will find tons of inspiration when you go through you fabric. Mini Dresden plate pincushion: finished size aprox 4"x 4" Fabrics/ materials needed: - 12 1.5" Dresden plate pieces - 2 pieces of fabric 4.5"x 4.5" - 1 basted 1" hexie, paper taken out. - 1 piece 4.5"x 4.5" fusible interfacing -a hand full of fiberfill, or your prefered pincushion stuffing material Sewing the pincushion: 1. Cut all the fabrics as mentioned above. Cut 12 1.5" Dresden plate pieces. (photo 1) 2. Fold the Dresden plate pieces in half , lengwise , right sides together and stitch along the top edge ( wider part of blade) with a 1/4" seam allowance. (photo 2) Chain piecing these blades makes this step super easy. 3. Cut off the corners (as shown in photo 3) at a 45° angle, this gives you nice, sharp points. 4. Turn each blade's sewn end right sides out. It usually just takes a finger to create a sharp point as you make that turn, but if necessary use a pencil to push the point outward. Be careful not to push too hard or cut through the fabric. Then press these. 5. Sew the Dresden Plate blades together by aligning the side edges right sides together with a 1/4" seam allowance from top to bottom, then press seam allowance open. After sewing the full circle, press the entire Dresden plate. Note: Most Dresden Plates are made with a 18° wedge ruler ( like the one I used), this means technically to form a full circle it would require 20 blades ( 18 x 20 = 360), but I use only 12 for this pincushion. Otherwise the full Dresden Plate would be too big and wouldn't fit on a small 4.5" square. The Dresden plate is so small, that it works just fine after pressing the full circle with 12 blades . And there will be a hexie placed on top anyways. Or you could us a 30° wedge ruler ( 30 x 12 = 360) 6. Stitch the Dresden plate onto one of the 4.5" x 4.5" pieces of fabric. Mark a cross in the center of the square to make placing the Dresden plate easier. 7. Place basted hexie ( paper taken out! ) on top and stitch in place. 8. Iron on fusible interfacing and place back 4.5"x 4.5" piece of fabric on top, right sides together and stitch around along the raw edges leaving a 2" opening for turning the pincushion. Cut the corners at a 45° angle, this gives you nice and sharp corners after turning. 9. Turn your pincushion right side out, and fill the pincushion with fiberfill or your preferred pincushion stuffing material. Press the opening under 1/4" and stitch closed by hand. The cutest little pincushions made entirely from fabric scraps, are all done ..... Aren't they just darling? Have lots of fun sewing up all your fabric scraps. Ingrid x
|
Author
Ingrid Alteneder Archive
March 2022
Categories
All
|
-
Shop
- New patterns
- All Patterns
- Appliqué Patterns
- Animals
- Baby
- Ballet
- Bear Cottage
- Beach/ Boats/ Nautical
- Buddha/ Mindfulness
- Chinese New Year
- Christmas
- Easter and Spring
- Fairytale
- Fall/ Autumn
- Flowers, Trees and Plants
- Food/ Drinks
- Halloween
- Oktoberfest
- Quilted items
- Stars
- Viva la Frida/ Dia de los Muertos
- Valentine's Day
- Village Patterns
- Mixed pattern
- Home
- About
- Blog
- Publications
- Etsy
- News
- Deutsch
|
Visit us at
|



 RSS Feed
