
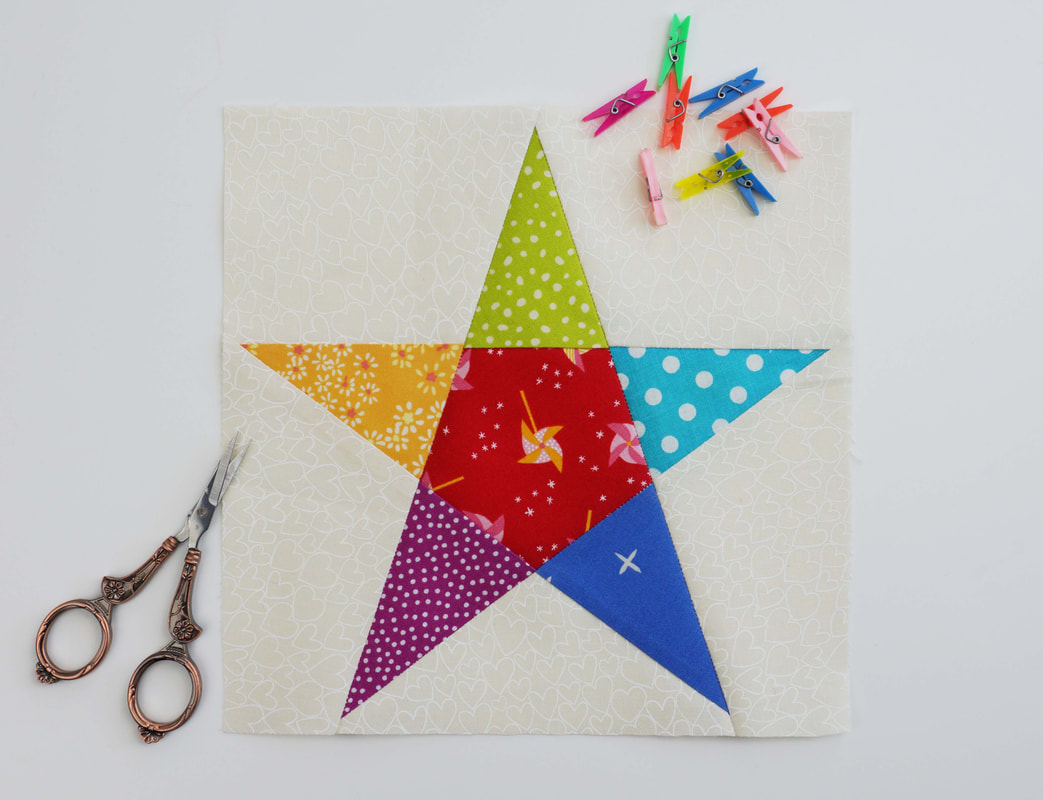
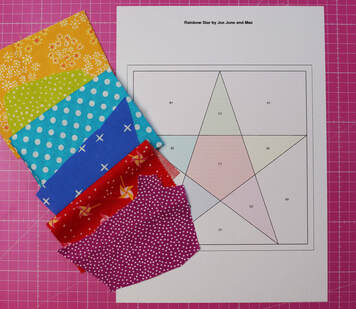
 Did this happen to you before? A stunning and cute quilt block catches your attention, you read the description, and it says it's paper pieced, so you're like...... OH NO, I cant do that! But I can assure you ( Obama style ) YES YOU CAN! I've been there, and trust me confusion took over me and I thought to myself : What do they mean, it's done on the reverse side? And how do I place the paper? And why this and what that? BUT first things first: You want to master paper piecing once and for all? You dont want to miss out on all those stunning quilt blocks that are paper pieced? Then read this blog post slowly, with you pattern at hand. You can also download this free pattern here to start practicing. Or if you like this star pattern , then grab it here. First and foremost, take your time to practice now and you'll be good to go for ever. 1. The pattern the pattern usually consists of a numbered overview, with letters and numbers on it. a colored overview ( so you have some inspiration) a blank overview ( this is for you to color yourself) and your pattern segments, again lettered and numbered, Each segment features only one letter, but has several numbers, this is the sequence of your sewing. Think of your pattern as a puzzle, each segment is one piece of your puzzle. 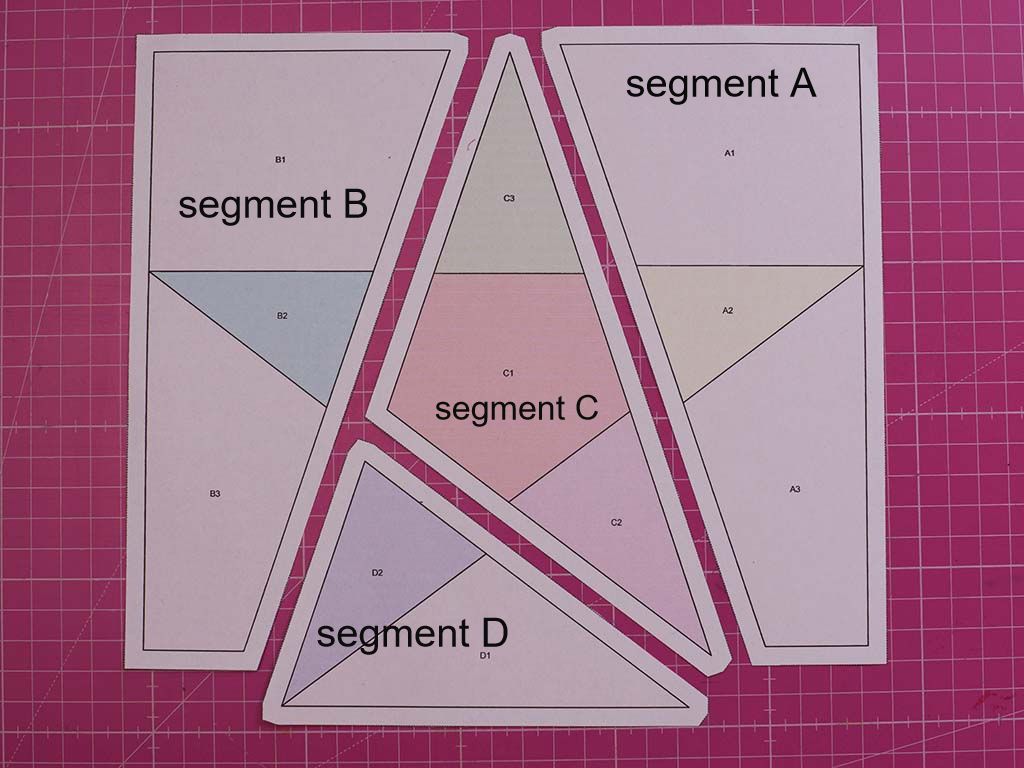 2. A few simple tips: Place the numbered overview in front of you. Cut out the pattern segments, along the dotted lines ( this is the seam allowance). Place the segments beside your pattern acording to the numbered overview. This is pretty obvious with the star pattern, but it becomes really important and comes in super handy with more complex patterns. 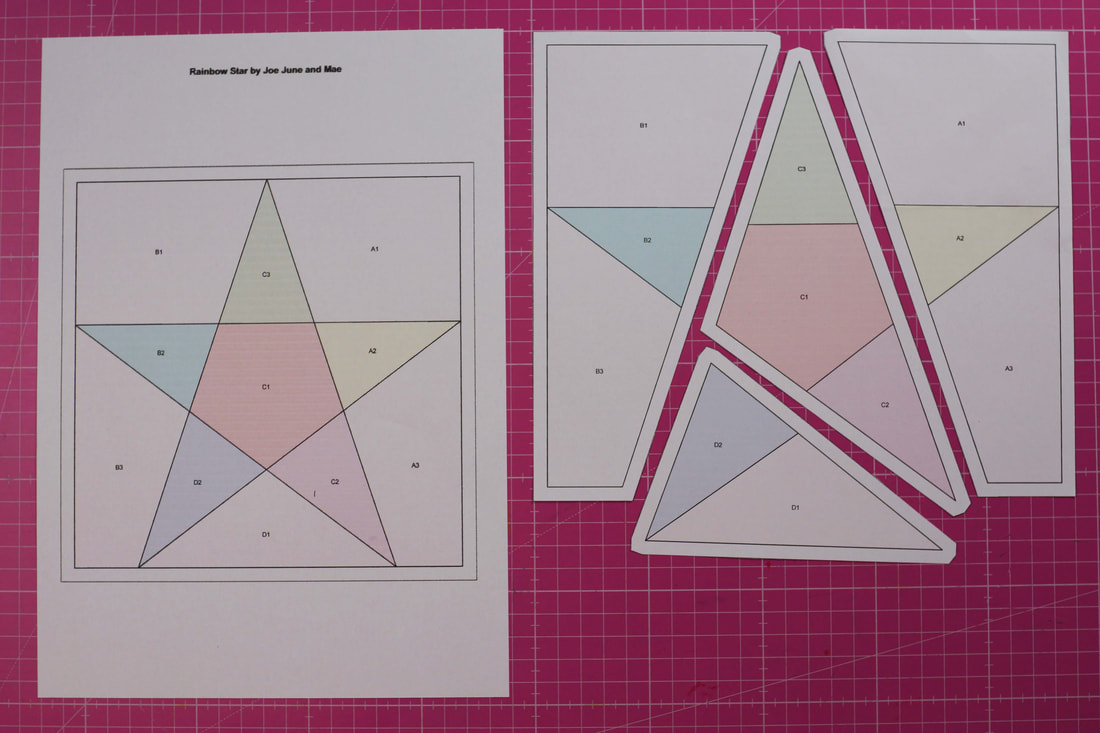 3. Reverse side or mirrored image: As I mentioned before, foundation paper piecing is done on the reverse side of your paper. This means your pattern is your sewing aid only. Not as with 'normal' patterns, where you cut the fabric according to the pattern. I think this is the most important part about paper piecing, and can't be emphasised enough. NOTE: The paper is just your sewing aid . The paper is your base where you sew on, the lines of the pattern are your sewing lines. The block will emerge on the unprinted side of the pattern. And will therefore be a mirrored image of the numbered overview.
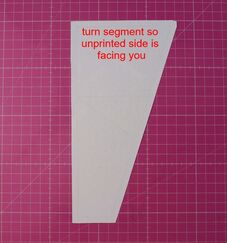
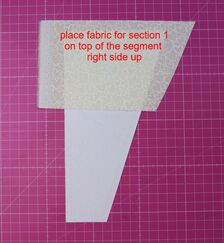
> numbered overview > finished block 4. Sart sewing It doesn't matter which segment you sew first, you want to sew them all anyways, so start wherever you want. I will start with segment A here, just because I like starting from the right today :-) > set your sewing machine to 1.5 stitches /cm or 16-18 stitches/inch this will make sure the stitces perforate the paper nicely, but are not too close, so they don’t rip the paper. This will also make it easyer to remove the paper after you finish sewing your block. > Turn the first segment over so the wrong side (unprinted side) is facing you. Place the piece of fabric for section 1 right side up, onto the paper, making sure there’s ¼ to ½ inch of fabric around the perimeter of section 1. Be generous in the beginning; once you are familiar with foundation paper piecing, you can cut your fabrics a bit smaller. > Pin or glue this fabric in place. I prefer fabric glue. Everything stays nicely in place.
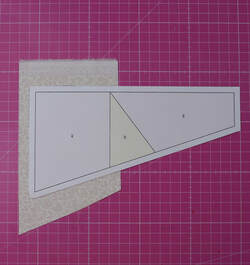
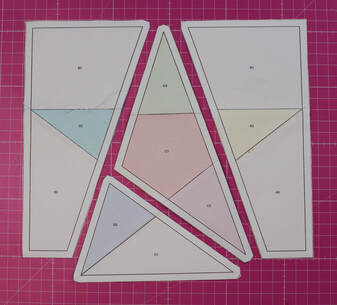
> Turn the pattern segment over so the printed side is facing you. Fold the pattern on the line between section 1 and 2. ( I do this using a postcard, this gives you a nice straight and crisp fold)
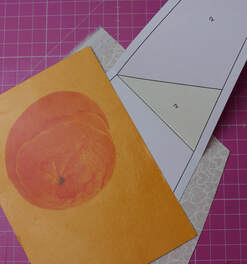
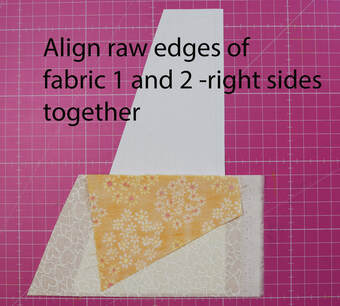
> Trim fabric 1 to a ¼” seam allowance using an acrylic ruler and rotary cutter. There is a specilty ruler for this, it's called ADD-A-Quarter-Ruler , which has a 1/4" lip and gives you a perfect 1/4" seam allowance. But any other ruler will work just as fine. 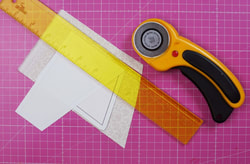 > Choose the fabric for section 2 the same way you did for section 1, making sure the fabric covers the whole of section 2 and aprox ¼ - ½ ” around the perimeter of section 2. 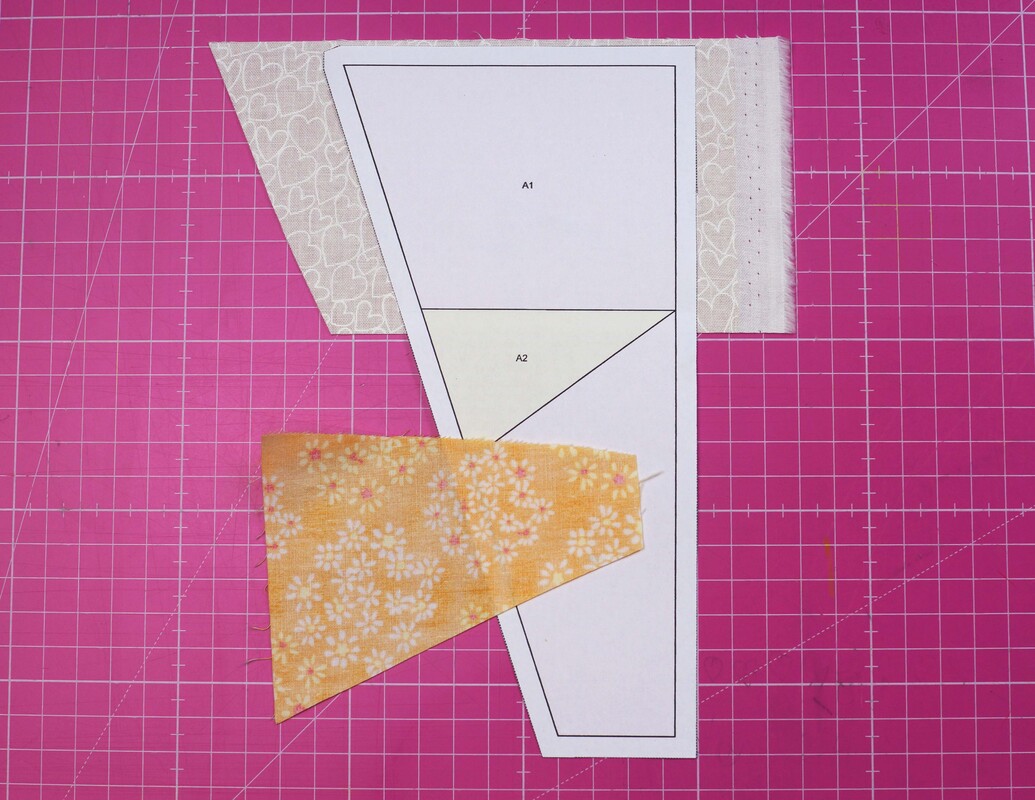 > Place fabric for section 2, right sides together with fabric 1. Aligning the raw edges of the two fabrics along the fold between section1 and 2.
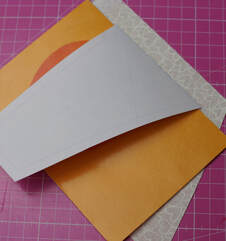
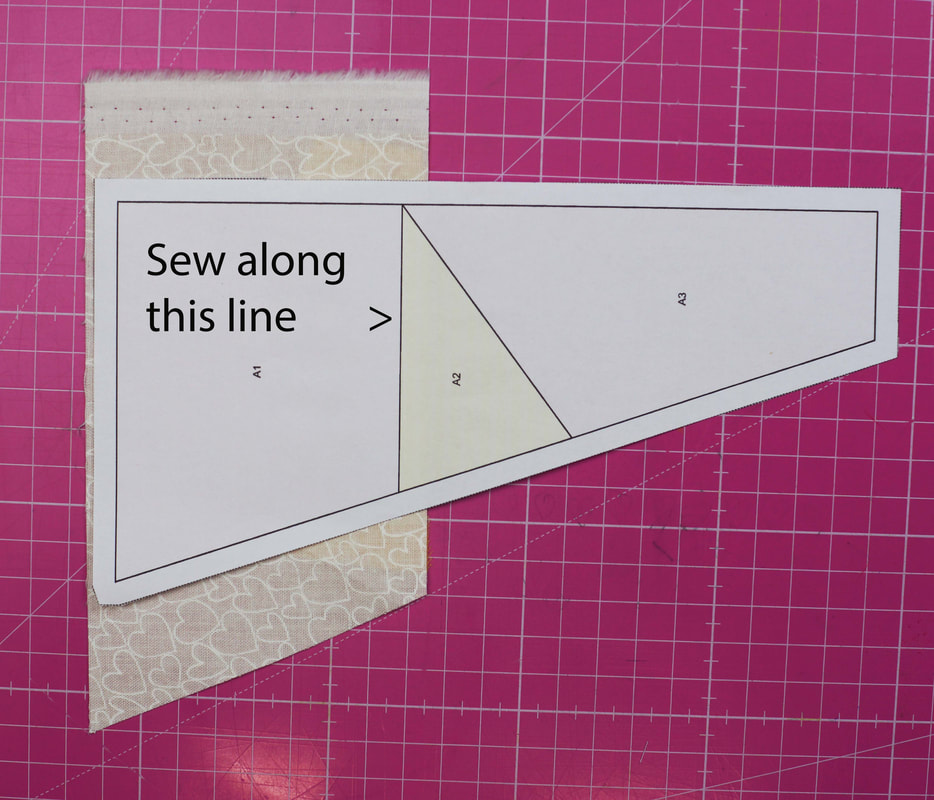
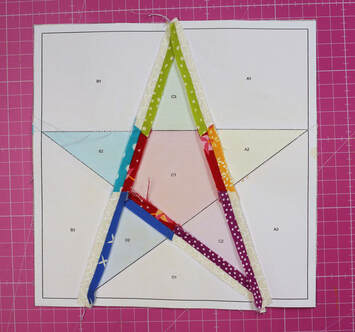
> Now, stitch along the fold between sections 1 and 2, right on the line. The more precisely you sew, the easier it will be to align your segments! If the line that’s being sewn starts or finishes at the ¼-inch seam allowance, extend that line right through the seam allowance by sewing all the way through it! 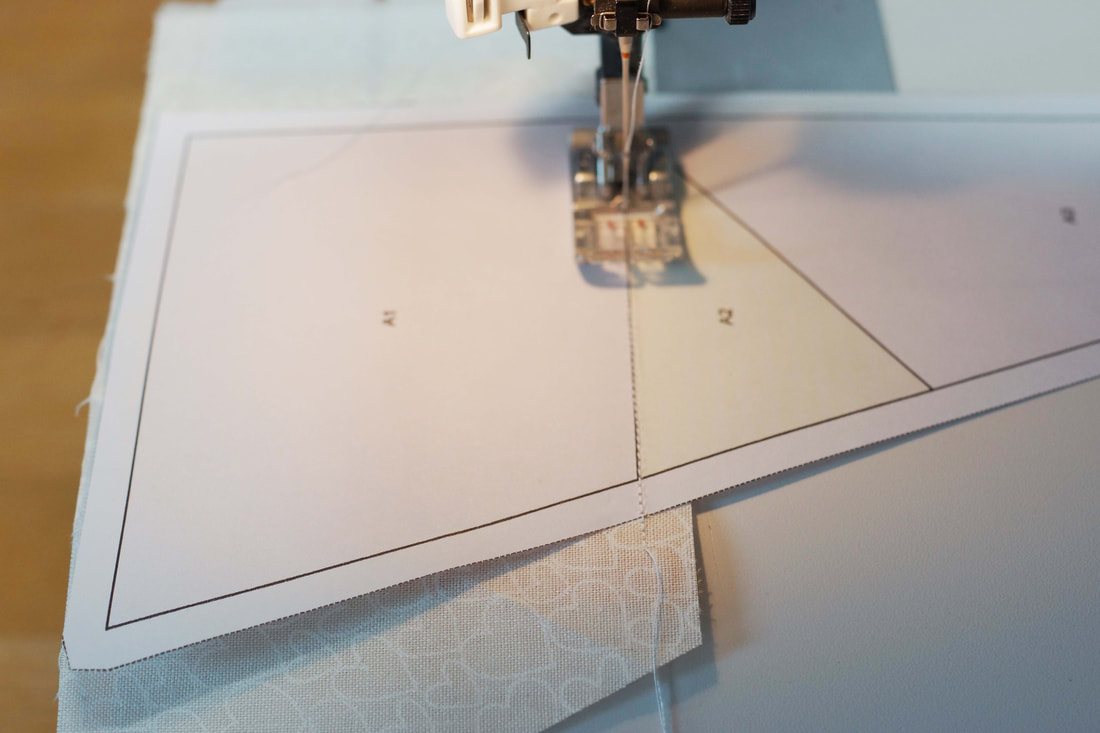 > Flip open fabric 2 so the right sides of the fabrics are showing and press with a hot iron (no steam, as this can distort your fabric and paper ). Now you choose the fabric for section 3 the same way you did for the other two. Folding now the pattern at the line between section 2 and 3 and so on. You then sew each section the same way. Adding the fabrics in numerical order, as they appear on each segment. 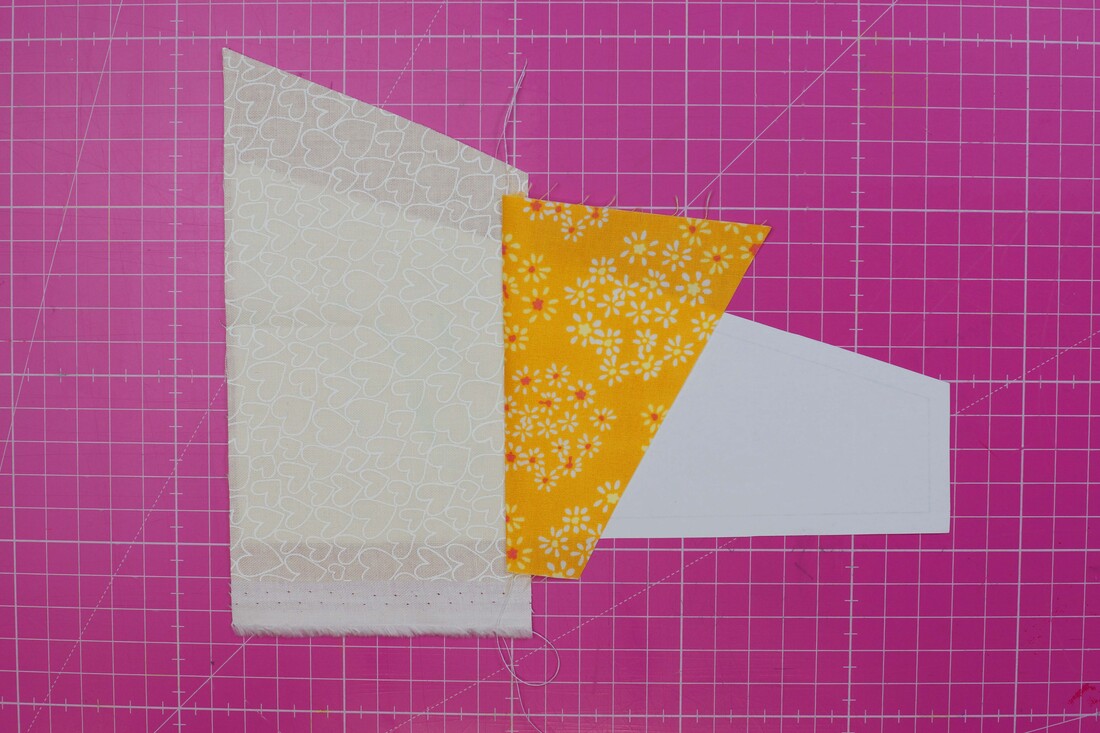 > When you're done sewing the segments, cut excess fabric along the dotted line. 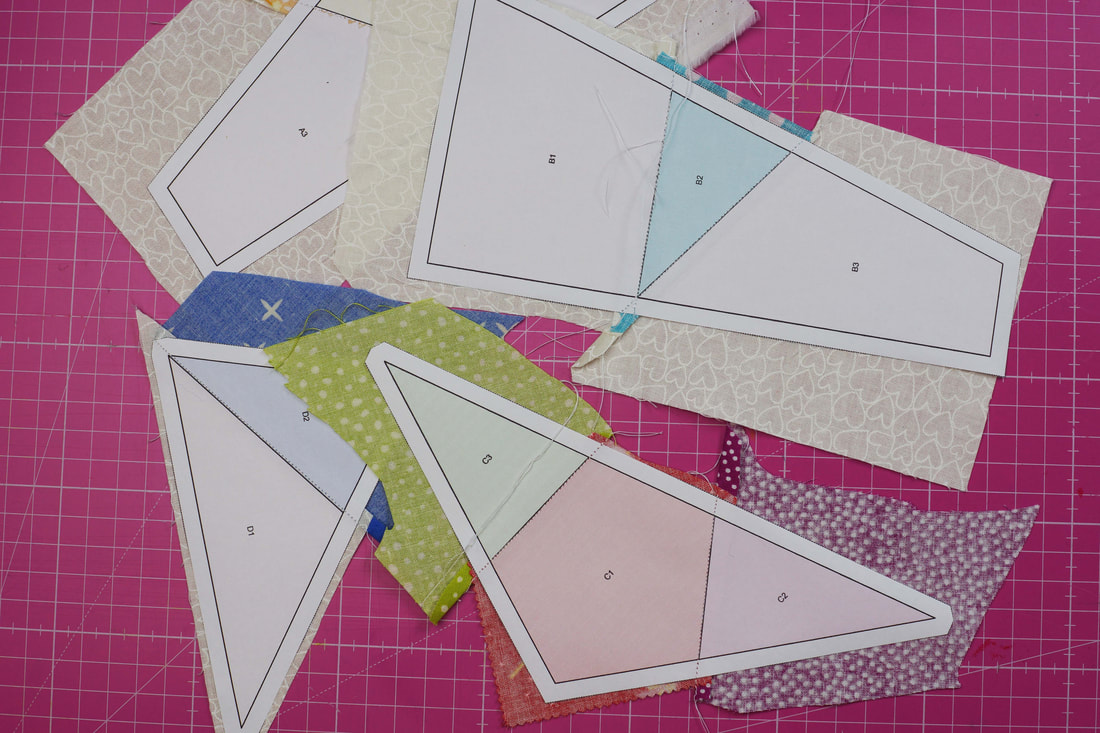 > Place the trimmed segments as they are on the numbered overview. This just makes your life so much easier when sewing the segments together. > Now sew the segments together according to the assembly instructions in the pattern.
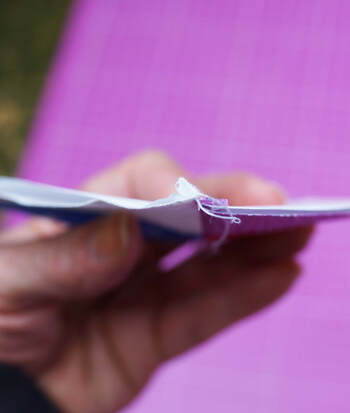
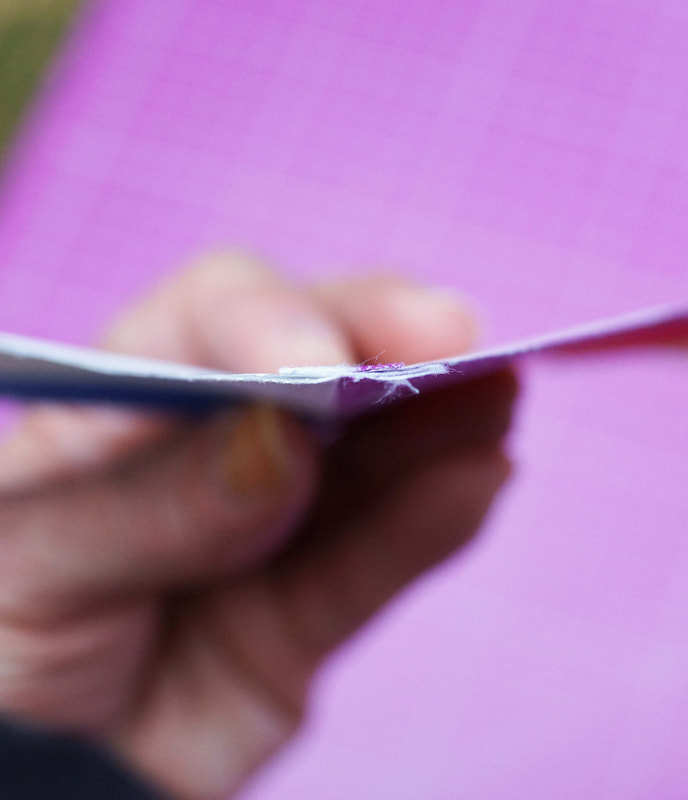
> After sewing two segments together, remove the paper only from the seam allowance and press the seams open with hot iron (no steam) as flat as possible. (This is where the tailors clapper comes in very handy , see blog post about clapper here. ) This helps reduce bulk, especially when there are several layers of fabric. It also helps keep your overall size accurate. 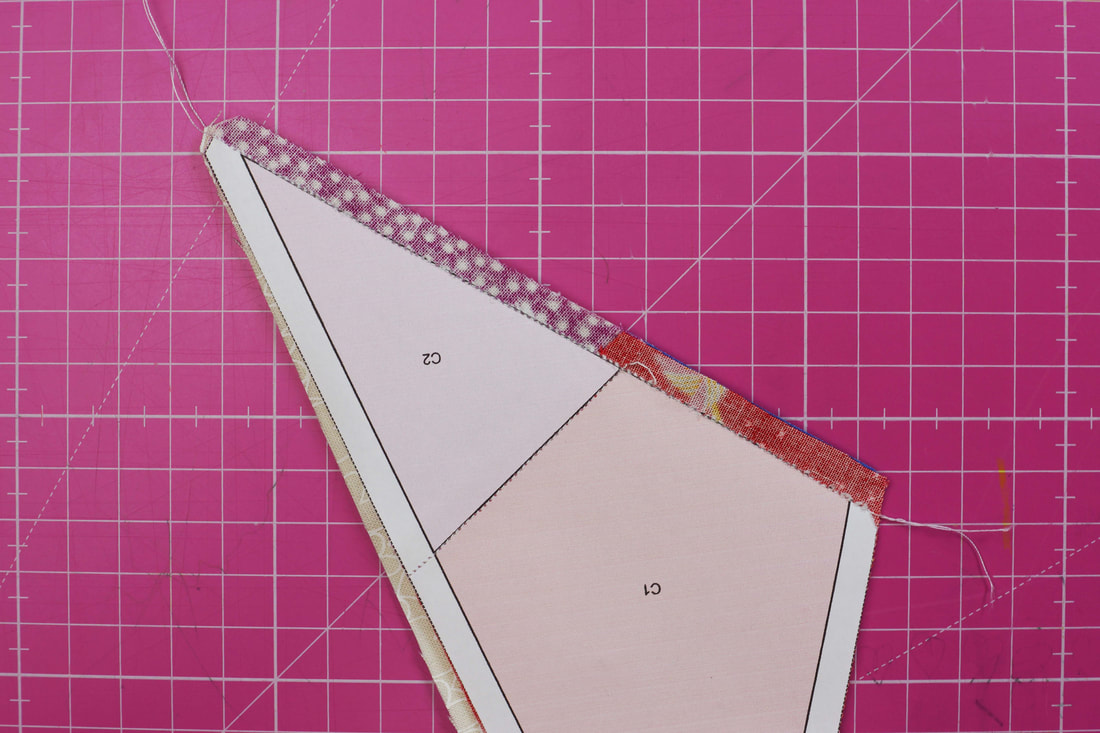
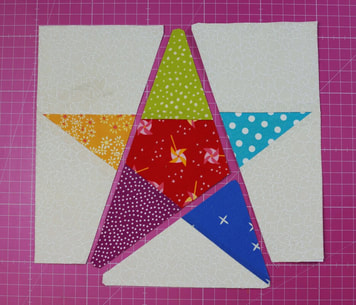
before tailors clapper after tailors clapper > After piecing all the segments, remove the remaining paper and use the iron to press your finished block.
And that's it .................. ALL DONE. You can also watch a tutorial video here. What do you think? Doable, right? You will be a paper piecing STAR in no time. 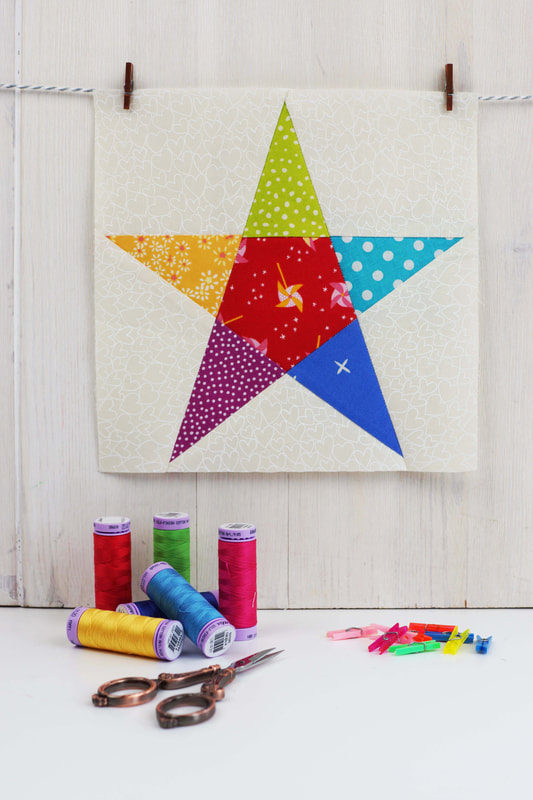
21 Comments
7/9/2020 11:56:52
Hey there,
Judy
29/8/2023 17:48:21
Hi, I just purchased the Ludwig the Lion foundation paper piecing pattern and was hoping to practice before I attempted it. The free pattern is sold out and I am wondering if you could restock it again. Thanks so much.
Petra Roche
25/1/2021 14:48:33
Hello,
Hey Petra,
Sheryl
17/4/2021 10:07:34
I would like to have pattern for this star. Website isn’t working 13/11/2023 10:16:32
Hi I am trying to download the free star pattern nothing is working
June Plunk
2/9/2023 15:35:32
I would like to get the free 5 star pattern Please! Fran
Susanne Lost
15/1/2021 12:40:17
Liebe Ingrid,
Hallo liebe Susanne,
Marion
2/5/2021 00:18:40
Deseó aprender esta nueva técnica 😊 6/5/2021 05:43:16
Hey,
Kathy
20/1/2022 15:54:19
Your star pattern is great!
polly
8/3/2022 19:15:39
Hi
Mary Lou Powers
8/7/2022 06:11:53
Love, love love these patterns and hoping you would be able to send me the Happy Tree pattern. The star ( or any other simple pattern) would be fine also as I am trying once again to learn paper piecing.
Nancy
9/4/2024 07:58:52
I want to make the 12” star. Is it broken up in pieces such that I can print on 8-1/2”X11 “ paper or will I need to take it to a print shop? Leave a Reply. |

Author
Ingrid Alteneder Archive
March 2022
Categories
All
|


 RSS Feed

|
Visit us at
|