|
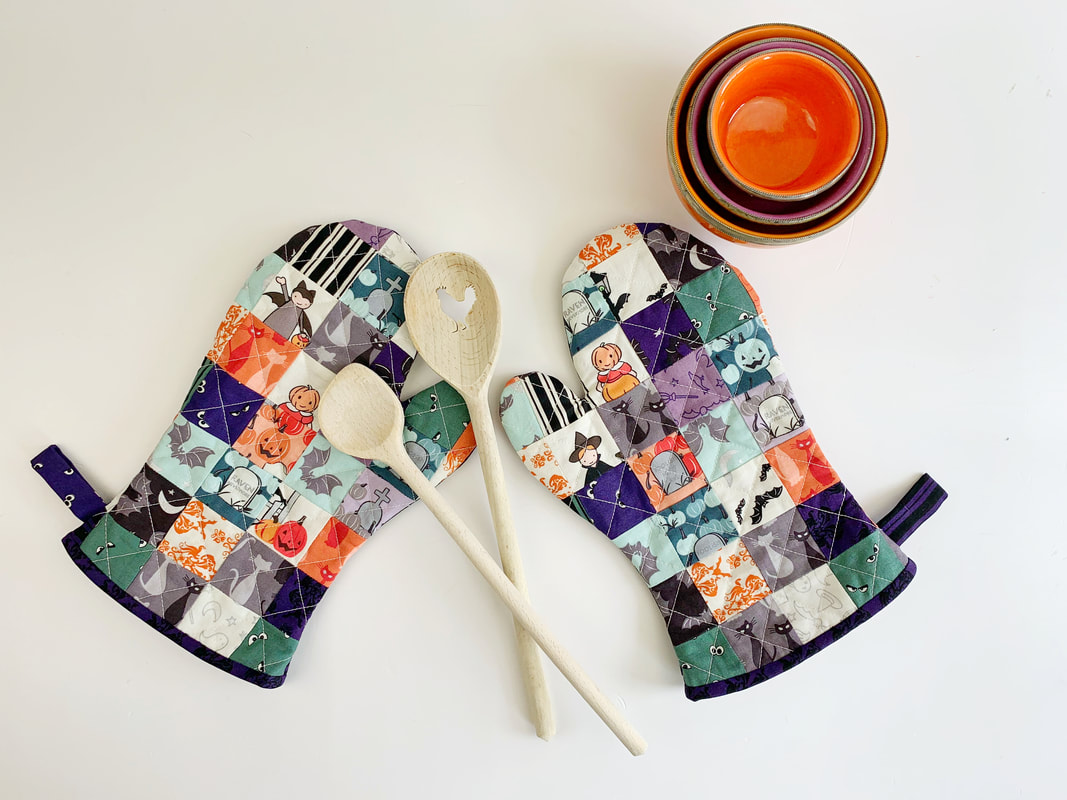
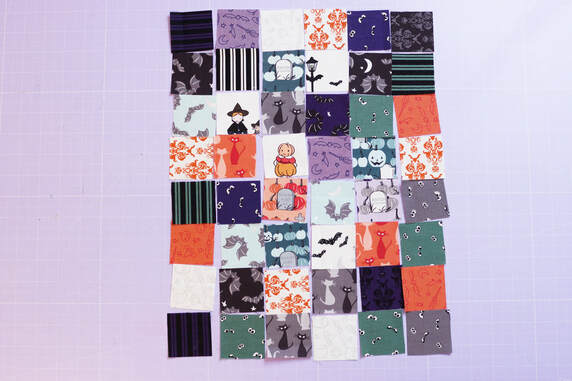
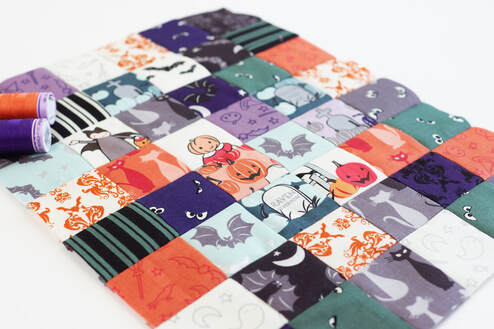
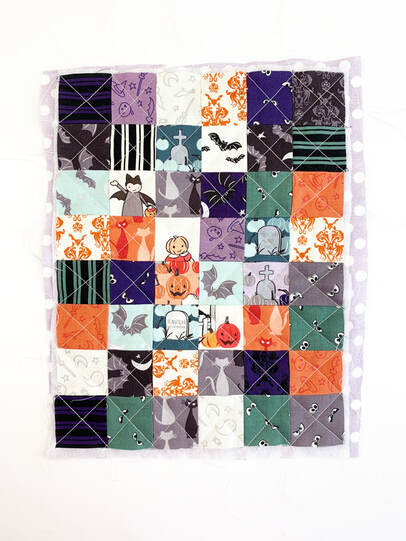
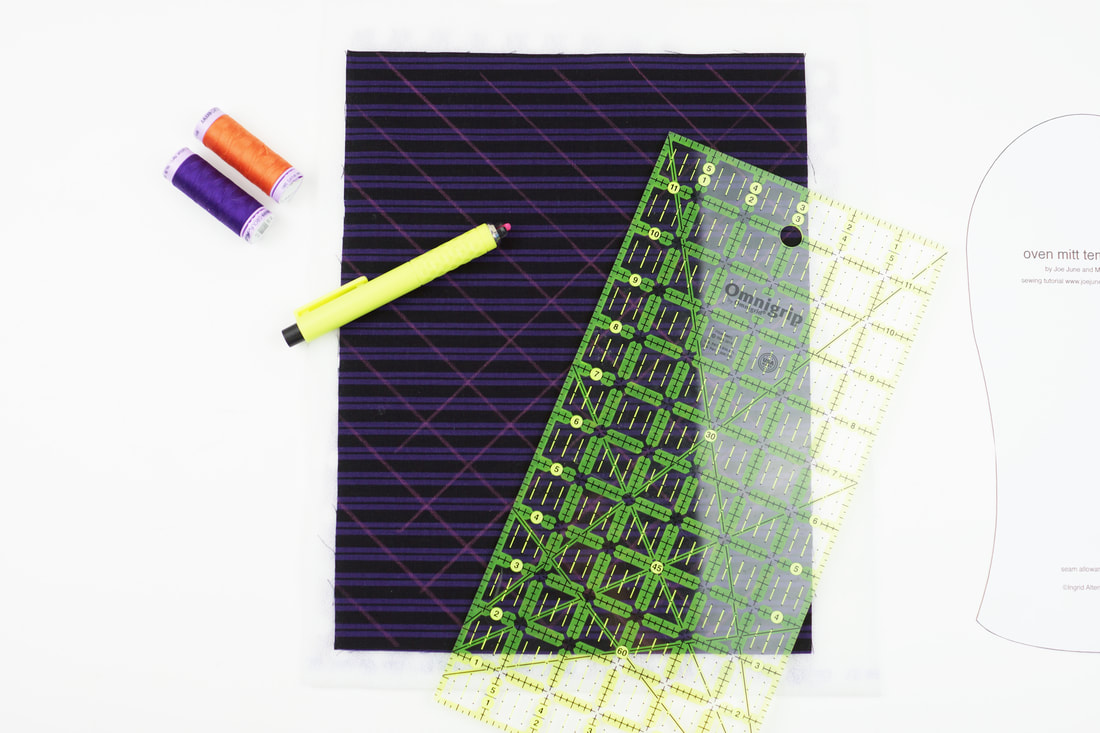
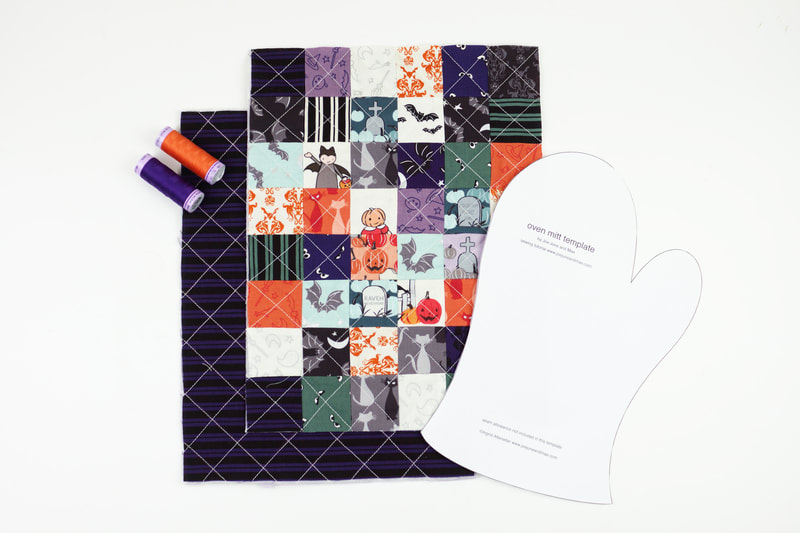
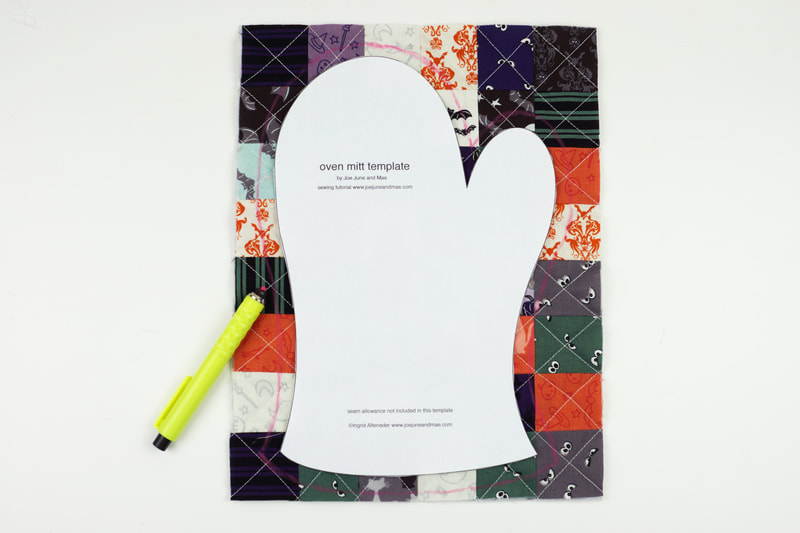
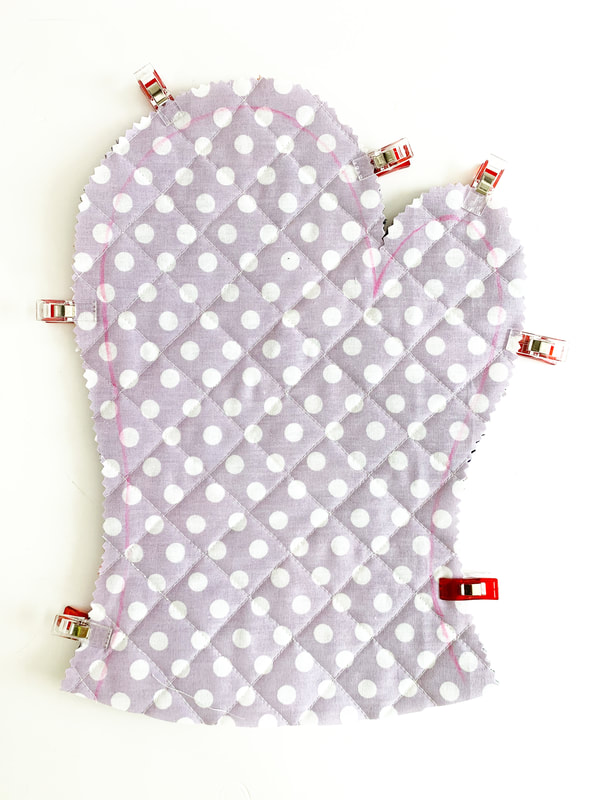
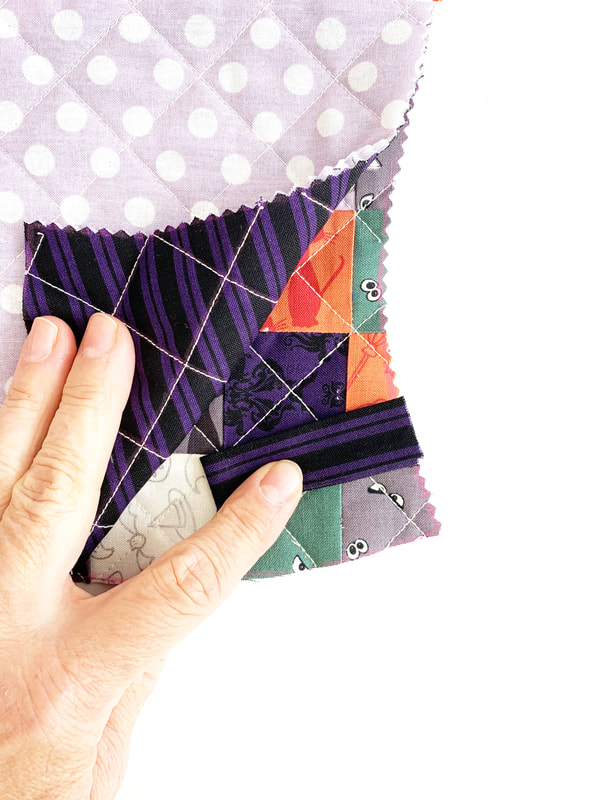
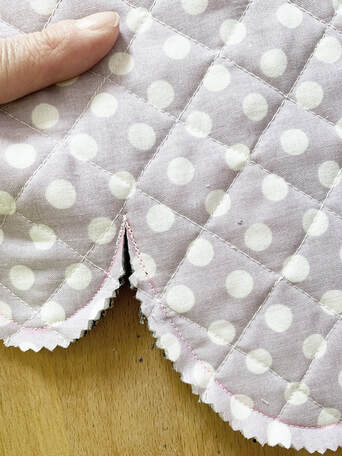
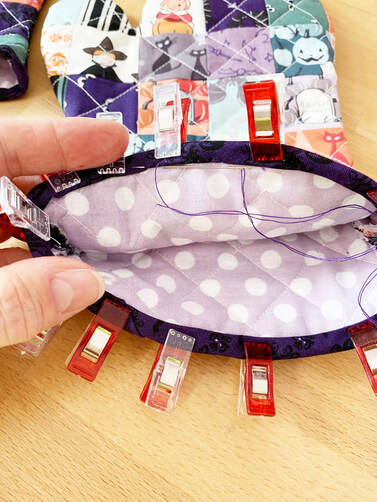
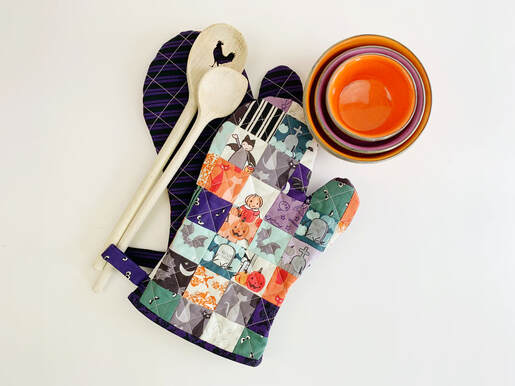
Doesn't this happen to you all the time as well? You have tons of the cutest fabric scraps left over? But of course you don't want to throw them out? I like quick and easy projects with these fabrics, so I don't end up collecting tons and tons of fabric pieces, which I do anyways, haha. So here is another super pretty and easy pattern... this time for quilted oven mitts. Materials needed: ( for one oven mitt) size aprox. 7" wide x 11" high. - 48 pieces of 2" fabric squares ( thank you Riley Blake Designs for this adorable fabric series 'spooky hollow' by Polkadotchair ) - 1 piece of fabric for the back 9.5"x 12.5" - 2 pieces of fusible batting ( or insul brite if you wanted to ) 9.5"x 12.5" - 2 pieces of lining fabric 9.5"x 12.5" - 1 strip of fabric 2"x 5" for the hanging tab. - 1 piece of bias cut binding strip 1.5" wide 17" long. - printed oven mitt template Instructions: 1. Cut all your fabric pieces. Cut 48 2" fabric squares. And cut out the oven mitt template which you will find here. 2. Sew all the squares together. The easiest way, will be chain piecing the squares. Here's a quick video on how to do this. 3. Once you have all the squares sewn together, attach them to the fusible batting or insul brite. 4. Place the patchwork top on top the lining piece of fabric, wrong sides together. And quilt to your liking. I did quilt this with diagonal squares. 5. Iron the back piece of fabric on to the fusible batting and place on top of the lining piece wrong sides together. Then quilt to your liking. I quilted diagonal squares here as well. I drew them onto the fabric with a fabric marker ( Koh-I-Noor Fabric pen, that can easily be dusted off after sewing). 6. Sewing the hanging tab: Fold the piece of fabric for the hanging tab in half, aligning the long edges. Sew along the long edge with 1/4" seam allowance and turn inside out. 7. Place the oven mitt template on the patchwork piece and draw around it with a 3/8" seam allowance. Turn the template around ( so the wrong side is now facing you) and place it on the back piece and draw around the template again with a 3/8" seam allowance. Cut out the oven mitt shape with zigzag shears, then draw the oven mitt shape on the lining side ( again I used the fabric pen, that can easily be dusted off) 8. Place front and back pieces wrong sides together . Place the hanging tab between the two layers at the bottom corner facing the inside of the oven mitt. Sew along the drawn line, securing the hanging tab in the seam, then cut back the seam allowance to 1/4 ". 9. Cut the seam allowance, between the hand and thumb part of the oven mitt, all the way to the seam. This makes sure you don't get weird pleats when turning the oven mitt inside out. 9. Turn oven mitt inside out and clip the binding strip to the outside and stitch with 1/4" seam allowance. 10. Fold over the binding to the inside and hand stitch in place. And here we go you're all done. So get your pots out and ... happy cooking. What do you think? These adorable oven mitts are a great gift for any one, don't you agree? Ingrid xx
5 Comments
Inja
26/5/2021 02:08:21
Hello Ingrid,
Reply
luz stella yarce
29/8/2021 16:21:59
Gracias por tu proyecto de Corolla.Hermoso
Reply
Hello Inja,
Reply
camilla kola
7/2/2022 04:37:37
So happy to come across your blog.Thanks for the tutorials going to try it. Lots of love and greetings from South Africa.
Reply
camilla kola
7/2/2022 04:56:07
Many thanks for the free pattern
Reply
Leave a Reply. |
Author
Ingrid Alteneder Archive
March 2022
Categories
All
|
-
Shop
- New patterns
- All Patterns
- Appliqué Patterns
- Animals
- Baby
- Ballet
- Bear Cottage
- Beach/ Boats/ Nautical
- Buddha/ Mindfulness
- Chinese New Year
- Christmas
- Easter and Spring
- Fairytale
- Fall/ Autumn
- Flowers, Trees and Plants
- Food/ Drinks
- Halloween
- Oktoberfest
- Quilted items
- Stars
- Viva la Frida/ Dia de los Muertos
- Valentine's Day
- Village Patterns
- Mixed pattern
- Home
- About
- Blog
- Publications
- Etsy
- News
- Deutsch
|
Visit us at
|


 RSS Feed
