|
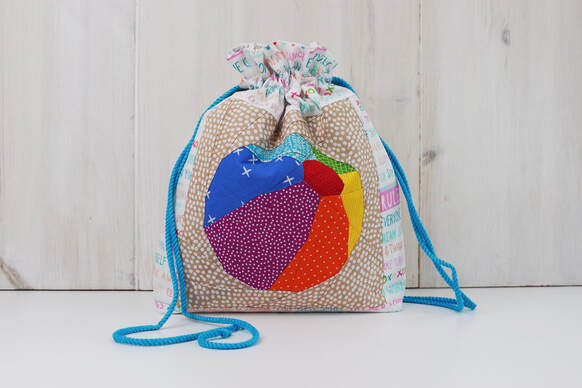
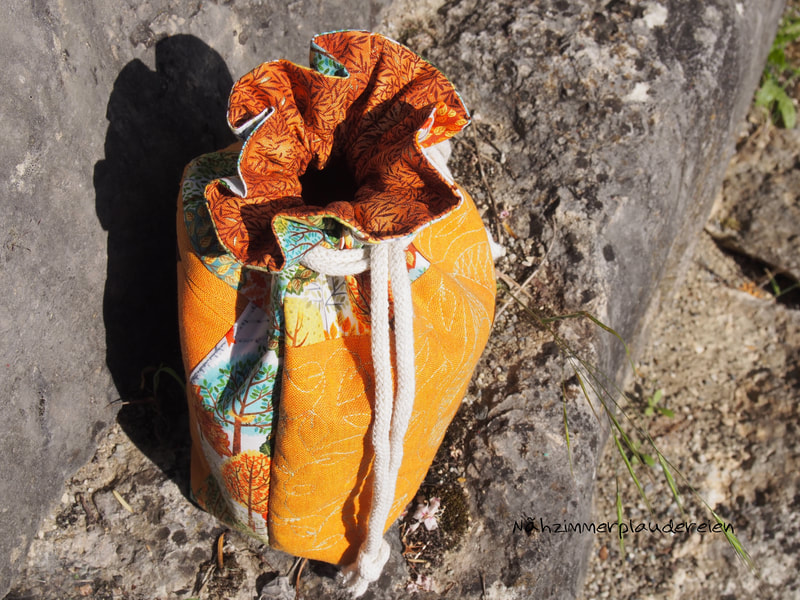
How to easily sew a simple, quilted drawstring bag with a paper pieced quilt block?
And there's a bonus: it's lined and with inside pockets.
I mean seriously is there such a thing as too many drawstring bags?
I am sure we all agree ............ ABSOLUTLY NOT :-) You can use them for everything and everywhere. Use them for gifts or as storage, as a cute little decor, you name it. So let me show you how to sew a drawstring bag with any one of my quilt block patterns.
Finished bag size : 9.5" wide, 11" high and 4" deep at the bottom
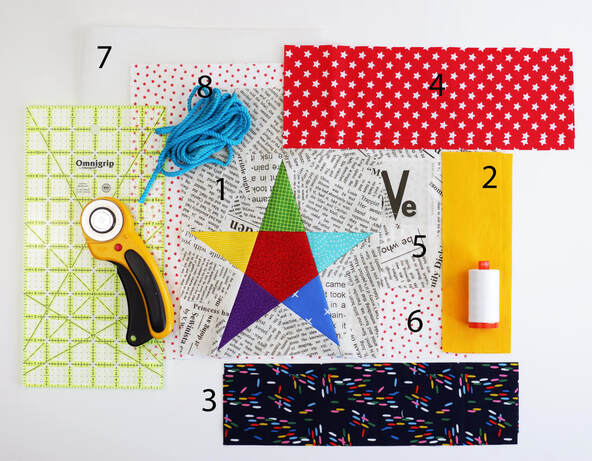
(Size small if you’re using a 6"x 6" quilt block: 7" wide, 8" high and 3" deep at bottom) Fabric/ Materials needed: (all measurements are width x height) > 1 1 FPP quilt block 8.5" x 8.5" (beach ball) (6.5"x 6.5") > 2 2 strips of fabric on each side of the FPP block 2.5"x 8.5" (2 1/4"x 6.5") > 3 2 strips of fabric for bottom panel 12.5"x 3" (10"x 2.5") > 4 2 strips of fabric for top panel 12.5"x 4"(10"x 4") > 5. 1 piece of fabric for back 12.5"x 8.5" (10"x6.5") > 6 2 pieces of fabric for lining 12.5"x 14.5" (10"x11.5") > 7 Fusible interfacing 1 piece 12.5"x 22" (10"x 17") > 8 2 pieces of rope, ½" twill, or ½" fabric tie (I used blue rope) 40" each. (30") > Optional: Inside pocket 1 piece of fabric 12.5"x 10" (10"x 7.5") Before you start: Read through the instructions, thats always best so you get a feel of the sewing beforehand. Seam allowance is always ¼" unless mentioned otherwise. One more note: The quilt block sizes are 8"x 8" ( 6"x 6") finished, they are 8.5"x 8.5" ( 6.5"x 6.5") unfinished.
INSTRUCTIONS:
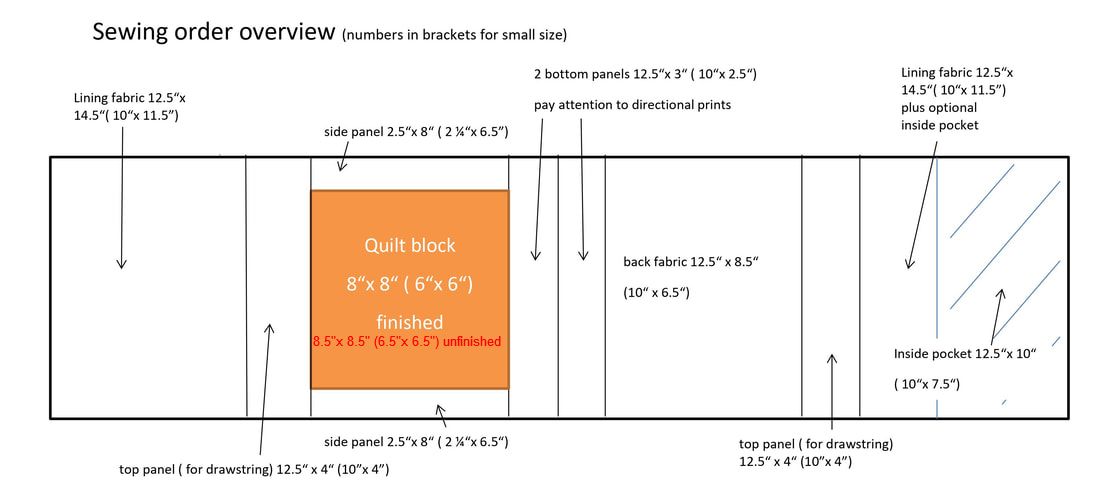
1. Lay out your pieces of fabric as shown in the chart above, and sew them together into one long piece. Start with sewing the two side strips (2.5"x 8.5") to the quilt block, then add the other pieces of fabric in the order above. Order from left to right: Lining, top panel, quilt block with 2 side panels, bottom panel, bottom panel, back (exterior), top panel and finally lining again. Press seam allowances open.
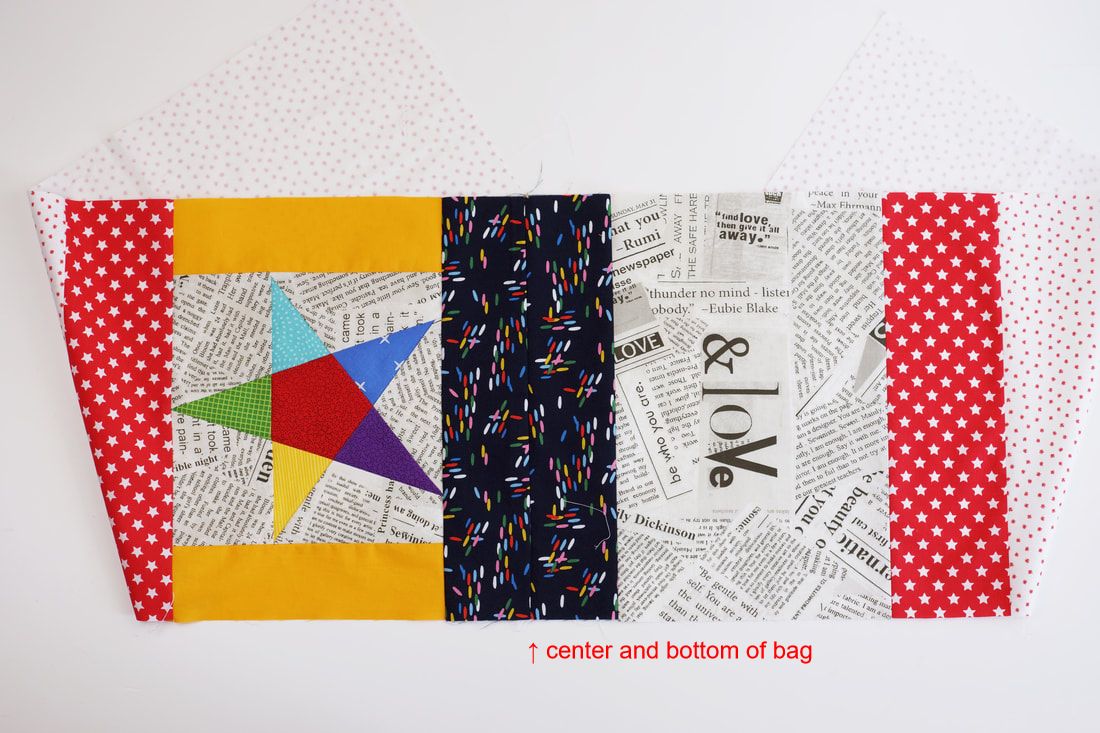
Here you see the whole long piece sewn together.
(I folded the lining pieces under for the photo.) Make sure you place directional prints with the 'top' of the print facing towards the top of the bag ,towards the drawsting- and lining pieces. The bottom of the drawstring bag is at the center of the bottom panels.
Interfacing gives your bag more structure and stand.
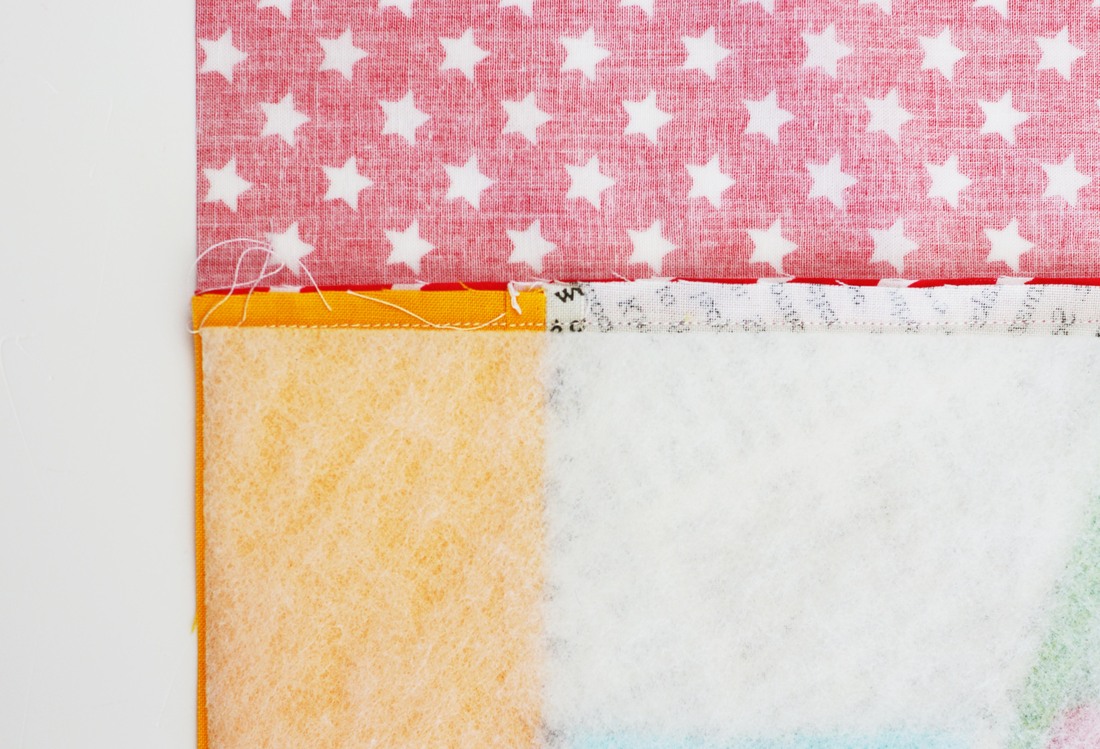
Iron on the fusable interfacing. Use interfacing only on the exterior main pieces. If you’re using it on the 4" drawstring panel, your drawstring might get caught in the material and it will not let you tie your bag as nicely. I measured the interfacing a little bit generous, so trim it down to where the drawstring panel starts.
Now you can quilt the front and/ or back outer fabric panel to your liking.
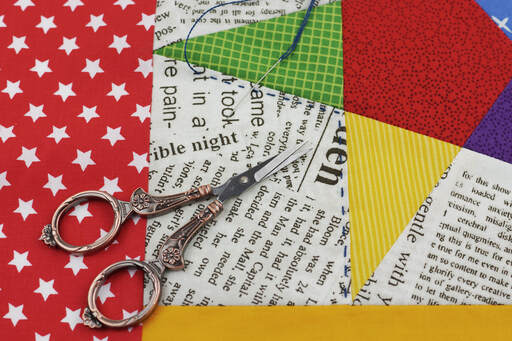
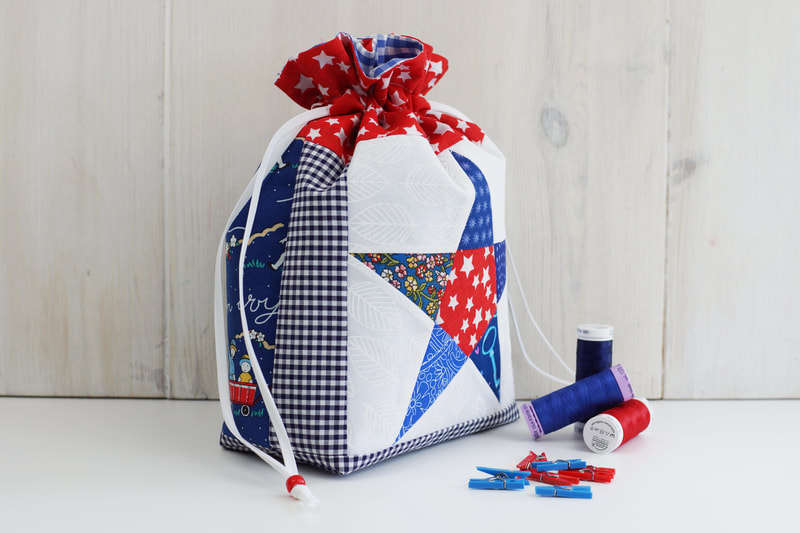
I would recommend to only quilt the paper pieced block and/ or the back fabric block. Not the bottom part or the drawstring panels. The bottom will have boxed corners anyways. And it’s best to leave the drawstring panel plain, as any stitching might interfere with the drawstring. I love hand quilting, so I decided to just stitch around the star. I will leave the back without Quilting, since the fabric with the letters is pretty busy as it is. But in general straight line machine quilting would look really nice on a less busy pattern. Plain lines, squares or diamonds always enhance solid fabrics.
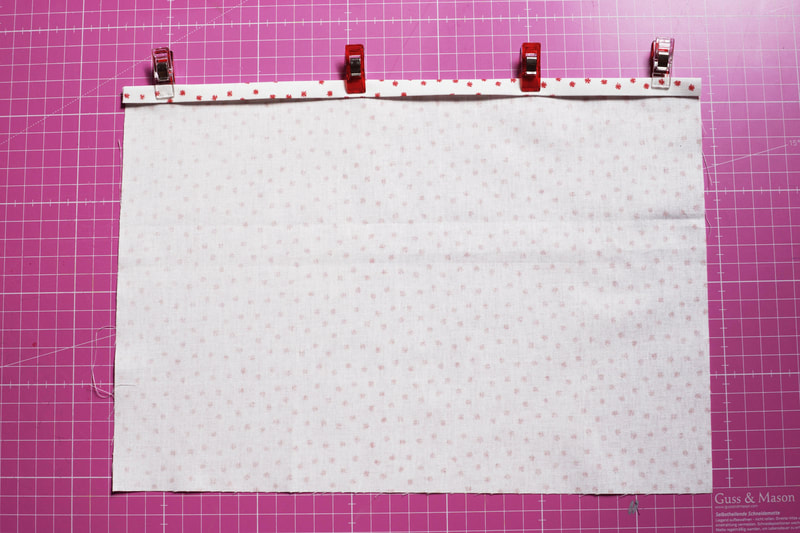
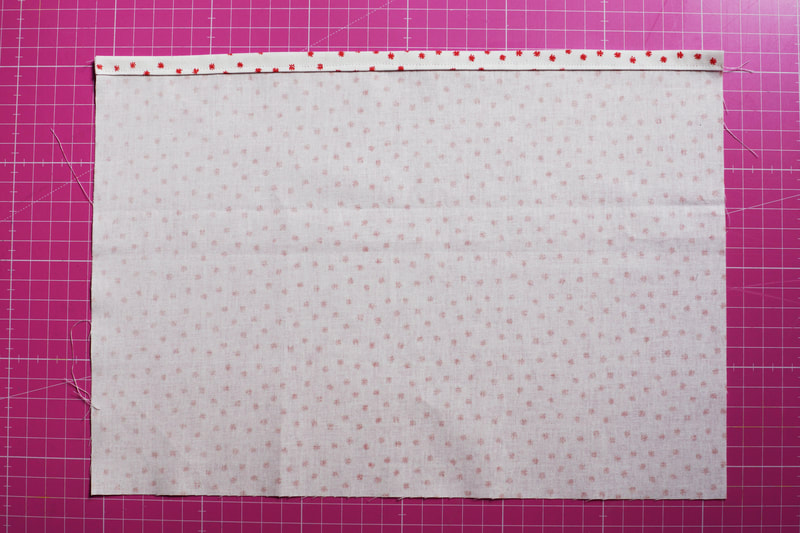
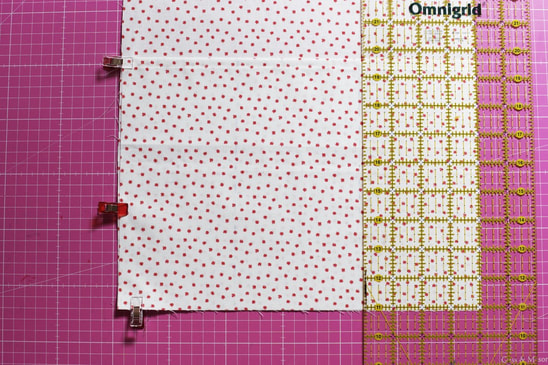
If you’re adding an inside pocket fold over the 12.5" ( 10") side of the inside pocket
fabric ¾" twice and clip or pin in place. And sew along the clipped edge.
Place the pocket fabric panel onto the backside lining panel. Wrong side of pocket fabric
against right side of lining panel, matching the raw outside edges . Clip or pin in place. Draw two vertical lines 4"(3" for the small bag) from the outer edge with a water soluble pen or fabric marker. Then sew along those lines, backstitch at the beginning and at the end. These will be your three inside pockets. If you’d prefer two inside pockets, draw just one line in the middle and sew along that line. This gives you two inside pockets.
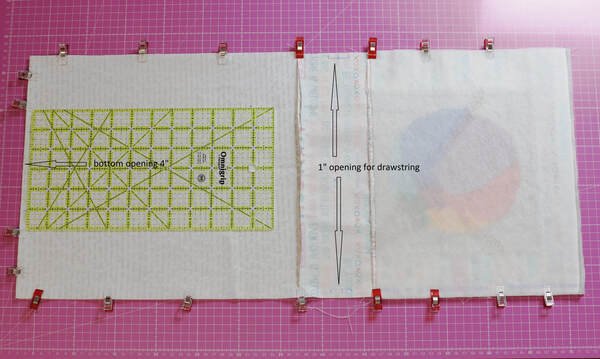
Fold your sewn strip in half, right sides together, matching the lining ends.
Clip or pin along the raw edges in place, matching up each seam and clipping or pinning the matched up seams. Leave a 4" space at the center of the bottom end of the lining, this is your opening for turning the bag later.
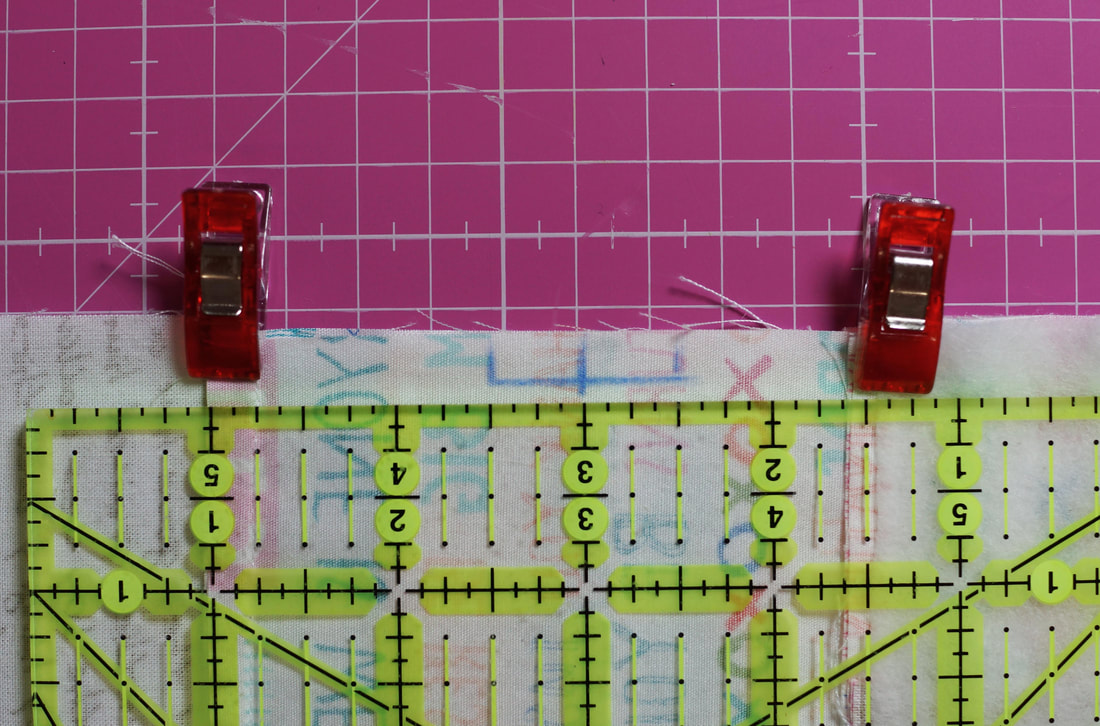
On both sides, of the drawstring panel mark a 1" opening in the center of the panel.
First mark the center of the panel and then mark ½" to both sides. This gives you small 1" opening sections on both sides, these will be left unsewn, creating the opening for the drawstrings. Then sew along the three open sides. Do not sew between the 1" opening you marked on both sides or the drawstring panel or the 4" opening at the end of the lining pieces.
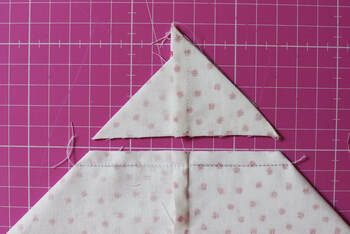
For a flat bottom of your bag, you need to box all four corners of the drawstring bag.
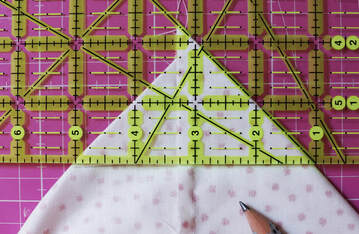
Two corners of the lining and two corners of the exterior fabric. Starting with flattening the corner, the seams, bottom seam and side seam should be on top of each other. Then measure 2" (1.5"for the small bag) from the top corner with an acrylic ruler and draw a line across with your fabric marker or a water soluble pen. Stitch along that line and trim off the corner, leaving a 1/4" seam allowance. (Repeat this for all four corners)
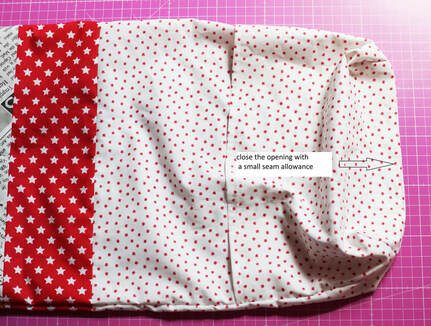
Turn your bag by turning the pieces right sides out, pulling through the opening in the
lining. Push out the corners nicely. Press the lining opening under 1/4"and stitch closed with a small 1/8" seam allowance.
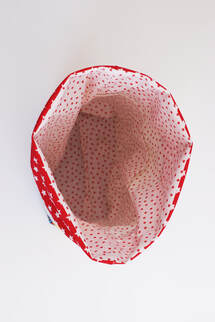
Fold the lining into the exterior of the bag. Press along the top edge.
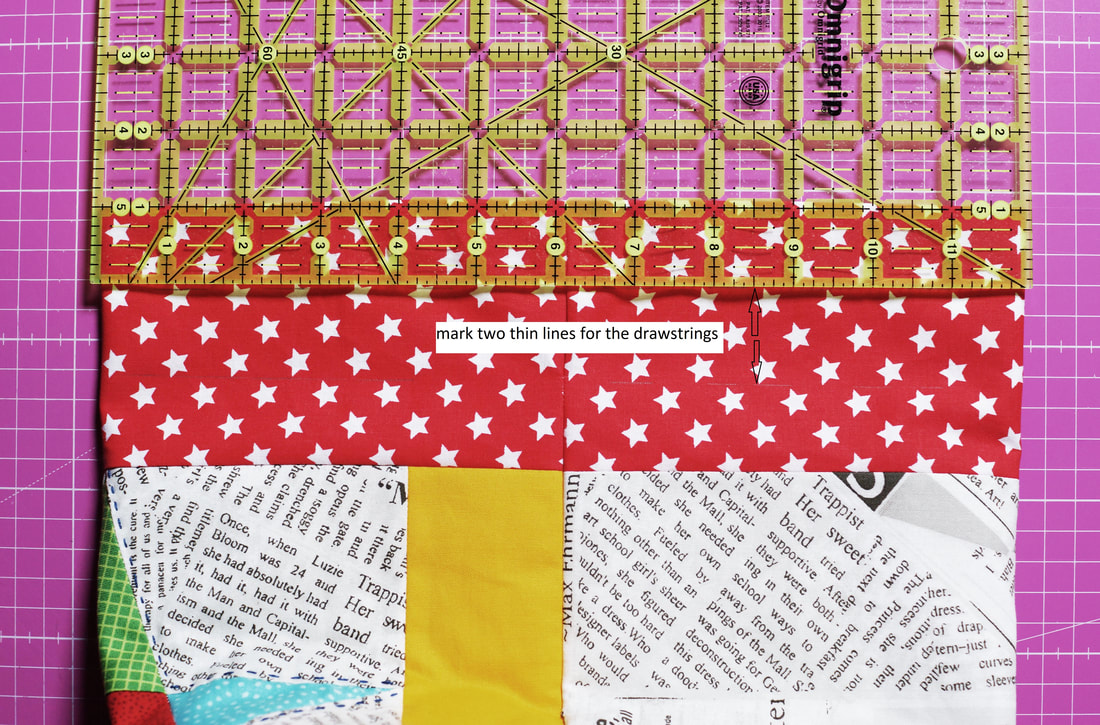
Mark two thin lines onto the drawstring panel with a fabric marker or a water soluble pen.
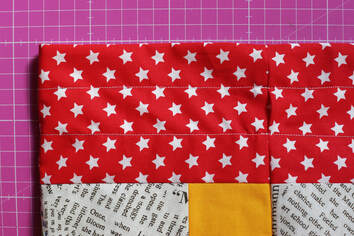
One line at the top of the 1" opening for the drawstrings, and a second line at the bottom of the 1" opening for the drawstings. Mark those line all the way around the top of the bag. This will be your drawstring casing. Sew along those two lines all the way around the bag.
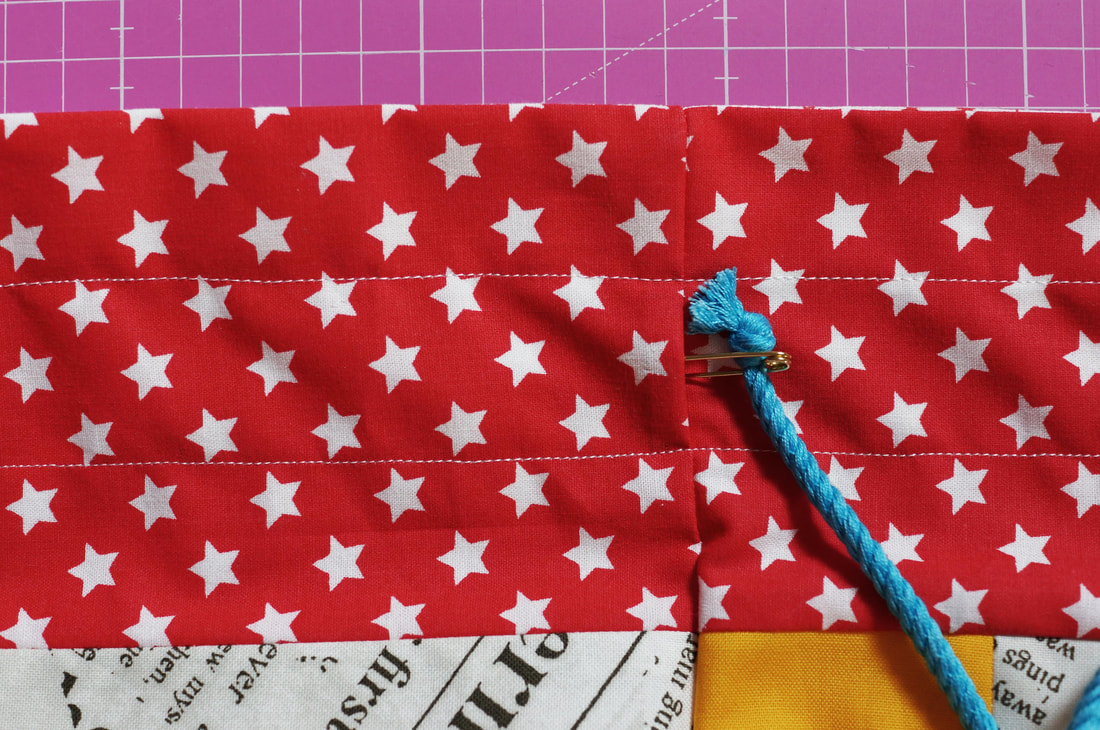
Attach a safety pin to one end of your rope, ribbon or fabric tie.
Insert the safety pin into one of the side openings. Work it through, pulling it all the way back around the whole bag and out the opening where you started. Even out your the ends and tie them into knots seperatly or together. Repeat with the other tie, starting at the opposite side opening.
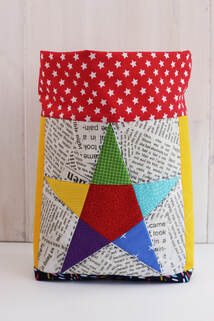
Aaaaaand YAAAAAY..... all done.
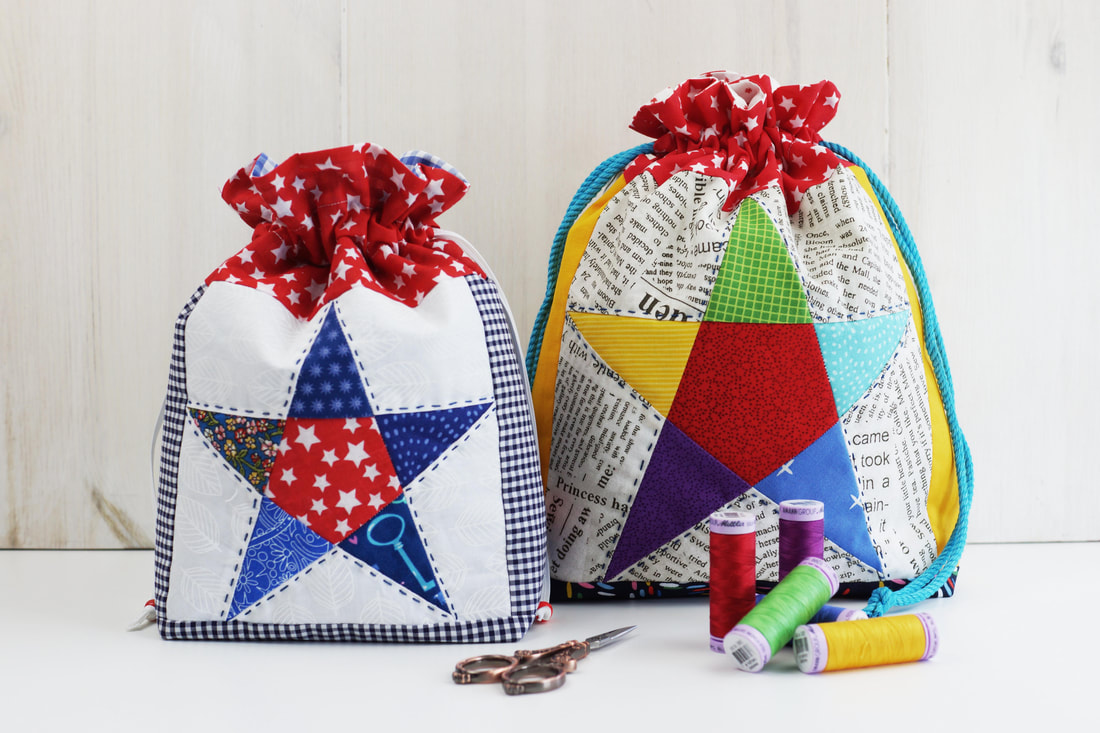
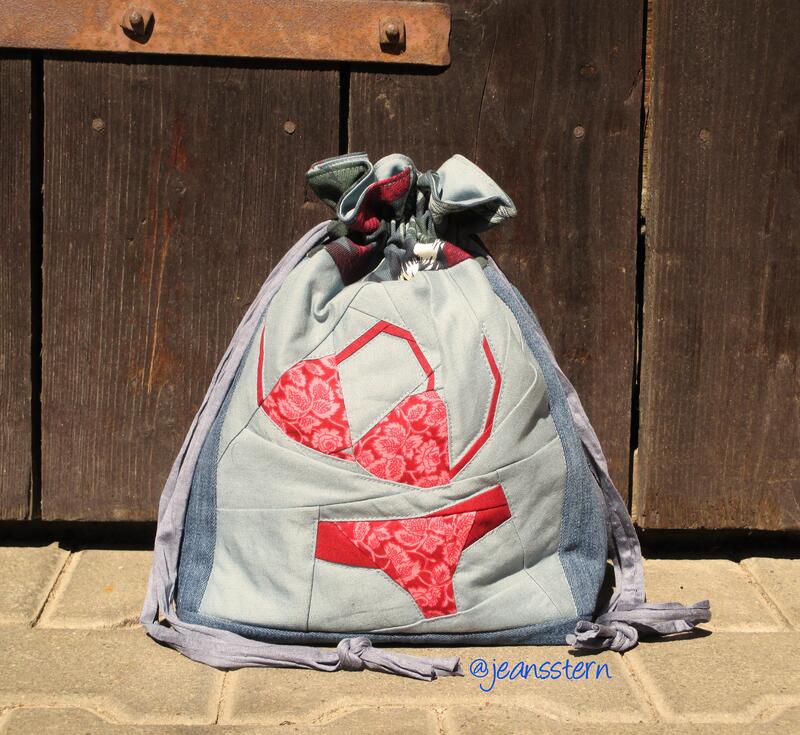
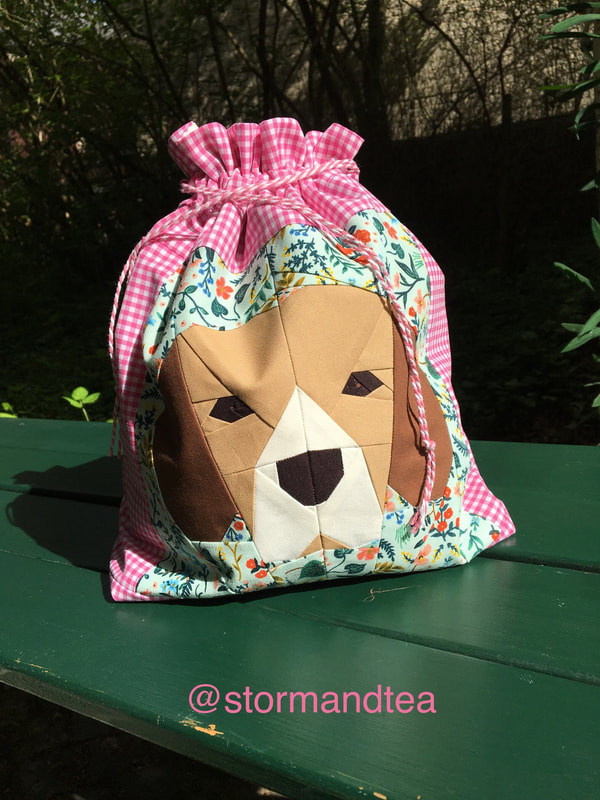
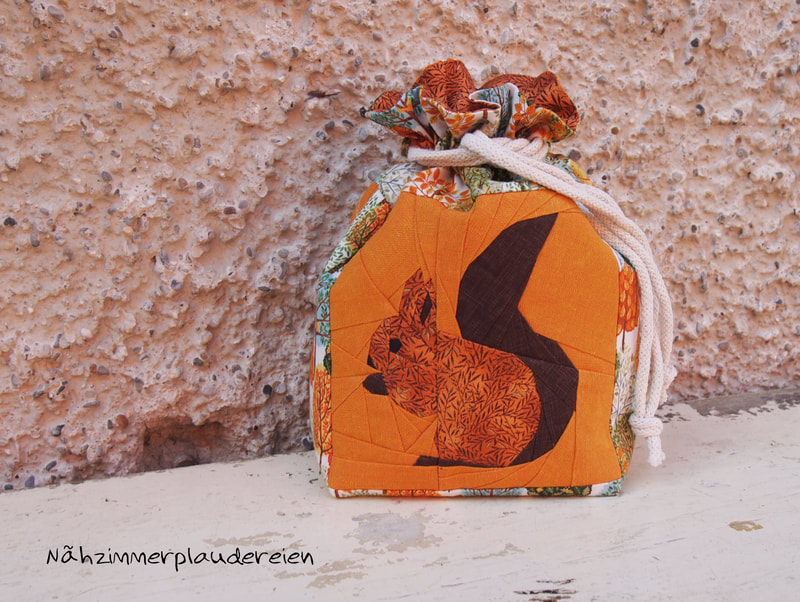
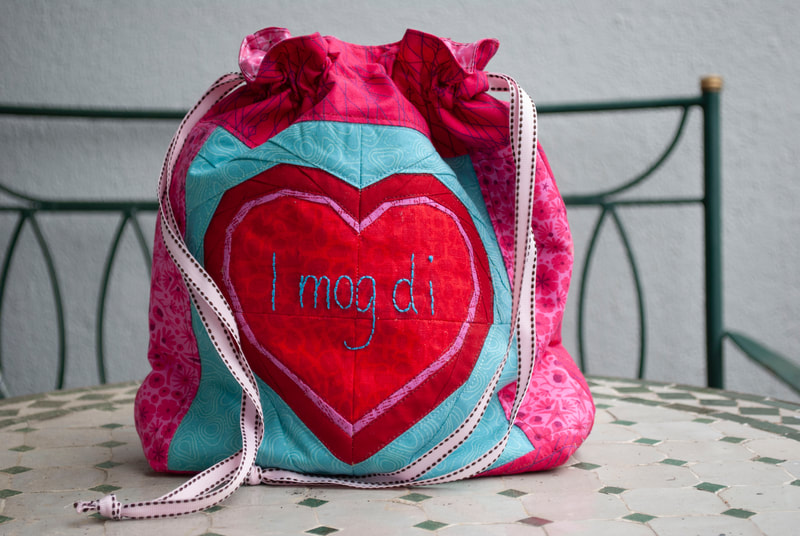
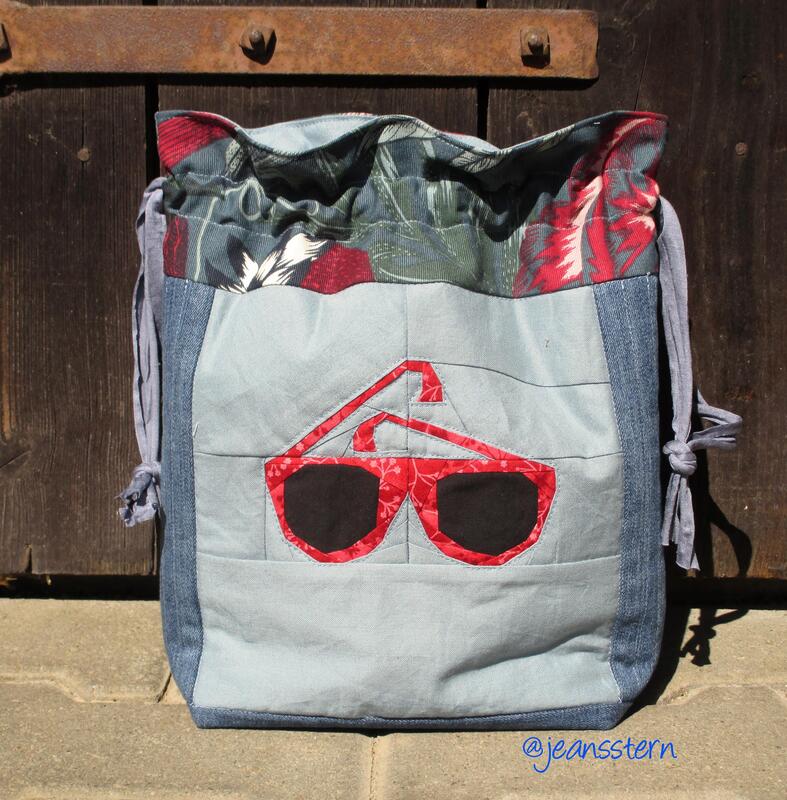
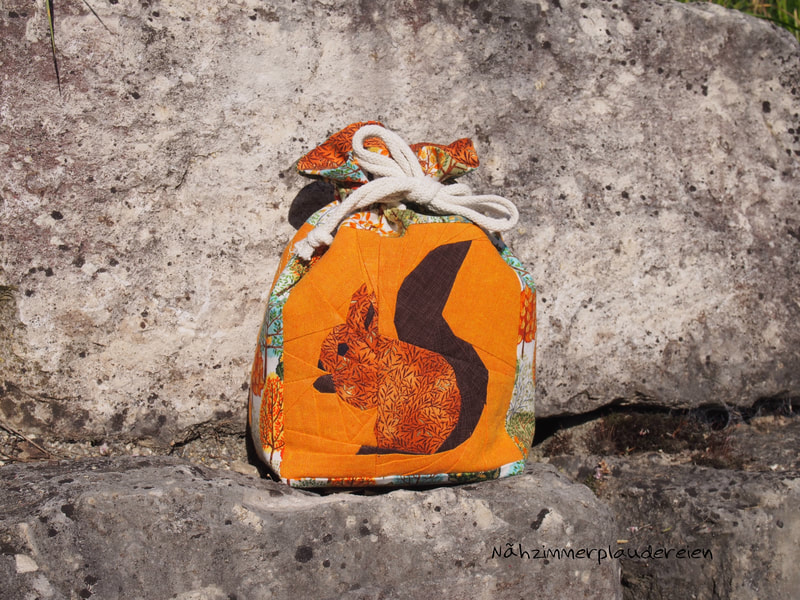
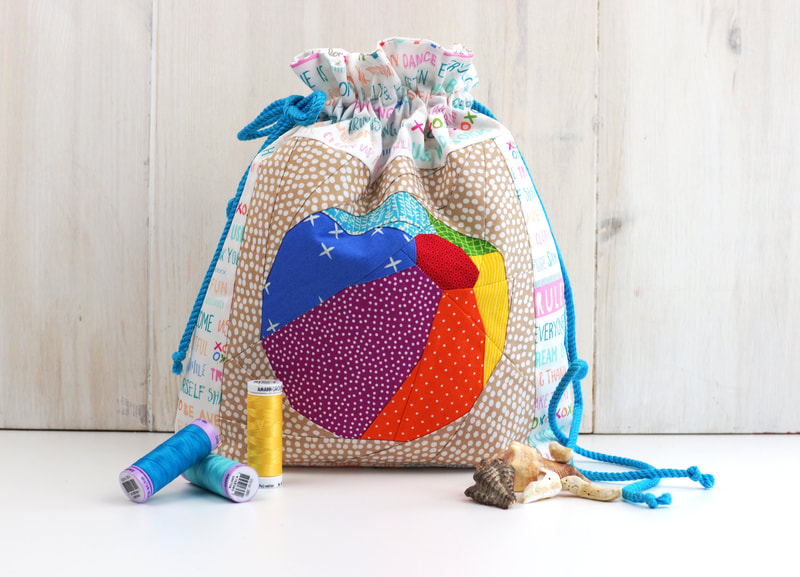
And here are some more inspirations on this bag, with all sorts of blocks from my small collection of quilt blocks ....
Share your makes on social media ... use #quilteddrawstringbag so I can cheer your creations, and if you want I can share them here on my blog.
1 Comment
|
Author
Ingrid Alteneder Archive
March 2022
Categories
All
|
-
Shop
- New patterns
- All Patterns
- Appliqué Patterns
- Animals
- Baby
- Ballet
- Bear Cottage
- Beach/ Boats/ Nautical
- Buddha/ Mindfulness
- Chinese New Year
- Christmas
- Easter and Spring
- Fairytale
- Fall/ Autumn
- Flowers, Trees and Plants
- Food/ Drinks
- Halloween
- Oktoberfest
- Quilted items
- Stars
- Viva la Frida/ Dia de los Muertos
- Valentine's Day
- Village Patterns
- Mixed pattern
- Home
- About
- Blog
- Publications
- Etsy
- News
- Deutsch
|
Visit us at
|



 RSS Feed
