
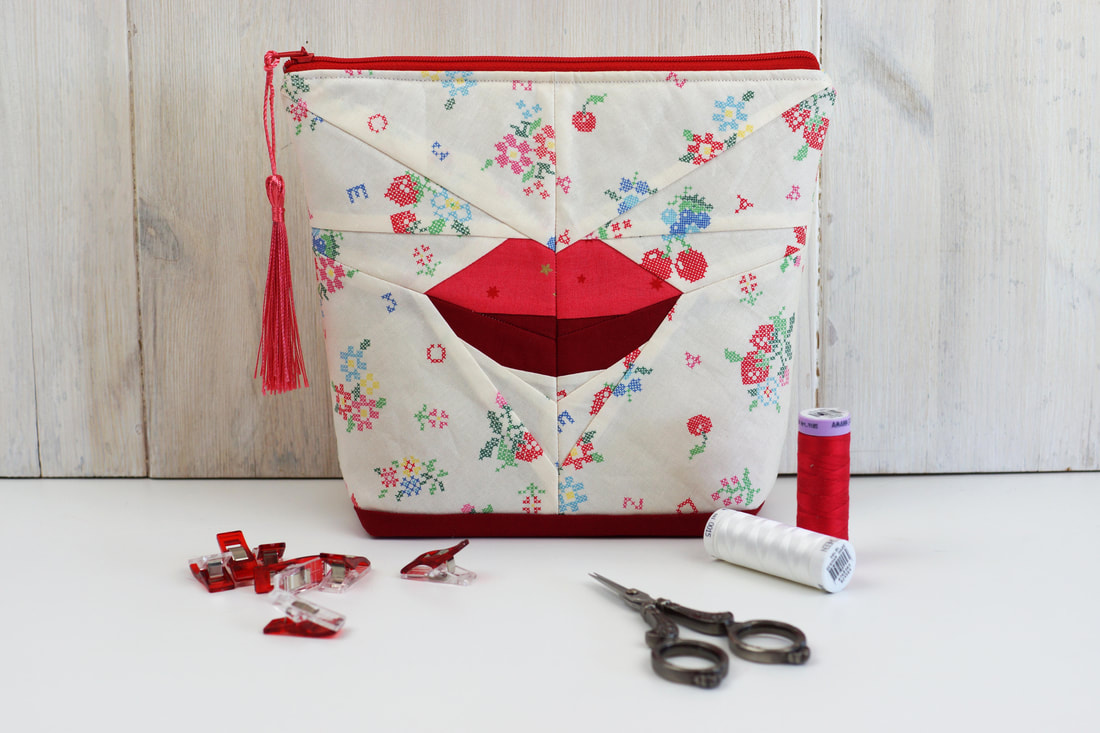
How to quickly sew a zippered pouch with flat bottom?
And a beautiful way to use the lips and/ or moustache quilt block pattern from my face mask ....... once you're masked out, like me :-) One can NOT have to many zippered pouches, it's like shoes... you can never ever have too many, right? Zippered pouches are super easy to make and you can use them for anything and everything literally all the time. I'll show you how quick and easy it is, to make one of these beauties using my lips quilt block pattern from the lips mask pattern. This pattern is kind of made for a pouch, because it has the perfect size. Fabric requirements and materials needed: - lips quilt block finished 9.5" x 7.5" - fabric for the back 9.5" x 7.5" - 2x strips of solid fabric 2.5" x 9.5" - lining fabric 2 x 9.5" x 9.5" - medium weight fusable interfacing 2 x 9.5"x 9.5" - 9 " zipper ( if your zipper is too long, check ou this post on how to quickly shorten a zipper ) - clips or pins - scissors or rotay cutter - ruler, thread and sewing machine. 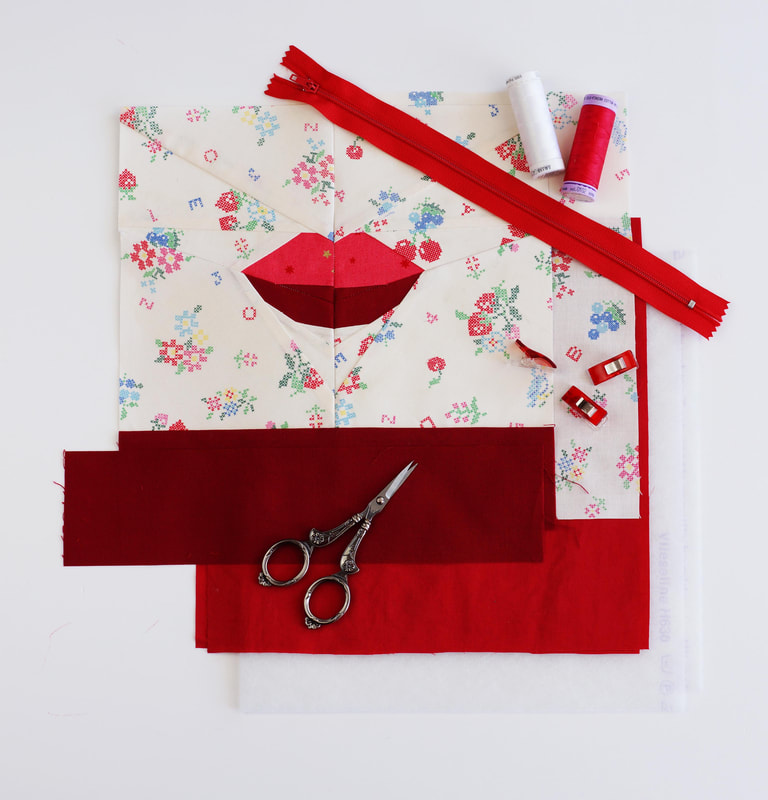
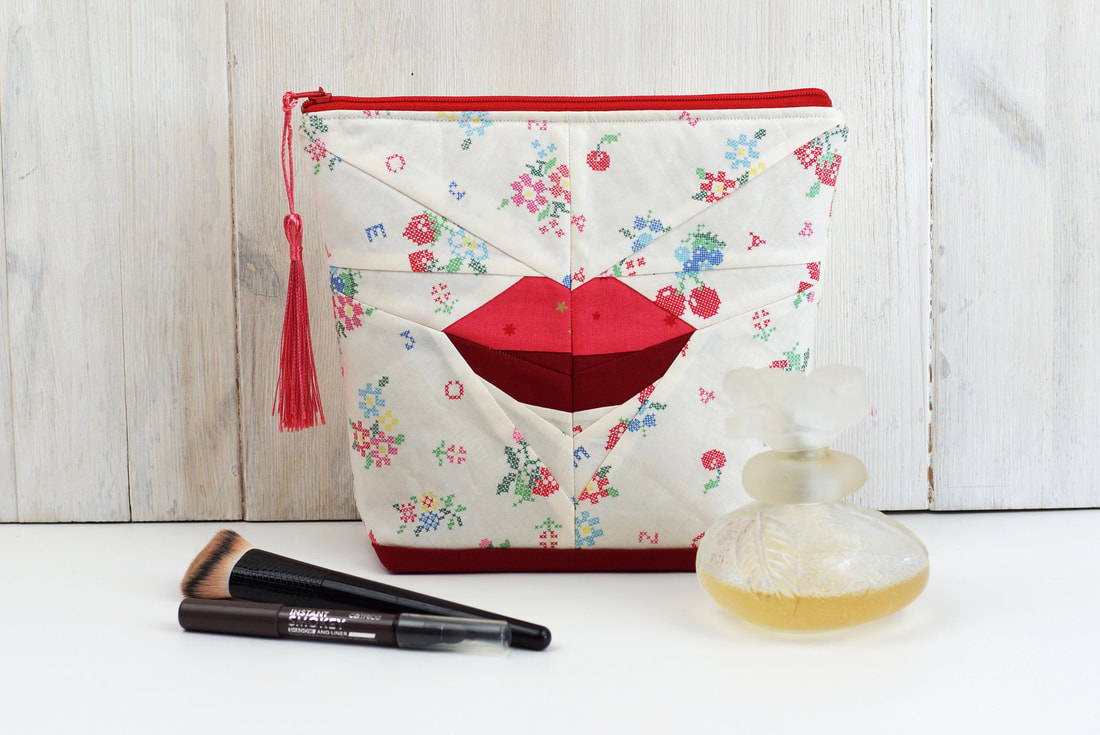
DIY ZIPPER POUCH with foundation paper piecing detail:
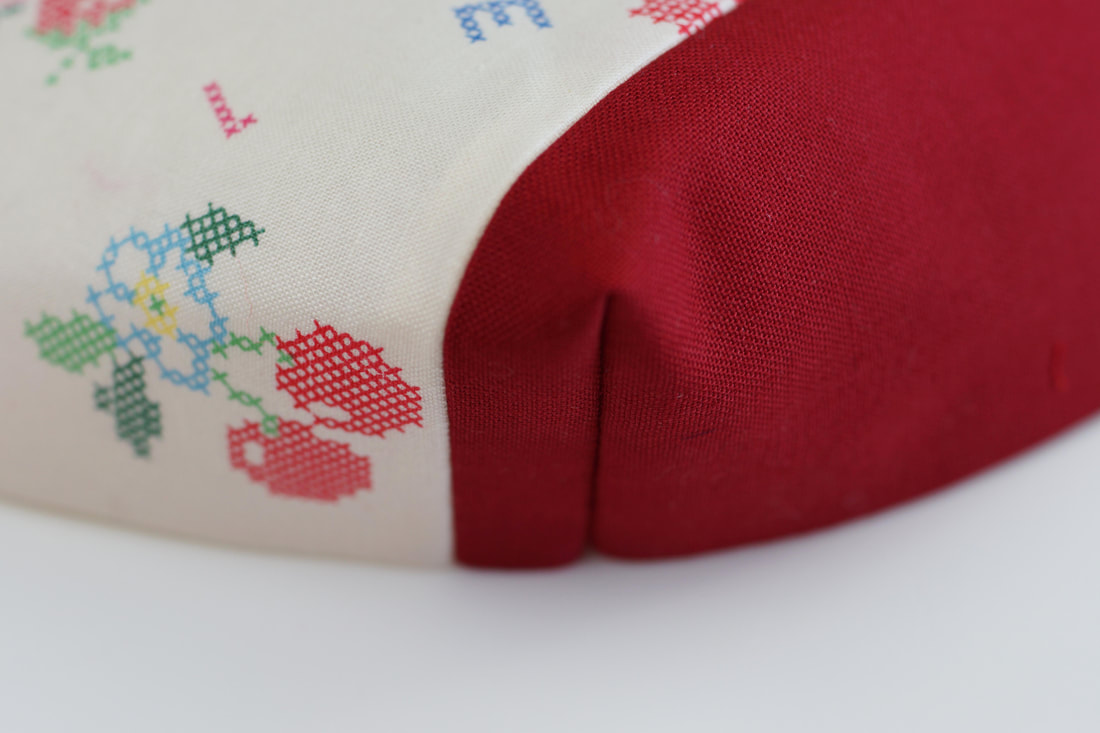
This completed zipper pouch measures approx. 8" at the top, 7" at the bottom and is about 3" wide at the bottom. This is a perfect size bag for make up, or sewing notions and would easily fit in you handbag . 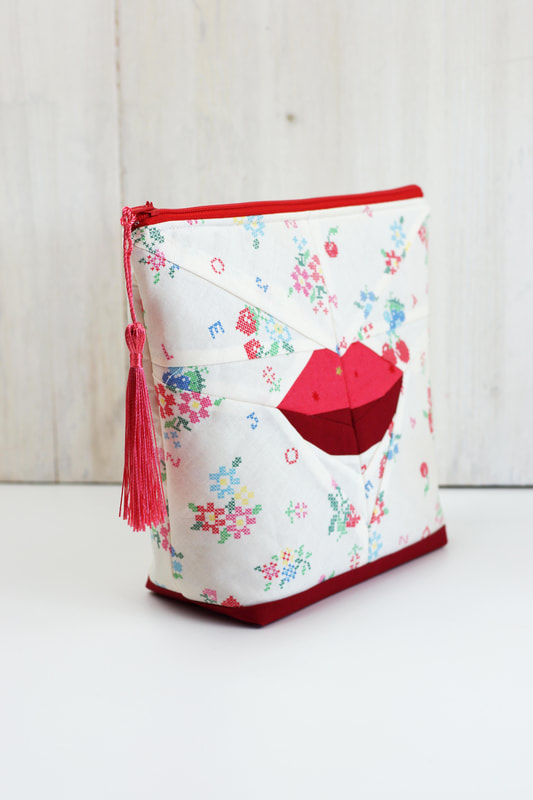
1. Sew the lips quilt block according to the pattern. It should mesure 9.5" x 7.5" when finished.
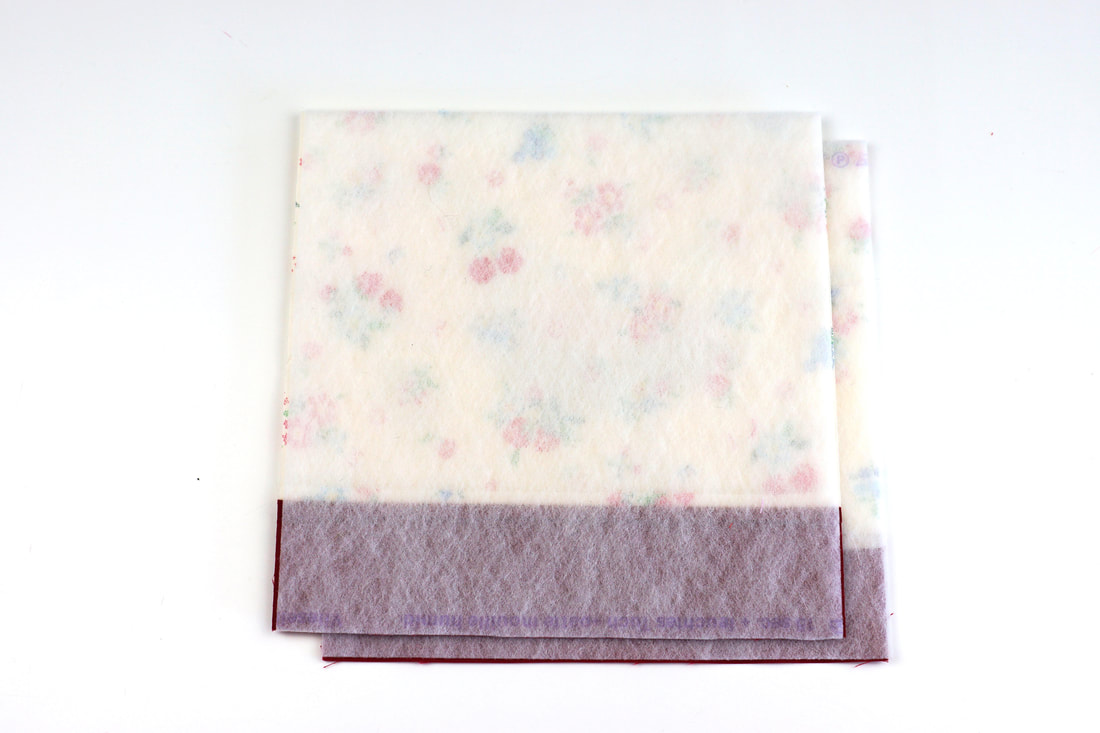
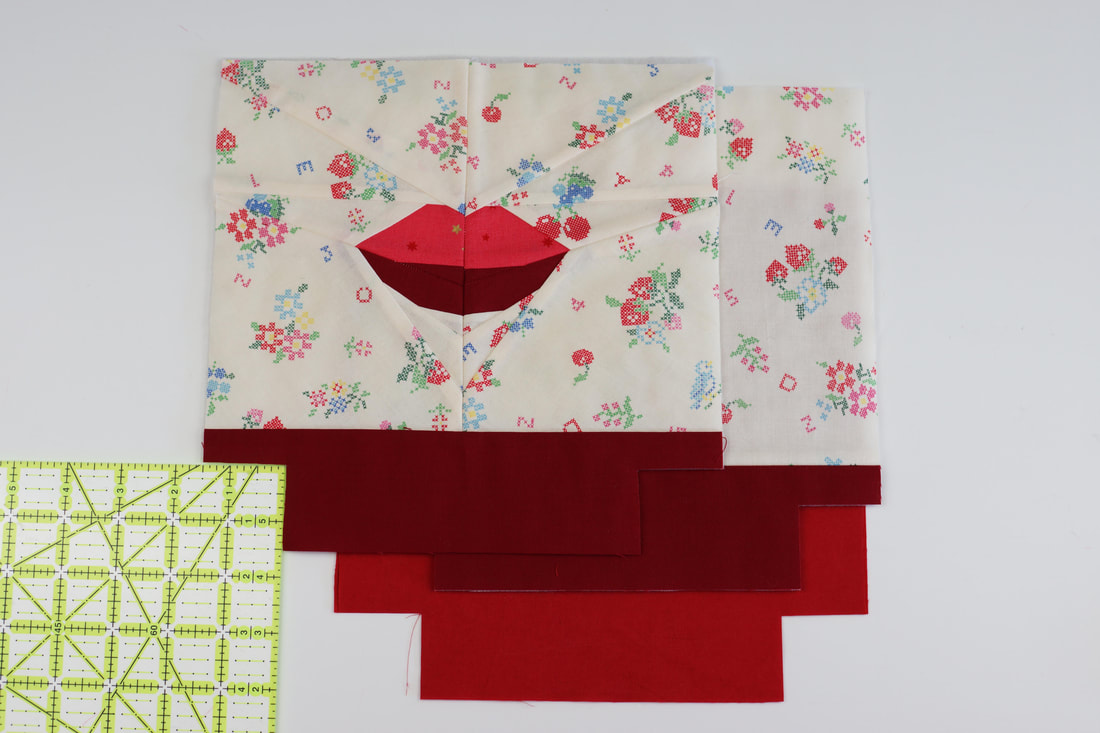
2. Cut your back fabric , lining fabric and fabric strips according to the mesurements given. 3. Stich the solid fabric strips to the bottom of the quilt block and to the bottom of your back fabric. 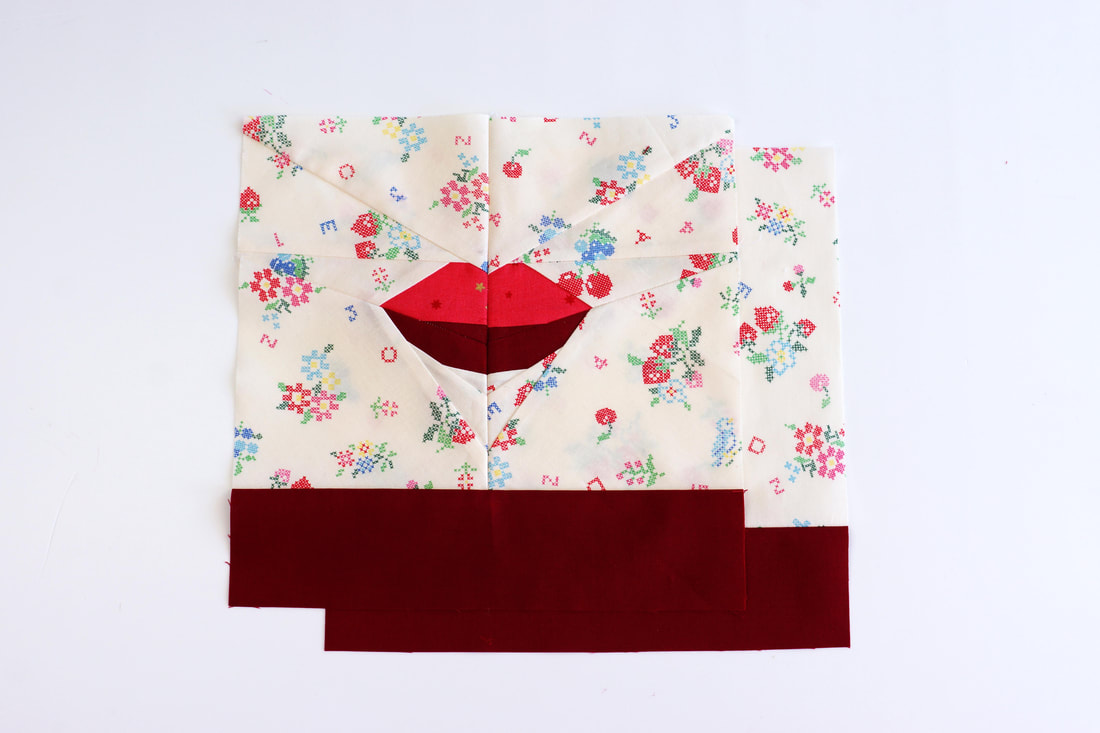
4. Iron on the fusable interfacing to your front and back panel.
5. Cut out 1.5"x 1.5" corners at the bottom of your outside panels and your lining.
This will give you your bottom corners of the pouch. 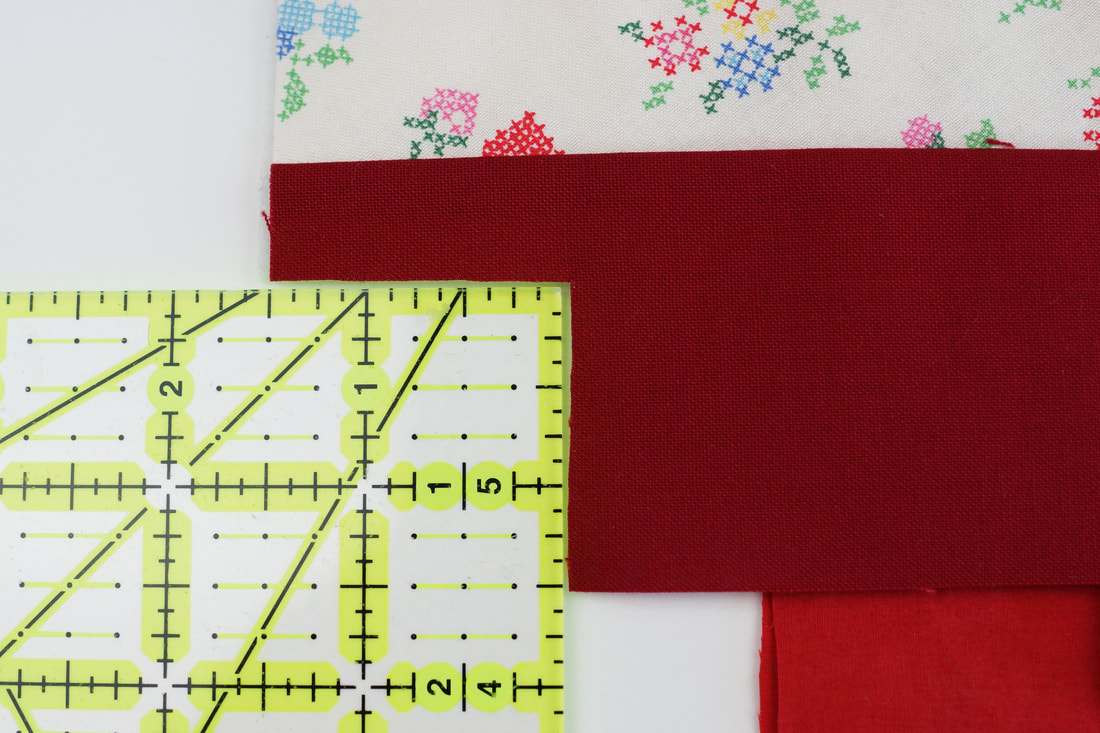
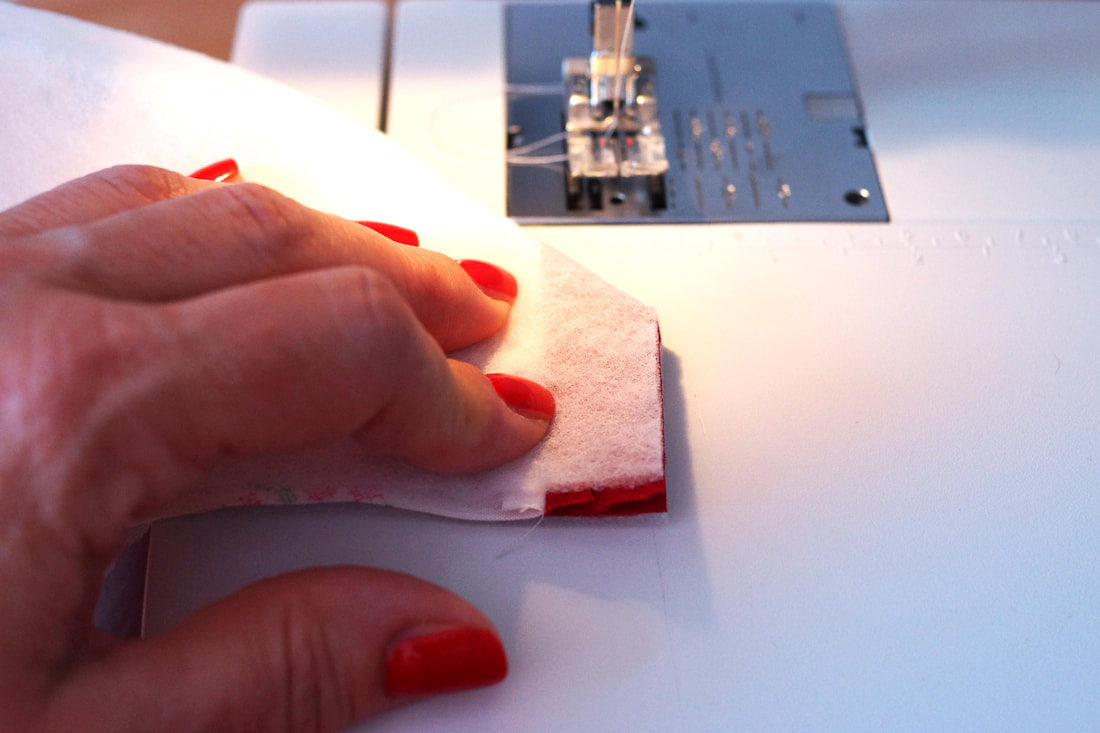
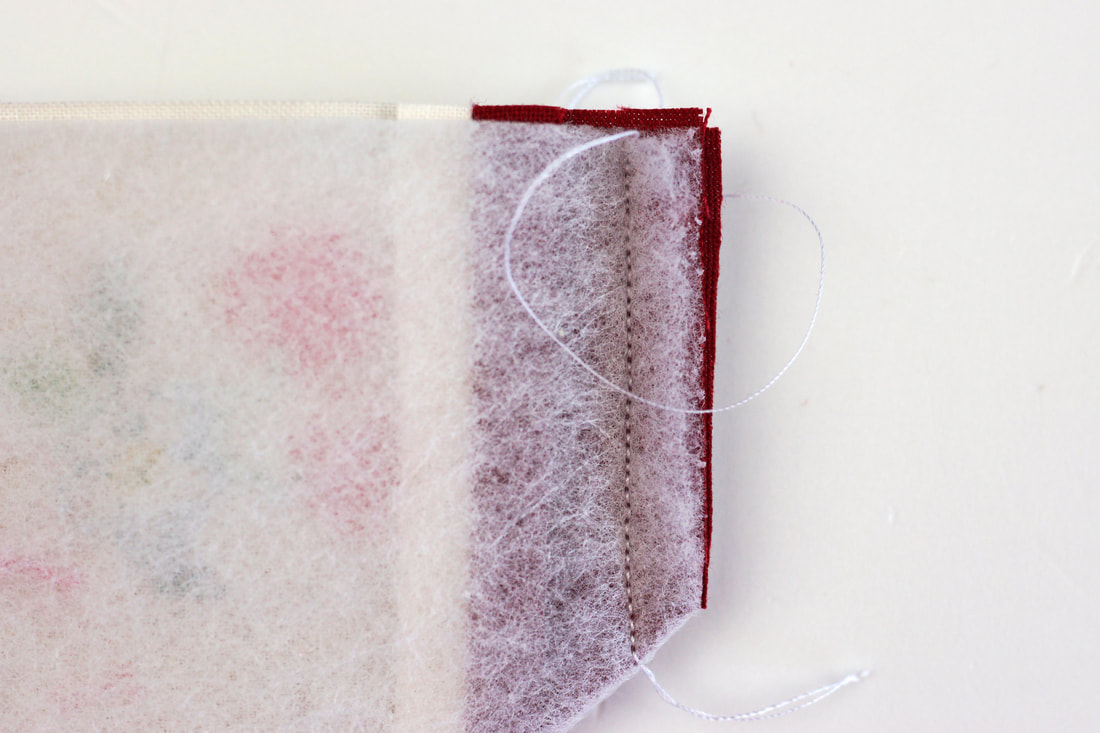
6. Fold the corners so the edges are facing each other and stitch along the 1.5" edge.
This creates a boxed corner. Sew all 8 corners like that.
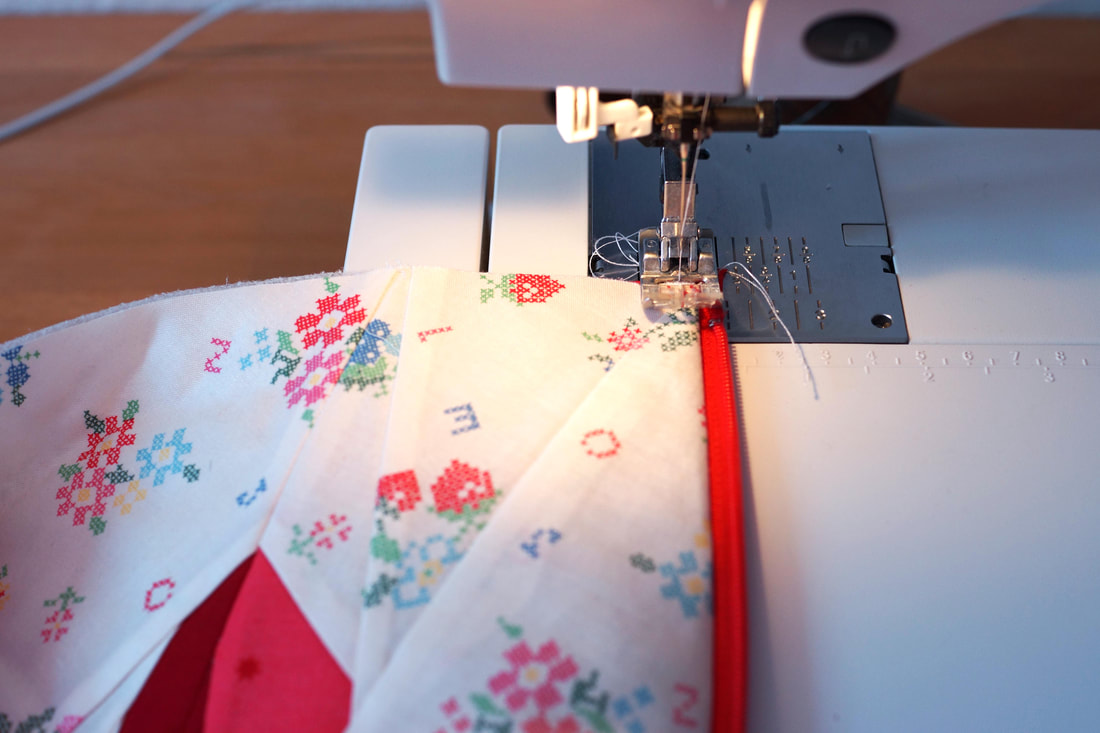
7. Attach the zipper to the front panel right side of front panel facing you and right side of zipper facing down.
Sew the zipper first to the front panel and then to the back, again right side of zipper against the right side of the fabric. 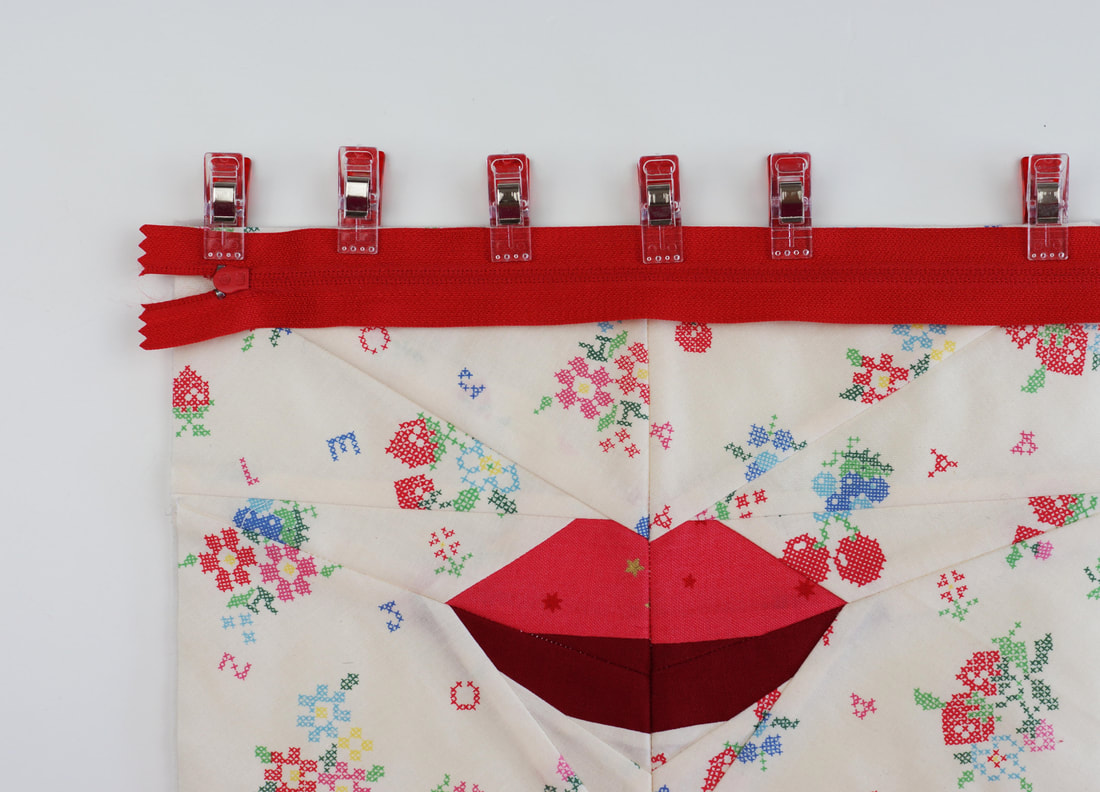
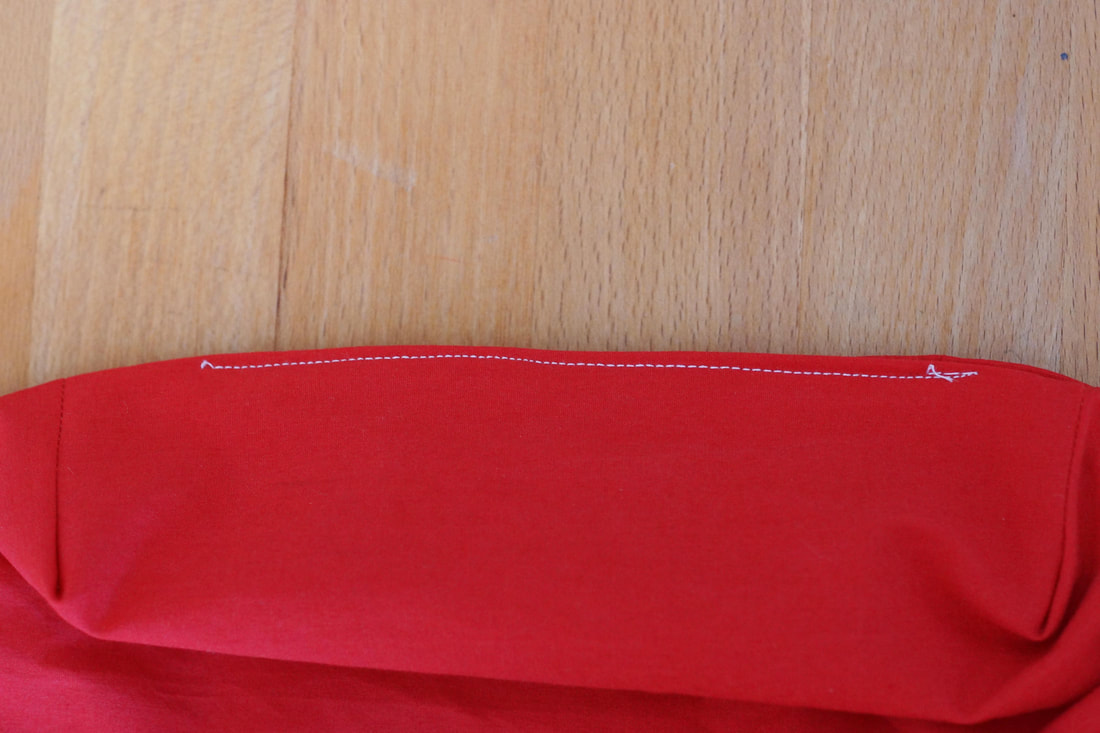
8. Place the lining right sides together on top of outside panel and sew along top edge.
Repeat for the back. 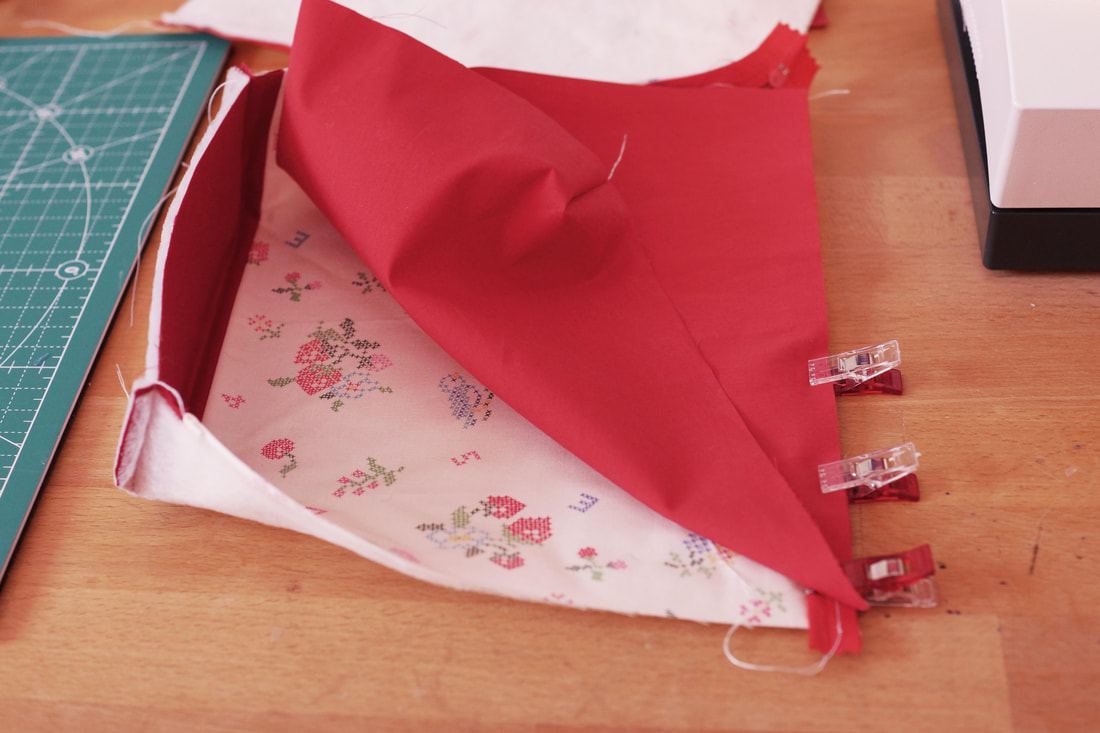
9. Optional: Stitch a top seam along the zipper from the outside,
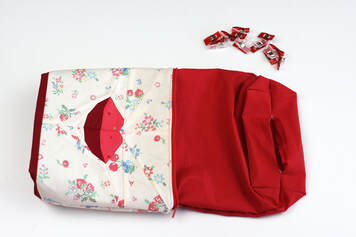
10. UNDO THE ZIPPER ! This is important for turning the pouch later :-)
And stitch all the way around the pouch , except a 6" turning gap along the bottom of the lining using a 1/4" seam allowance. 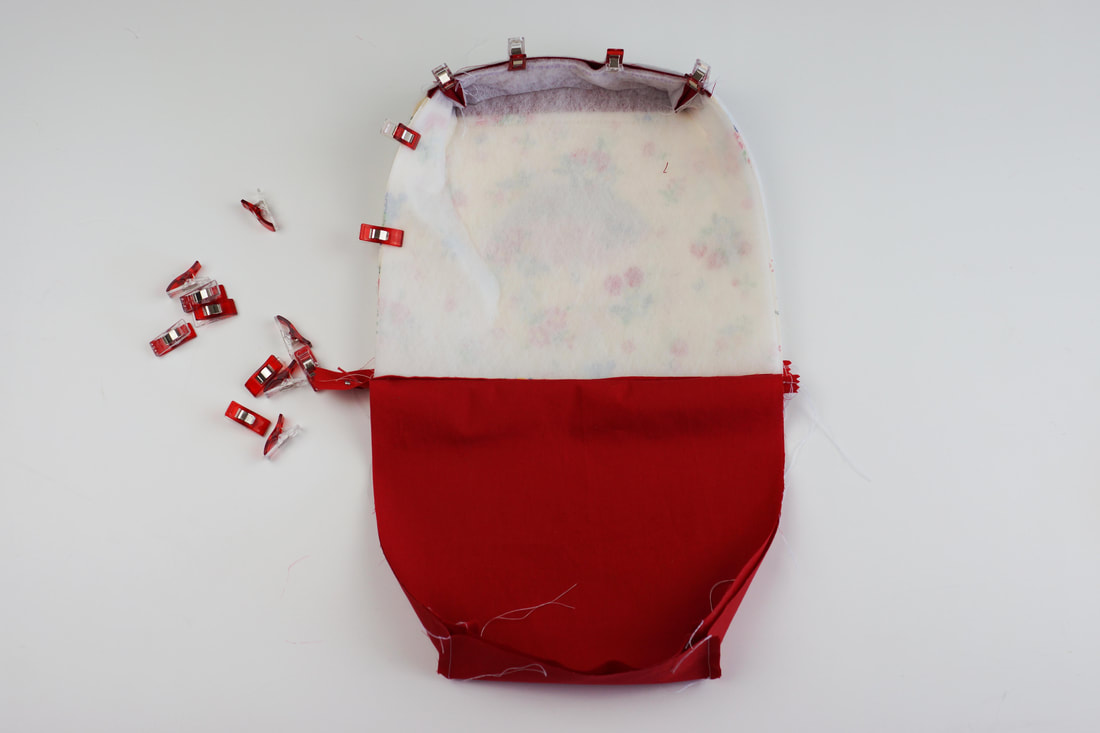
11. Turn the bag right side out. Fold the edges of your turning gap in and stitch to close.
12. Fold lining inside and..... TADAHHH :-)
What do you think?
Btw. if you're interested in News and Coupons for future pattern releases, subscribe to my Newsletter here on my site:-) Happy Sewing!
0 Comments
Leave a Reply. |

Author
Ingrid Alteneder Archive
March 2022
Categories
All
|

 RSS Feed

|
Visit us at
|